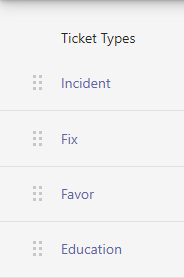
Ticket Types allow for you to further identify and group your tickets into different themes. A common use for ticket types will be to identify your tickets in the context of ITIL processes, such as types of Incident, Service Request and Change.
Table of Contents
Add a header to begin generating the table of contents
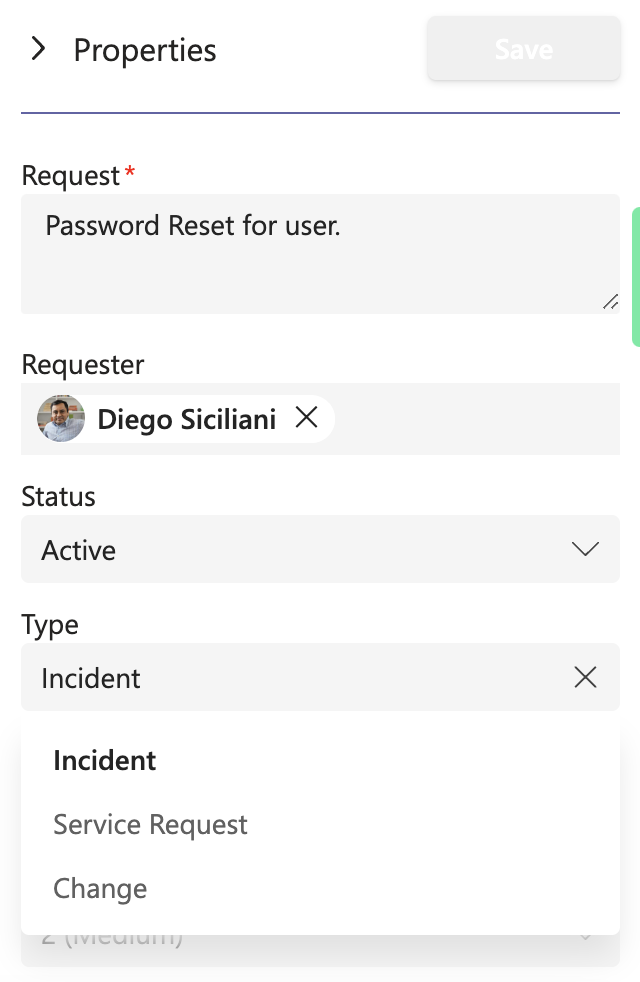
To set a ticket type on a ticket:
- Open the Tikit web app at https://web.tikit.ai.
- Once in the Tikit web app, navigate to Tickets and select a ticket.
- Select the Properties dropdown to find Type.
- Select the Type for the ticket.
To access and manage Ticket Type settings:
- Open the Tikit web app at https://web.tikit.ai.
- Once in the Tikit web app, select the settings gear in the header, then select Ticket Types.

1
Add a new Ticket Type. 1 of 4
2
Drag and drop values to change their order or drop onto another value to nest. 2 of 4
3
Available actions like Edit, Archive, and Un-Archive. 3 of 4
4
Picker value. Select a value to edit. 4 of 4
- Hover over the labels or check out the following key section for more details.
- New Type Add a new ticket type.
- Sort Drag and drop values to change their order or drop onto another value to nest.
- Actions Available actions like Edit, Archive, or Un-Archive.
- Value Select a value to edit.
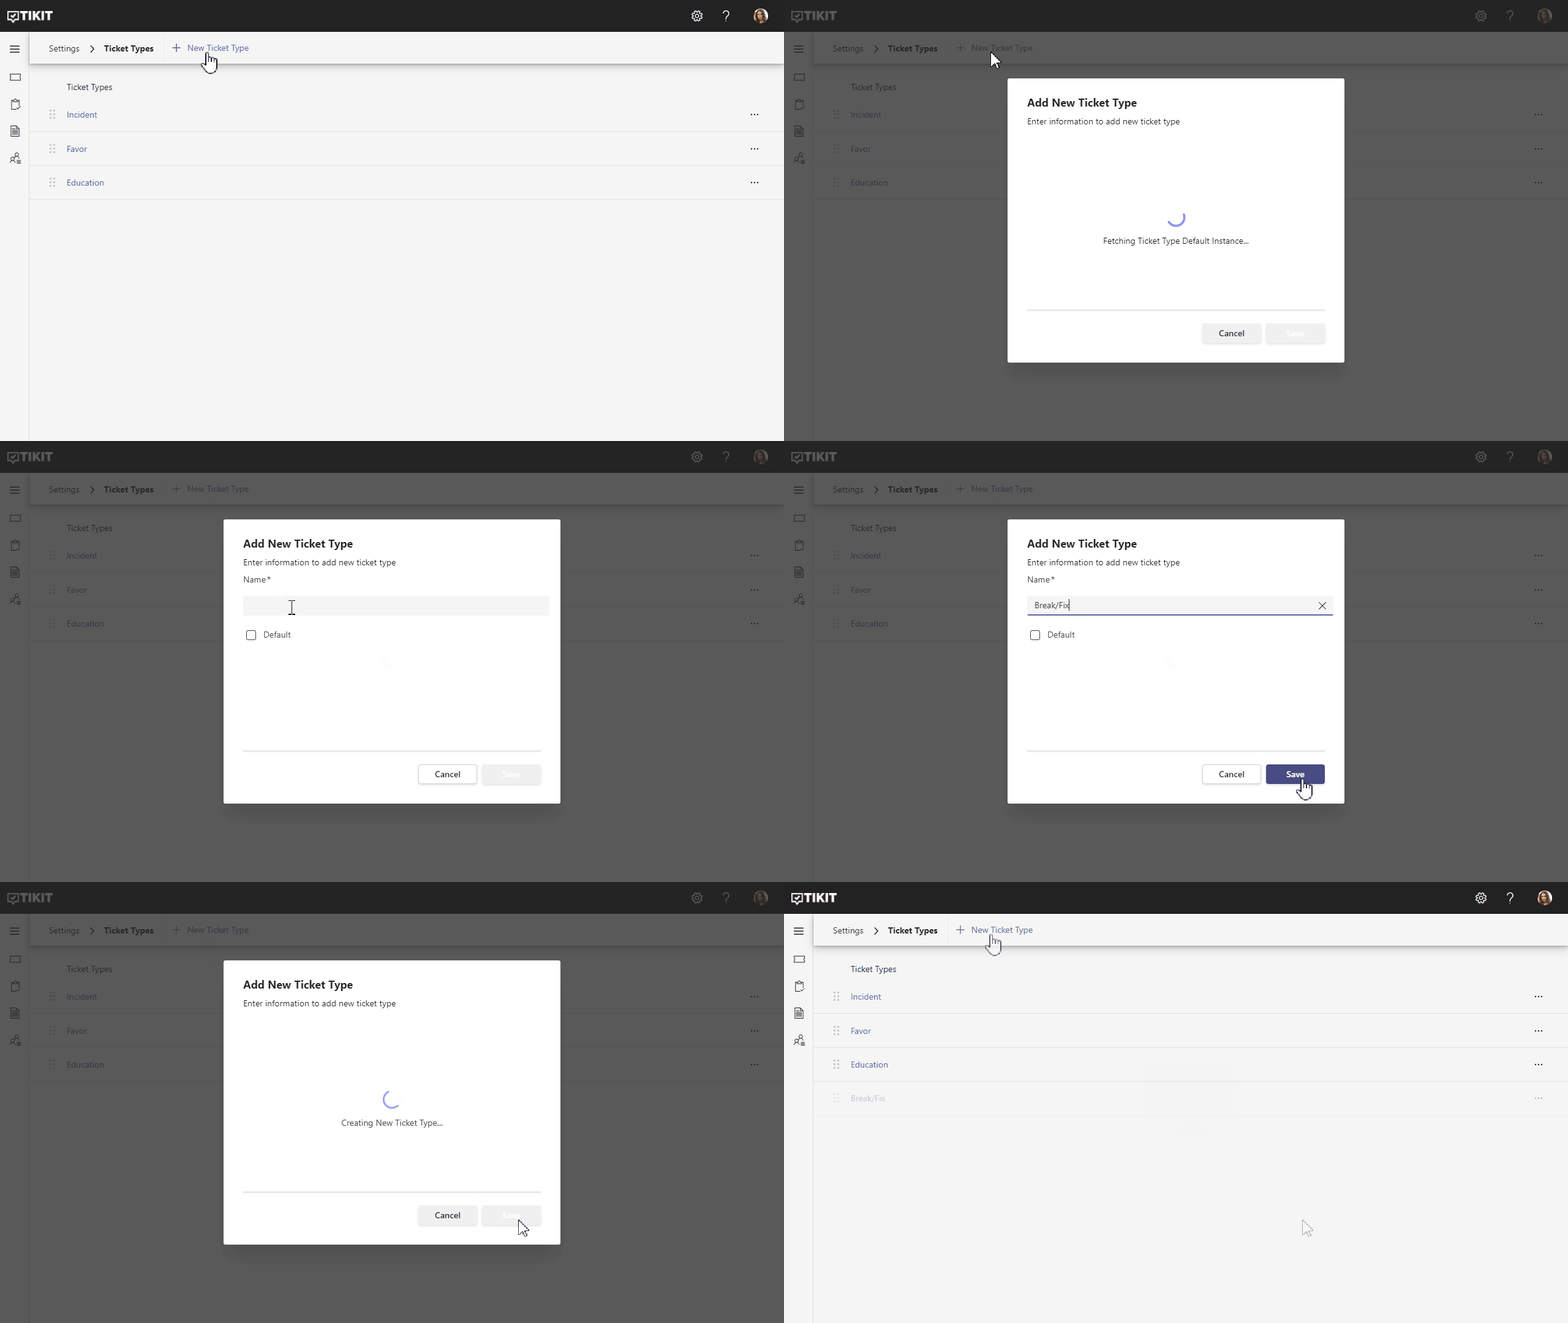
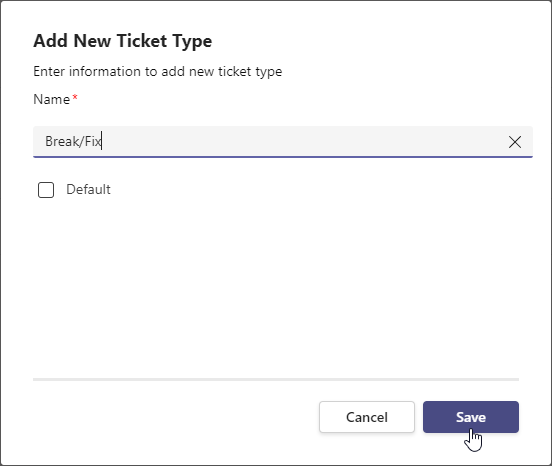
To add a new ticket type:
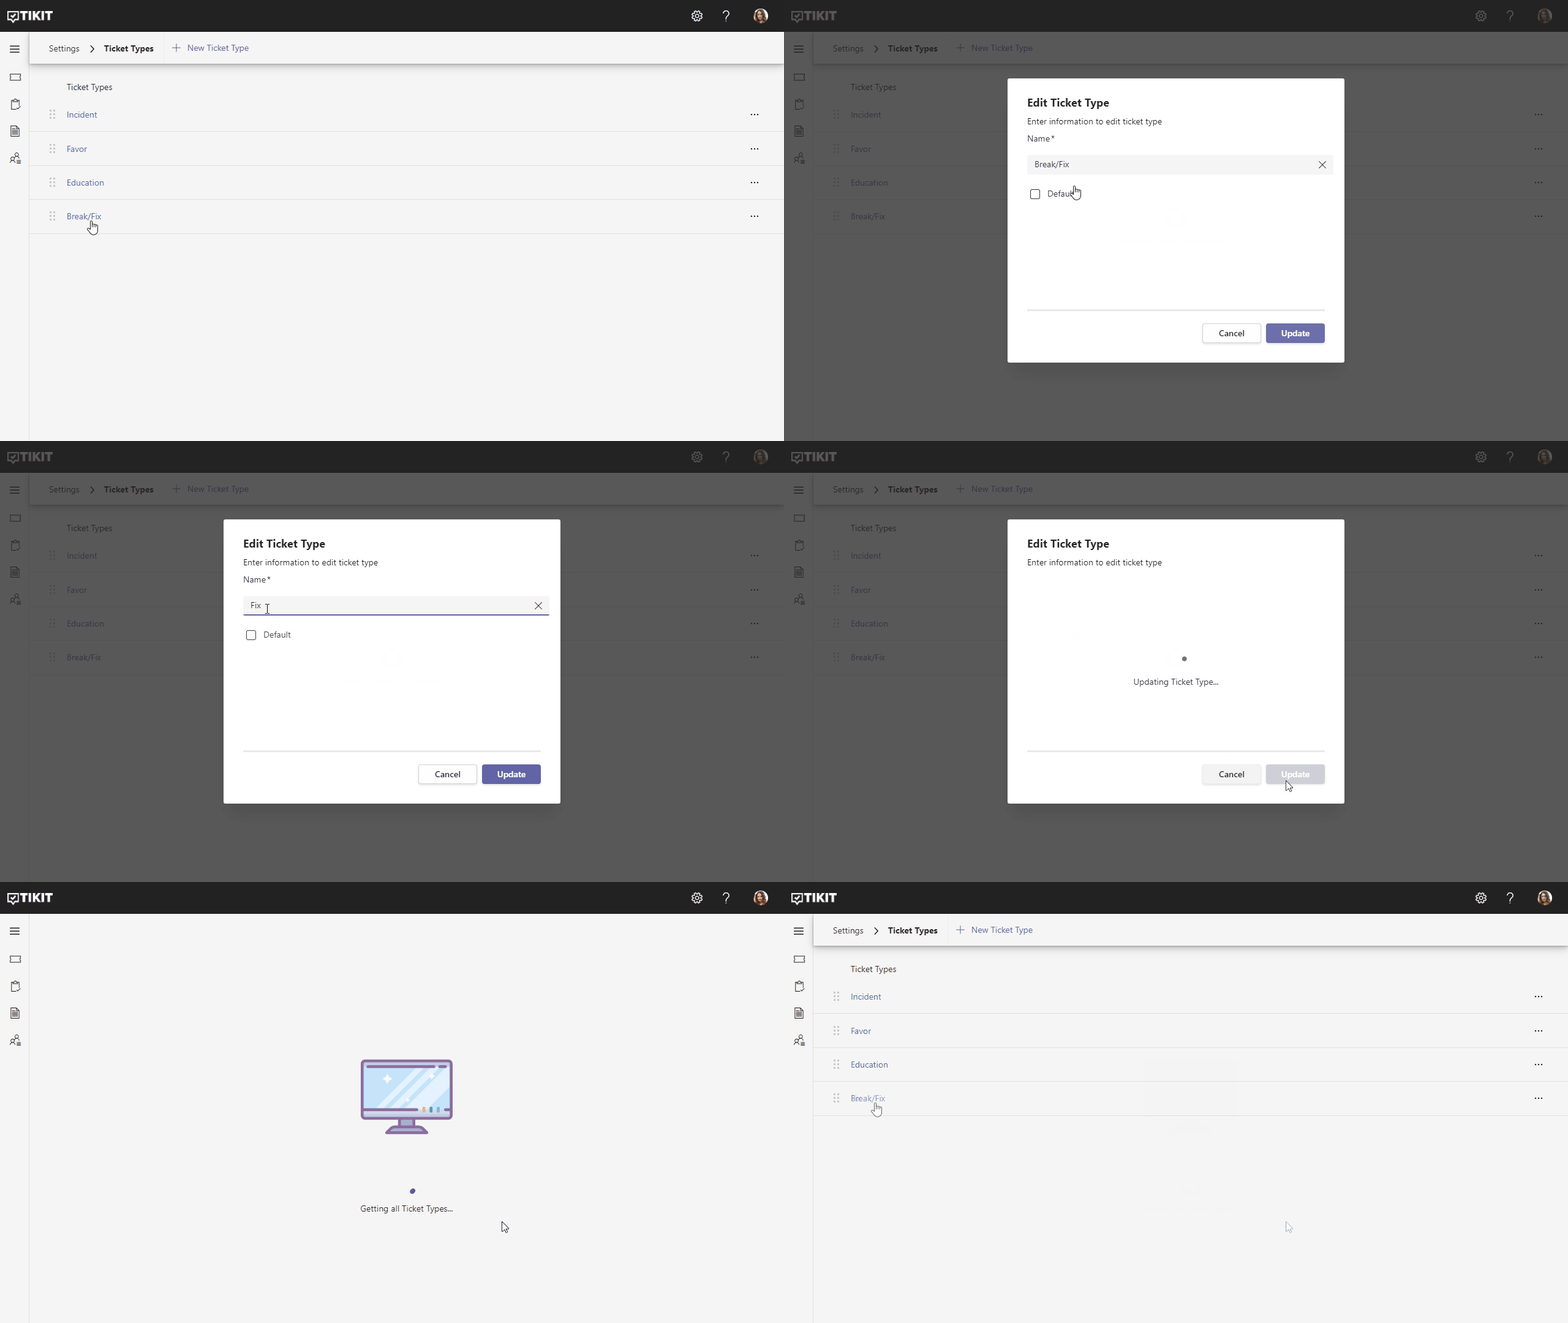
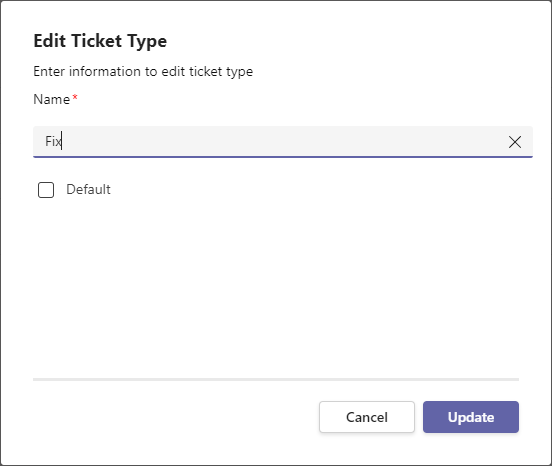
To edit an existing ticket type:
To archive an existing ticket type:
To un-archive an archived ticket type:
Picker values like Ticket Type, Status, Priority, Category can be manually sorted and nested by dragging and dropping values to rearrange them.
To sort a ticket type:
To nest a ticket type:

