SLAs, which define IT service desk service and standards, are woven into Tikit’s process, so that you can better monitor progress and deadlines in the midst of these events. They are present throughout the ticket lifecycle, so it’s not just a tool to stay on track—it’s also a yardstick to measure performance.
Table of Contents
Add a header to begin generating the table of contents
To access and manager SLA Settings:
- Open the Tikit web app at https://web.tikit.ai.
- Once in the Tikit web app, select the settings gear in the header, then select SLA.
- Hover over the labels or check out the following key section for more details.

1
Add a new SLA
1 of 4 2Search for a specific SLA by Name
2 of 4 3SLA Name. Select an SLA Name to edit.
3 of 4 4Available Actions, like Enable and Delete
4 of 4- New SLA Add a new SLA.
- Search Search for specific SLA by name.
- Name SLA name. Select an SLA’s name to edit the SLA. See How to edit a SLA for more details.
- Actions Available actions, like Enable or Delete.
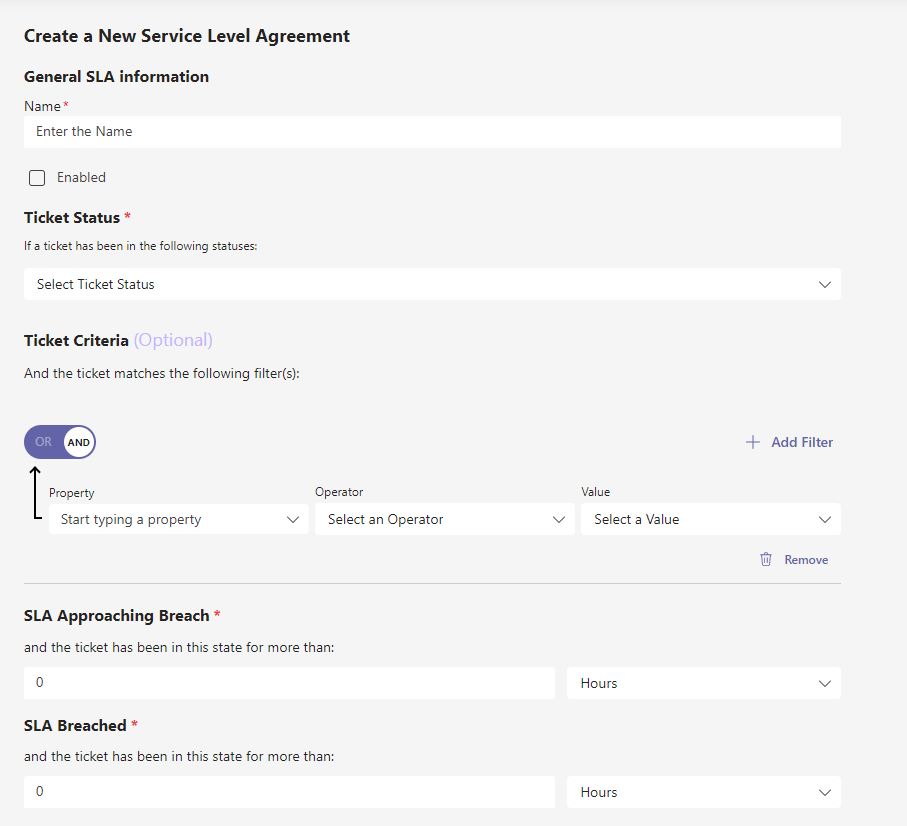
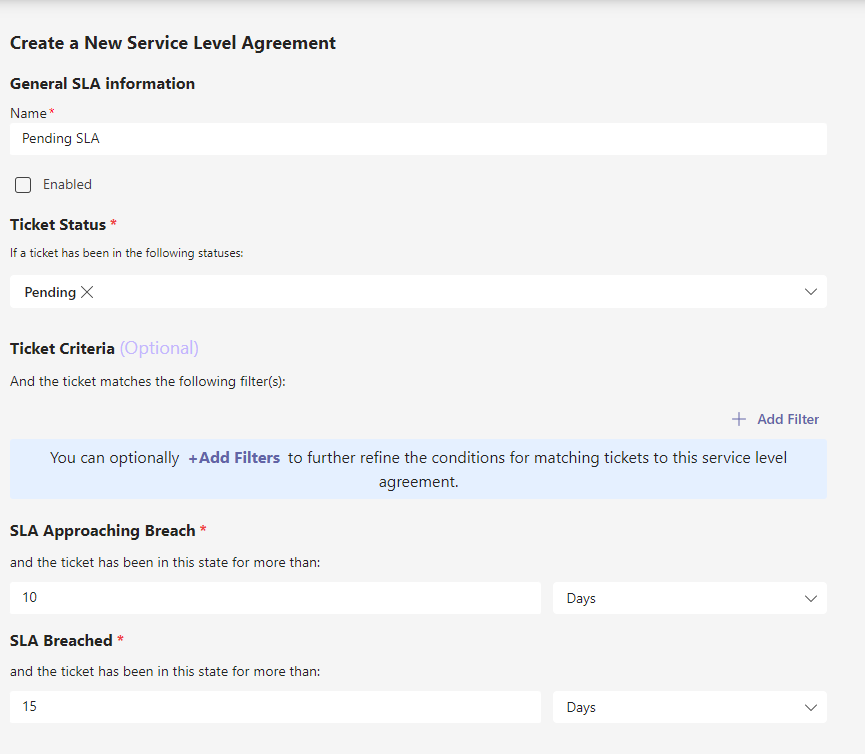
To add a new SLA:
To edit an existing tag:
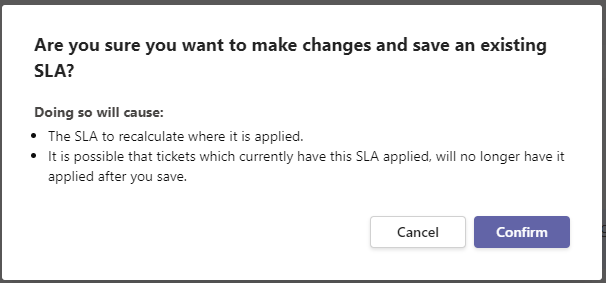
When prompted, click on Confirm button on the update confirmation dialog

To enable or disable an SLA:
To delete a tag:


