With Lifecycles, you can define your own business logic that is required in order to Resolve and/or Close a Ticket. This includes creating Phases of Work, requesting Approvals, assigning Tasks, and defining what order all of it happens in with Transitions. Lifecycles can be applied to tickets through the use of Templates.
Table of Contents
Concepts
Power Automate Tasks – Add a flow that is triggered by your Lifecycle.
Getting Started
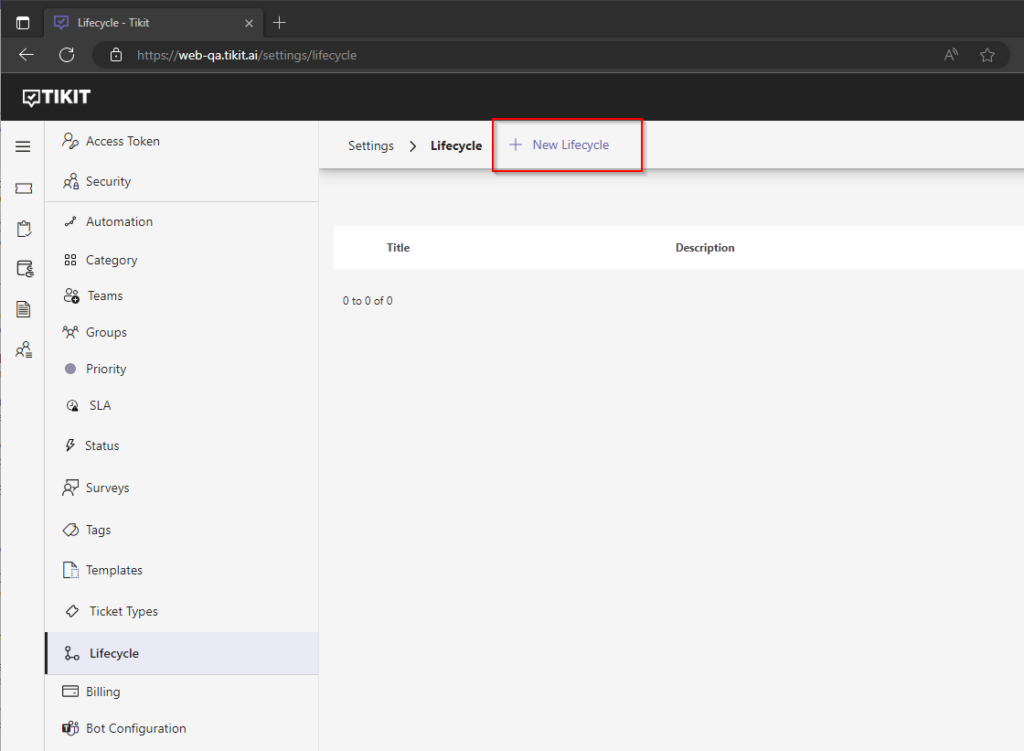
To create a Lifecycle, log in to the Tikit Web UI as an Administrator and go to Settings > Lifecycle and click “New Lifecycle”.
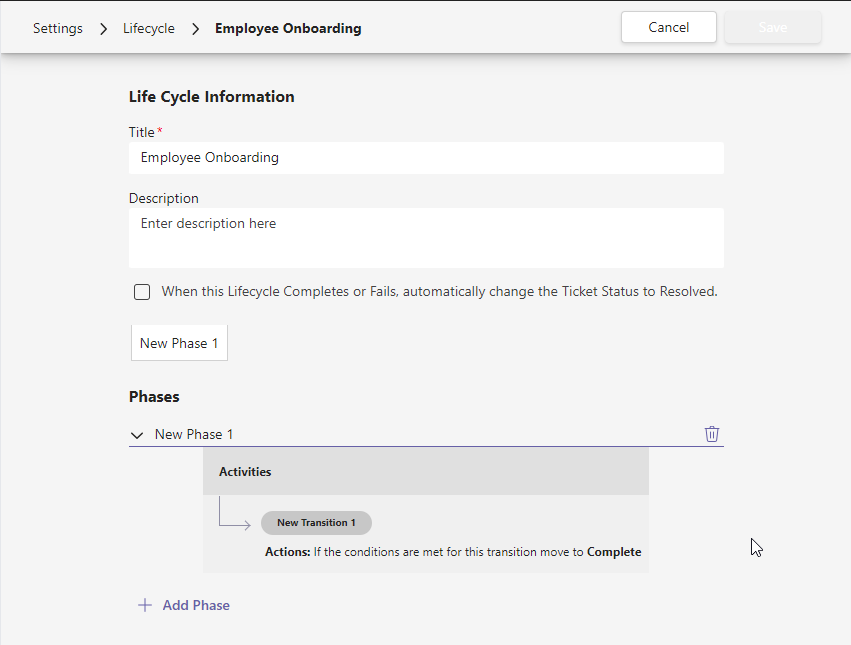
Next, you will see the Phases area for the Lifecycle along with a new Phase titled “New Phase 1” along with a summary of the contents of the Phase which right now just contains a single Transition. Click on the arrow next to the name of the Phase to expand it’s contents. Here you have the opportunity to rename the Phase to a name of your choosing, add Tasks or Approvals, and create Transitions.
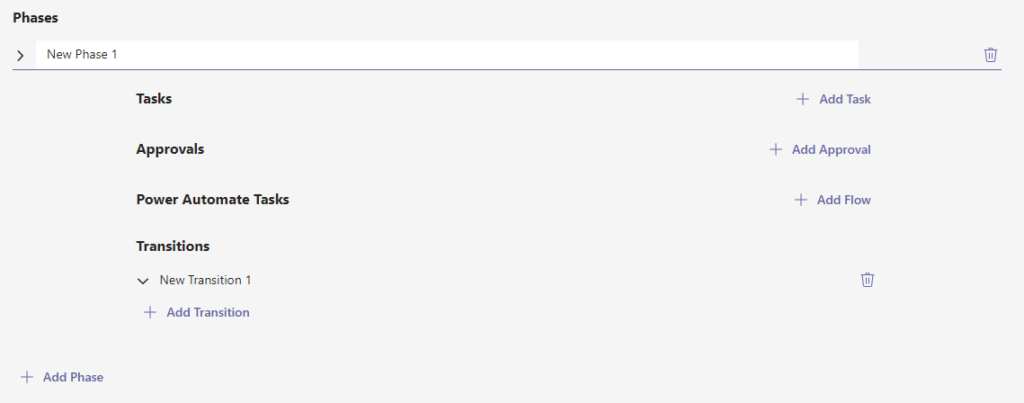
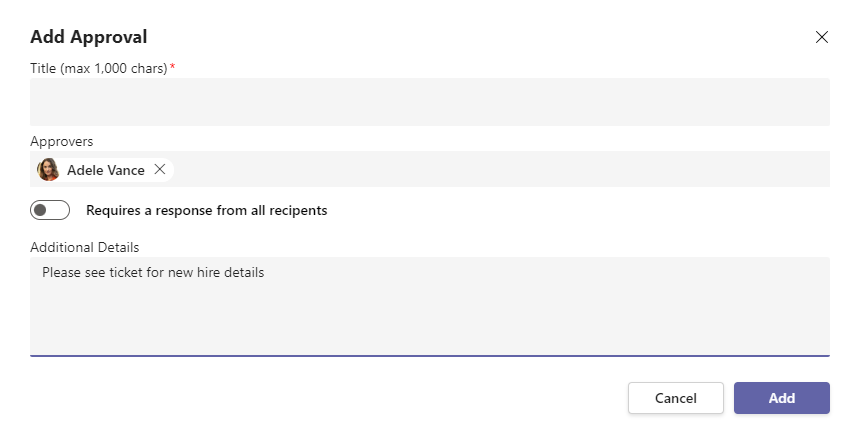
Although not a requirement for a Lifecycle, it is common for a process to require some form of approval before work can be performed. Approvals allow you to require a definitive yes/no answer from another member of your organization. To create an approval for our new Lifecycle, click the “Add Approval” button. The Add Approval window will appear with some options for the Approval. You can create a title for this Approval, and since it is what will be seen by the approver in their tasks it’s best to chose a sufficiently descriptive title. If you have additional information to provide beyond what will fit in the title you can use the Additional Details field to include more information about the Approval. The Approvers field is where you would add one or more approvers to your Approval. Approvers can be any Agent or End User in Tikit.
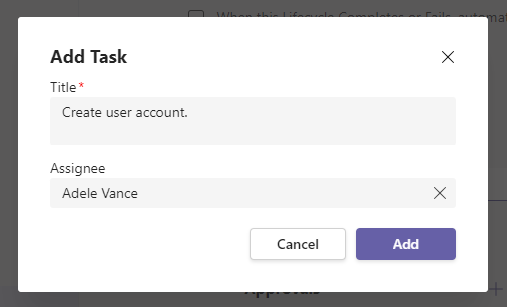
To add a Task, click “Add Task” and you will be presented with a window where you can enter a name for your task and add an Assignee. The Assignee is the person who will be assigned the task and responsible for marking the task as “Complete” or “Failed”. A task can only have a single Assignee and it must be someone who is a licensed Agent in Tikit.
Finally, you will see a section labelled Transitions. By default, the Phases in a Lifecycle flow in a linear fashion from beginning to end. With Transitions you can alter the flow of your Lifecycle based on the outcomes of your Tasks and Approvals. Click on the arrow next to the name of the Transition to expand it’s contents.
Here you have the opportunity to rename the Transition and change the behavior of the Transition from “Use Default Logic” to “Use Logic Builder”. The first option “Use Default Logic”, requires that all tasks and approvals in a Phase are completed before the Lifecycle moves to the next linear Phase in the Lifecycle. The second option, “Use Logic Builder” allows you to take manual control of your Transition and customize the behavior. This allows you to specify the behavior that happens when specific criteria are met by your Tasks and Approvals. For example, you can create a Transition that moves you back to a previous Phase in the Lifecycle if an Approval is rejected.
Click the Property drop-down to select whether you want the transition to trigger on a Task or Approval action. In the Item drop-down select the specific Task or Approval you would like to use, then select the item Value in the final drop-down.
You can use additional filters and Rule Groups to mix and match your “and/or” conditions to create the desired conditions for your Transition.
Note: The Logic Builder does not validate the transition logic for a Lifecycle, which means it is very much possible to create Transitions that loop your Lifecycle endlessly or prevent it from ever completing. Make sure you carefully plan out your Transitions to ensure you avoid any potential problems.
When you have your Lifecycle fully configured click “Save” to save the Lifecycle and return to the main Lifecycle view. You should now see your new Lifecycle listed.
Add To A Template
Once your Lifecycle has been created you will need to add it to a Template before it can be applied to a ticket. Navigate to Settings > Templates in the Tikit Web UI. You may apply a Lifecycle to an existing Template or create a new one specifically for your Lifecycle.
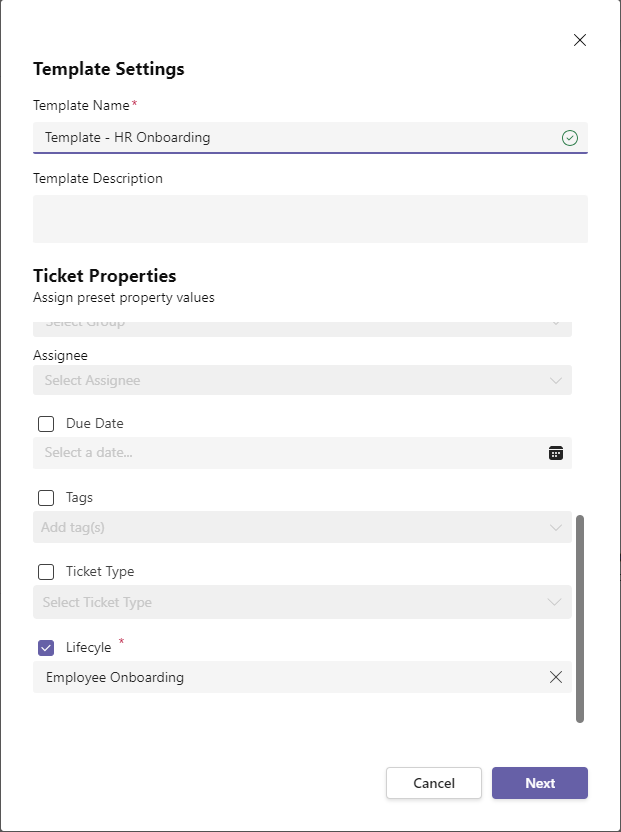
Now you can add a Lifecycle to a ticket simply by applying the Template to the ticket.
Viewing Lifecycles
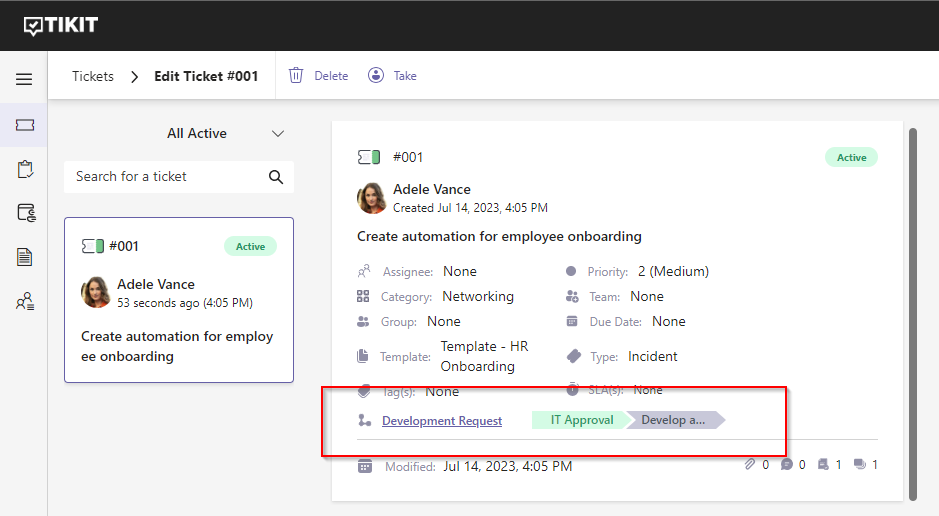
To view the status of a Lifecycle, open a ticket and you will now notice a new section at the bottom of the ticket card with the title of the Lifecycle and an arrow graph listing the Phases of the Lifecycle with the active Phase highlighted in green.
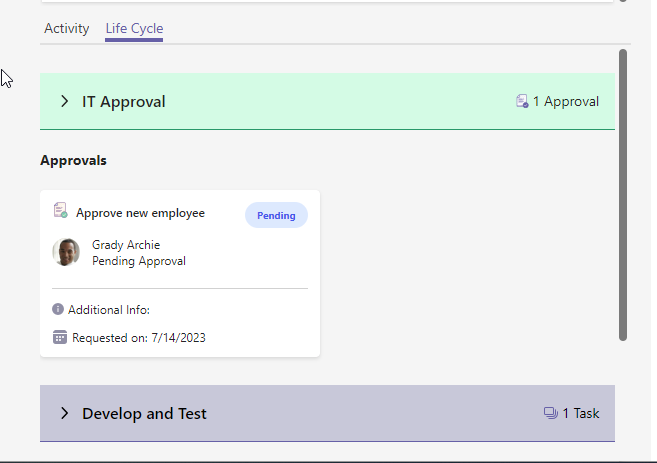
If you click on the “Life Cycle” tab below the ticket card, you will be presented with a detailed view of the Lifecycle Phases and a list of the Tasks and Approvals contained in each Phase. You can easily see the details of the Tasks and Approvals in their cards and complete any of the items that have been assigned to you.
Tasks
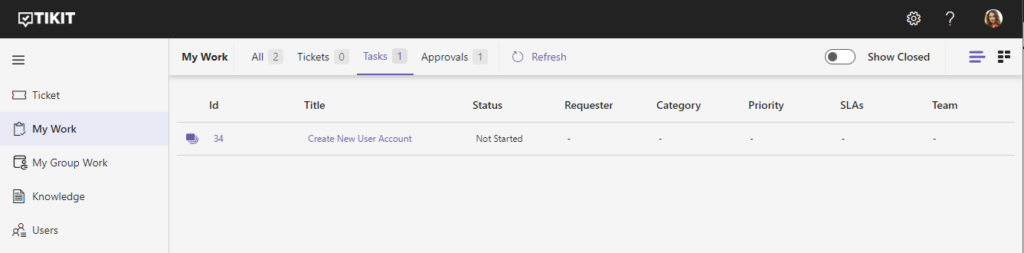
You can view any Tasks assigned to you by going to the My Work view in the Tikit Web UI and selecting the “Tasks” tab. You will see a list of all active tasks assigned to you along with some other information. Clicking on a Task will take you to the task within the Life Cycle tab of the related ticket.
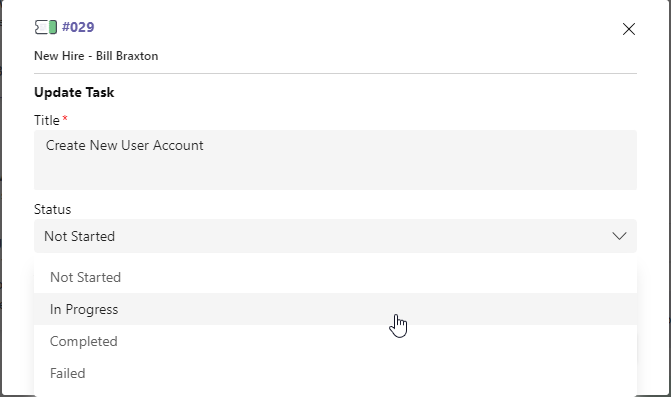
Tasks require the Assignee to manually select the correct status depending on their progress with completing the task. To complete the Task, select the “Completed” status. To fail a Task, select the “Failed” status.
Approvals
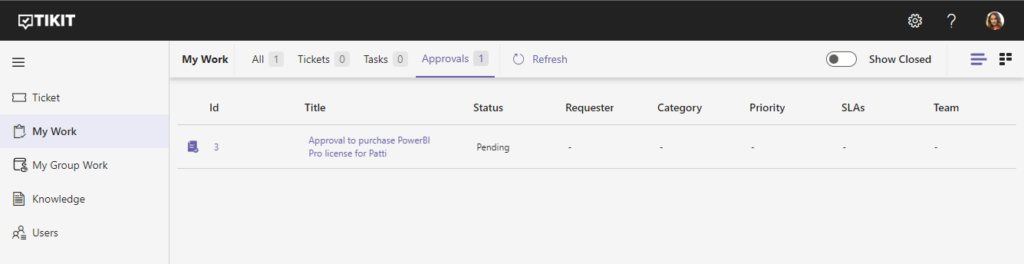
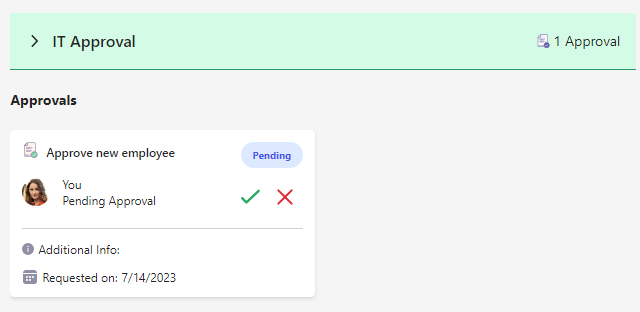
You can view any Approvals assigned to you by going to the My Work view in the Tikit Web UI and selecting the “Approvals” tab. You will see a list of all active Approvals assigned to you along with some other information. Clicking on an Approval will take you to the Approval within the Life Cycle tab of the related ticket.
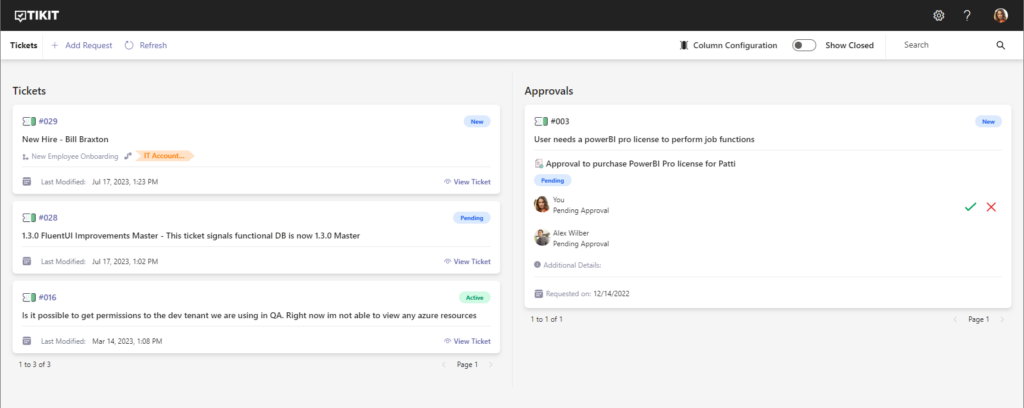
To complete an Approval, simply click on the green checkmark to approve the Approval, or the red “X” to reject the Approval.
End-Users that have been assigned an Approval will see their Approvals listed in the requests page of the Ticket Web UI.