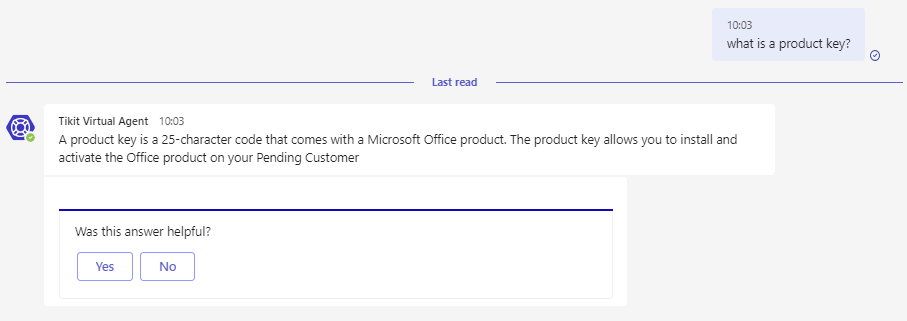
Tikit consists of multiple Teams applications and the goal of each application is to solve the needs of the particular user persona that interacts with that application. The Tikit App helps Agents to quickly triage and solve tickets from Teams, while the Tikit Virtual Agent is the first-line of support for your end-users.
To learn about Tikit Virtual Agent head here.
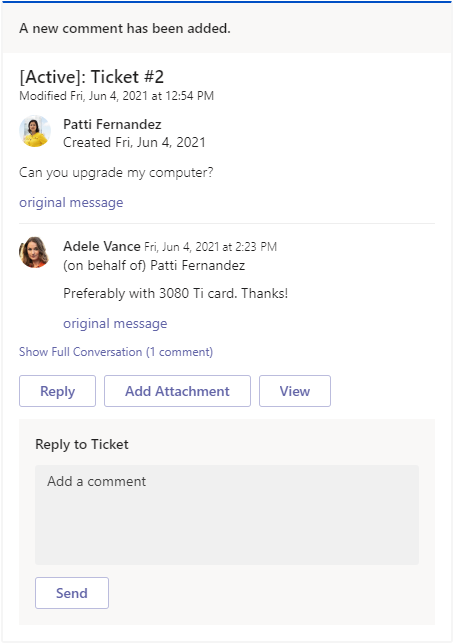
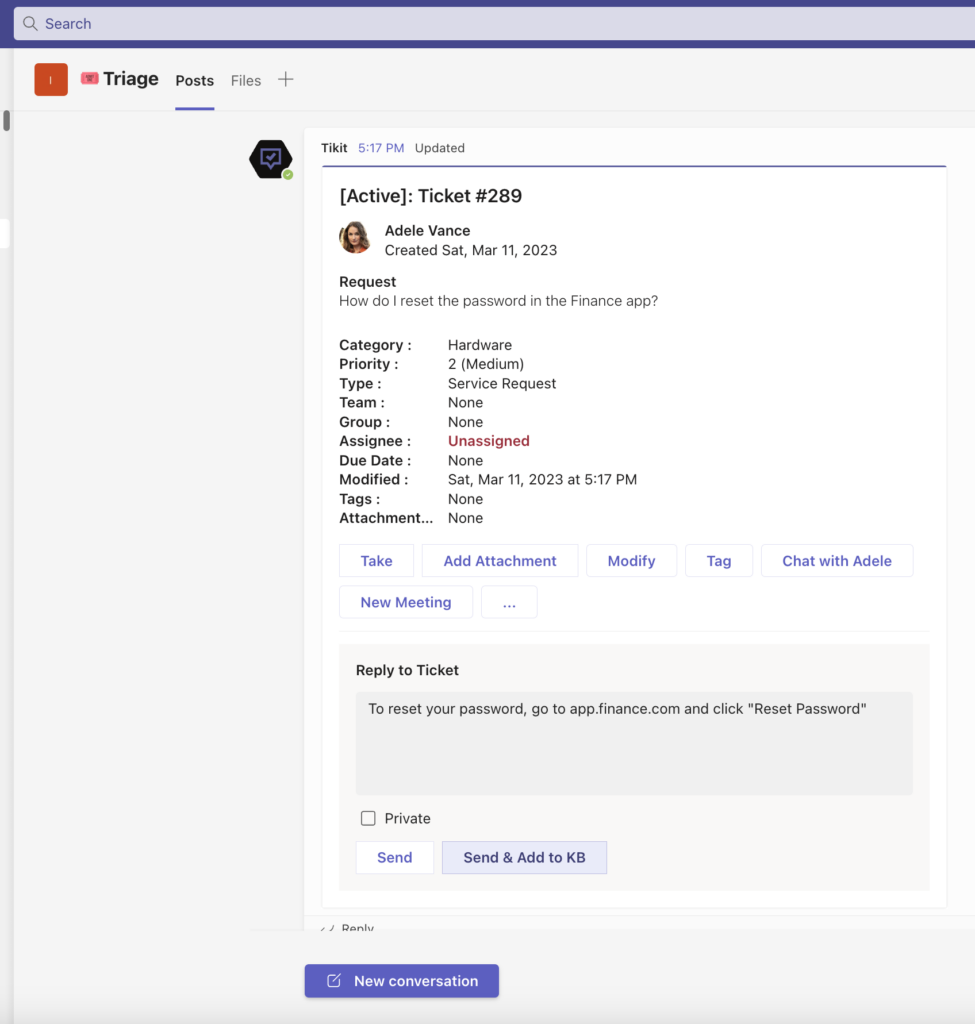
Triaging can be defined as assignment of urgency and categorization of a unit of work. In Tikit you can define a triage channel to receive notifications of all new tickets. Triage channel cards are dynamically updated so analysts can see the latest ticket details and comments. Analysts can even work a ticket without leaving the triage channel.
Tikit administrators can set the triage channel for a given Team from Settings -> Teams in web.tikit.ai
To update the Tikit triage channel:
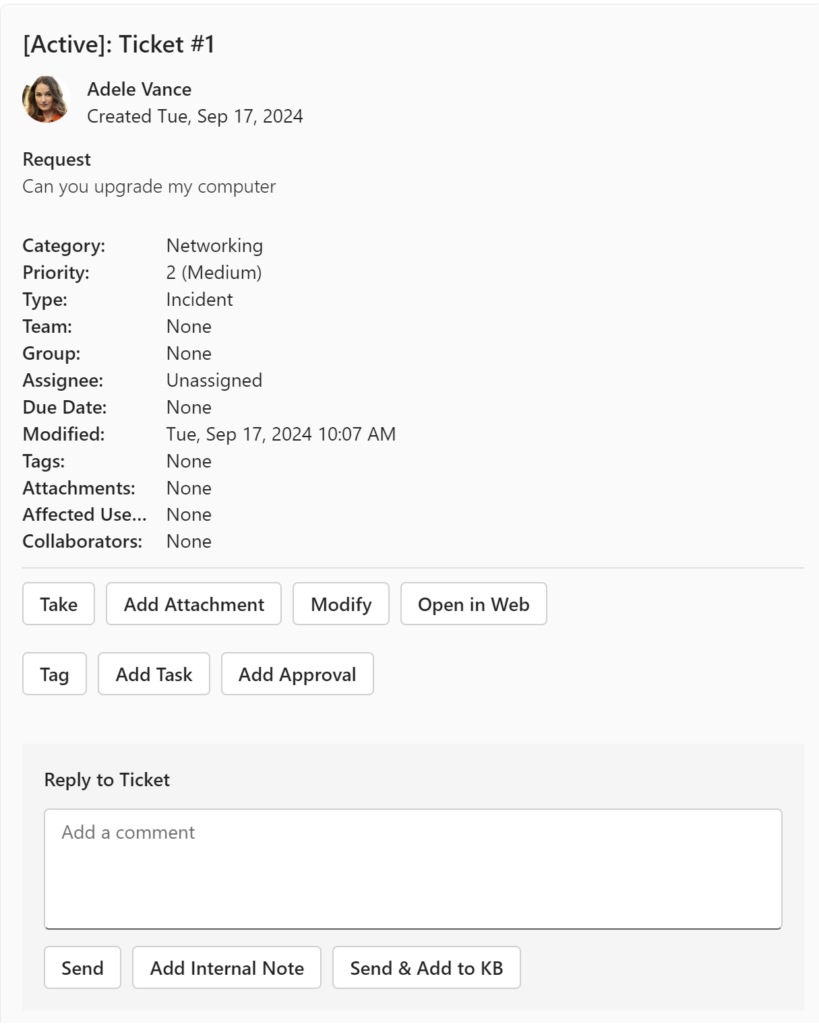
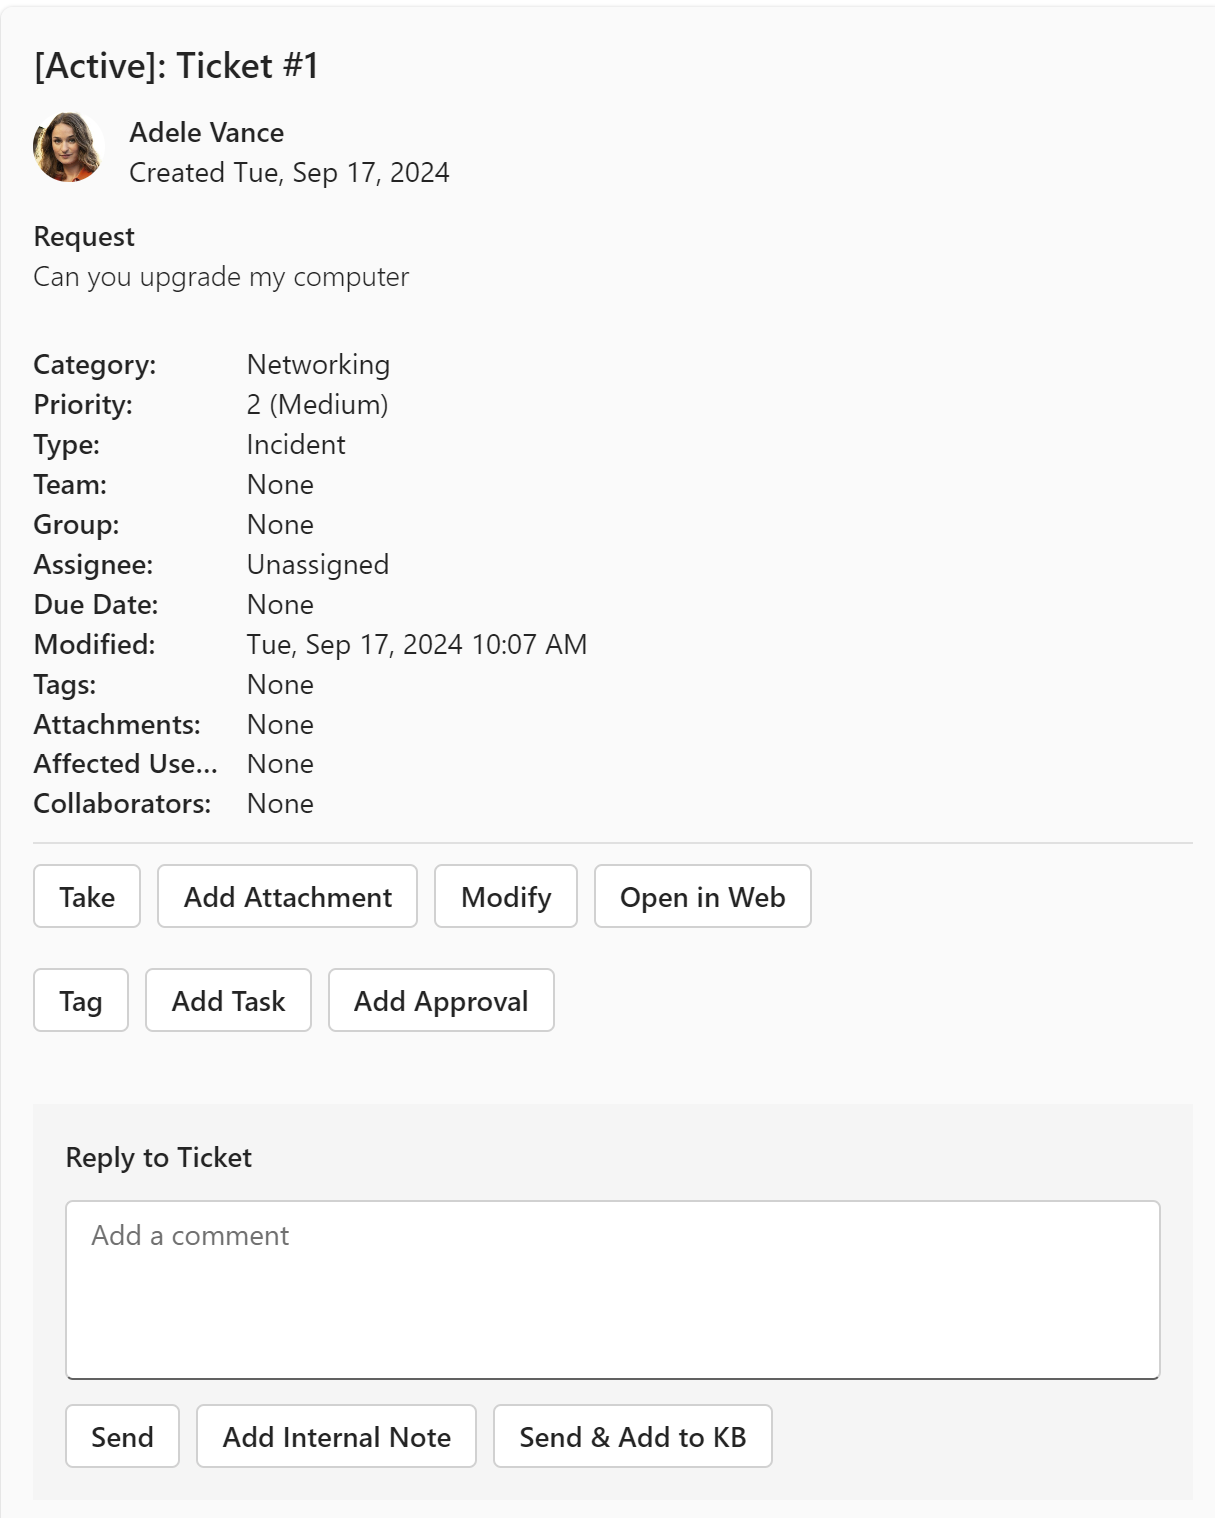
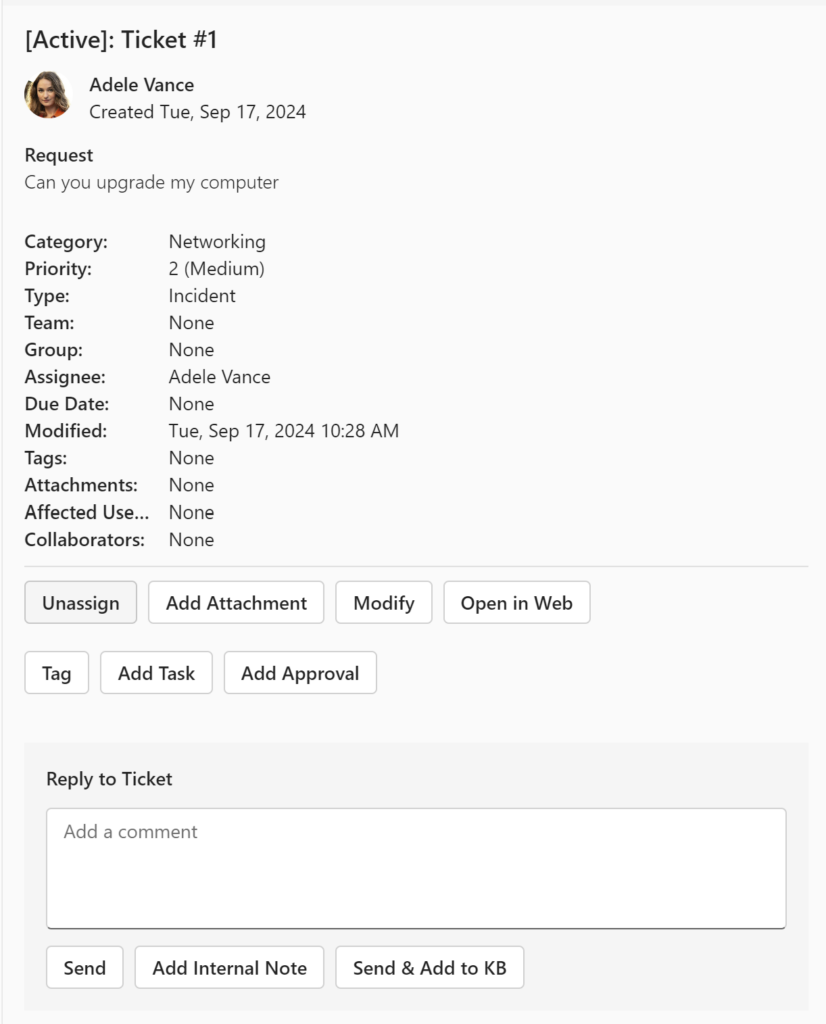
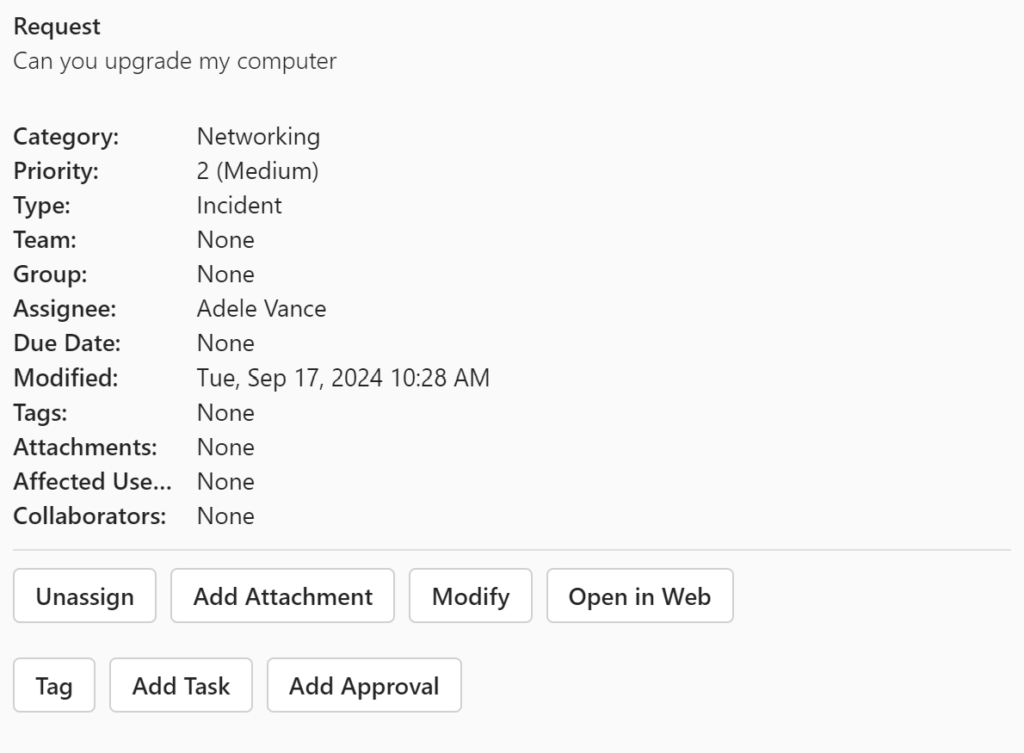
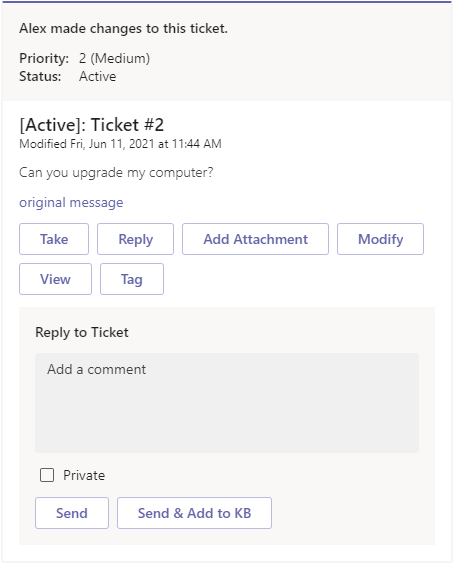
For example, see the ticket to the right from the triage channel. This card has all of the ticket’s details, including the latest comments, and action buttons to work the ticket. To help unassigned tickets stand out in the triage channel, unassigned tickets use red text for the assignee.
Triage channel cards are updated dynamically so analysts can see the latest on what’s in the queue for their team. For details, check out Working with Tickets in Tikit below.
Conversational triage enables teams to triage work in a more natural way. Analysts can navigate and work tickets without having to memorize specific commands, phrases, or key words. Tikit knows a few specific commands but mostly you can just ask:
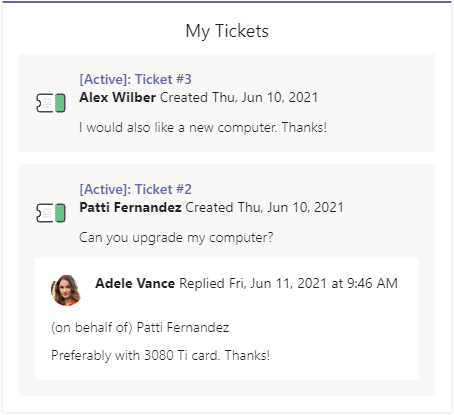
Want to see tickets assigned to you, ask things like:
What should I work on
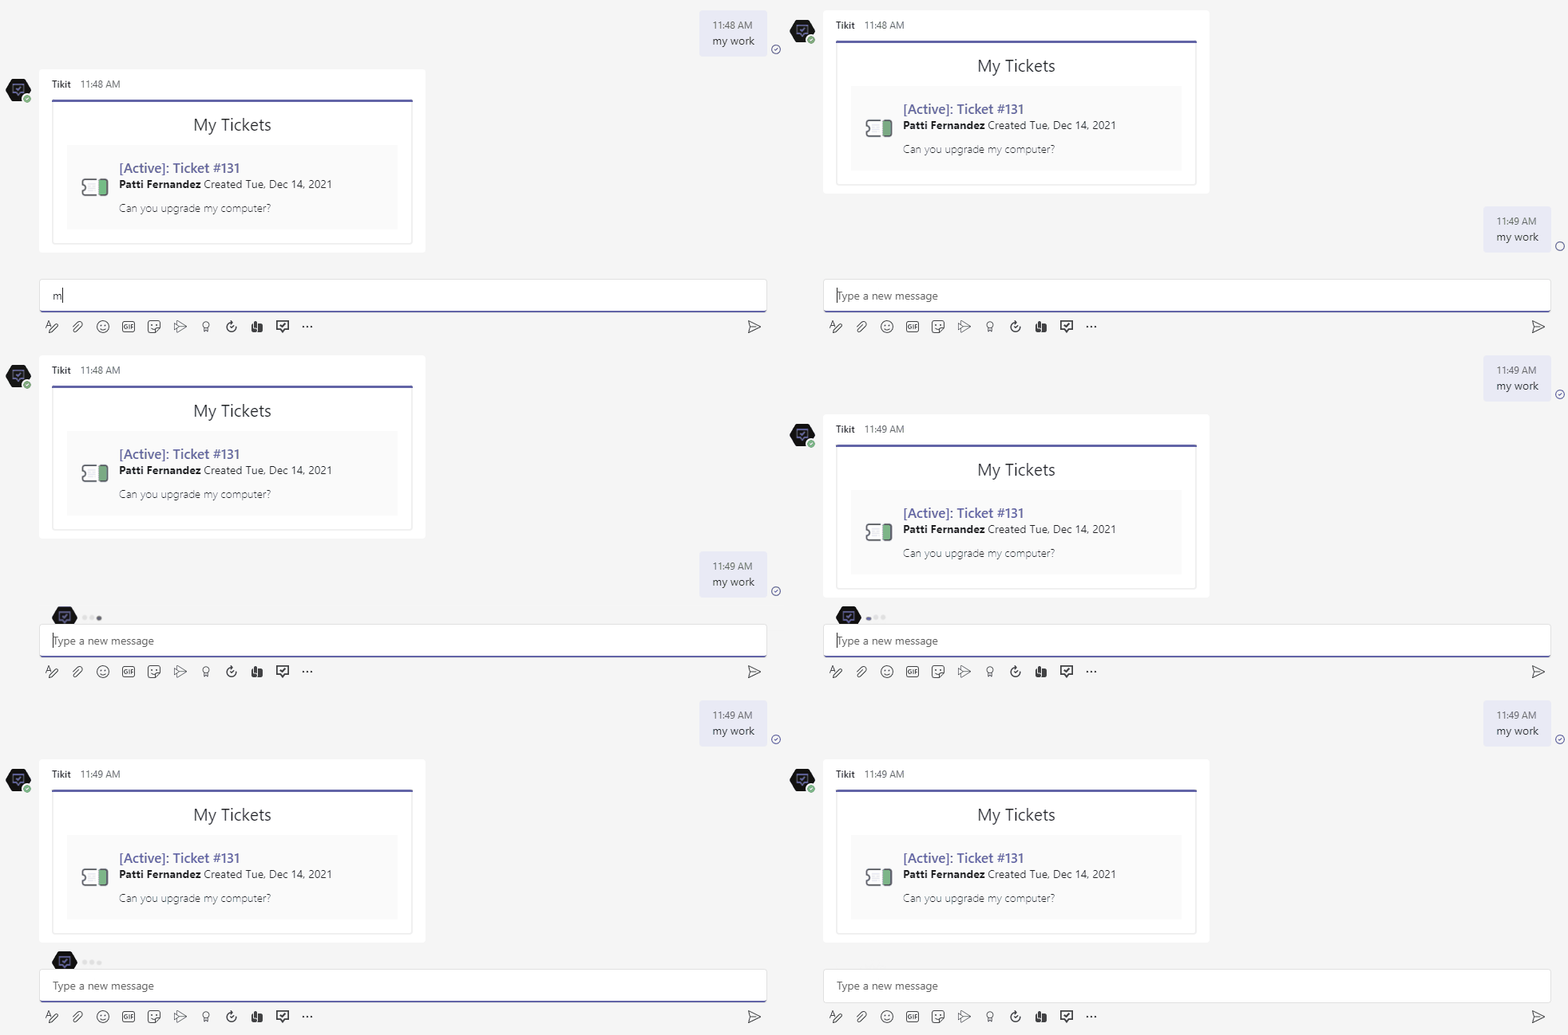
Show me my work
Show me my tickets
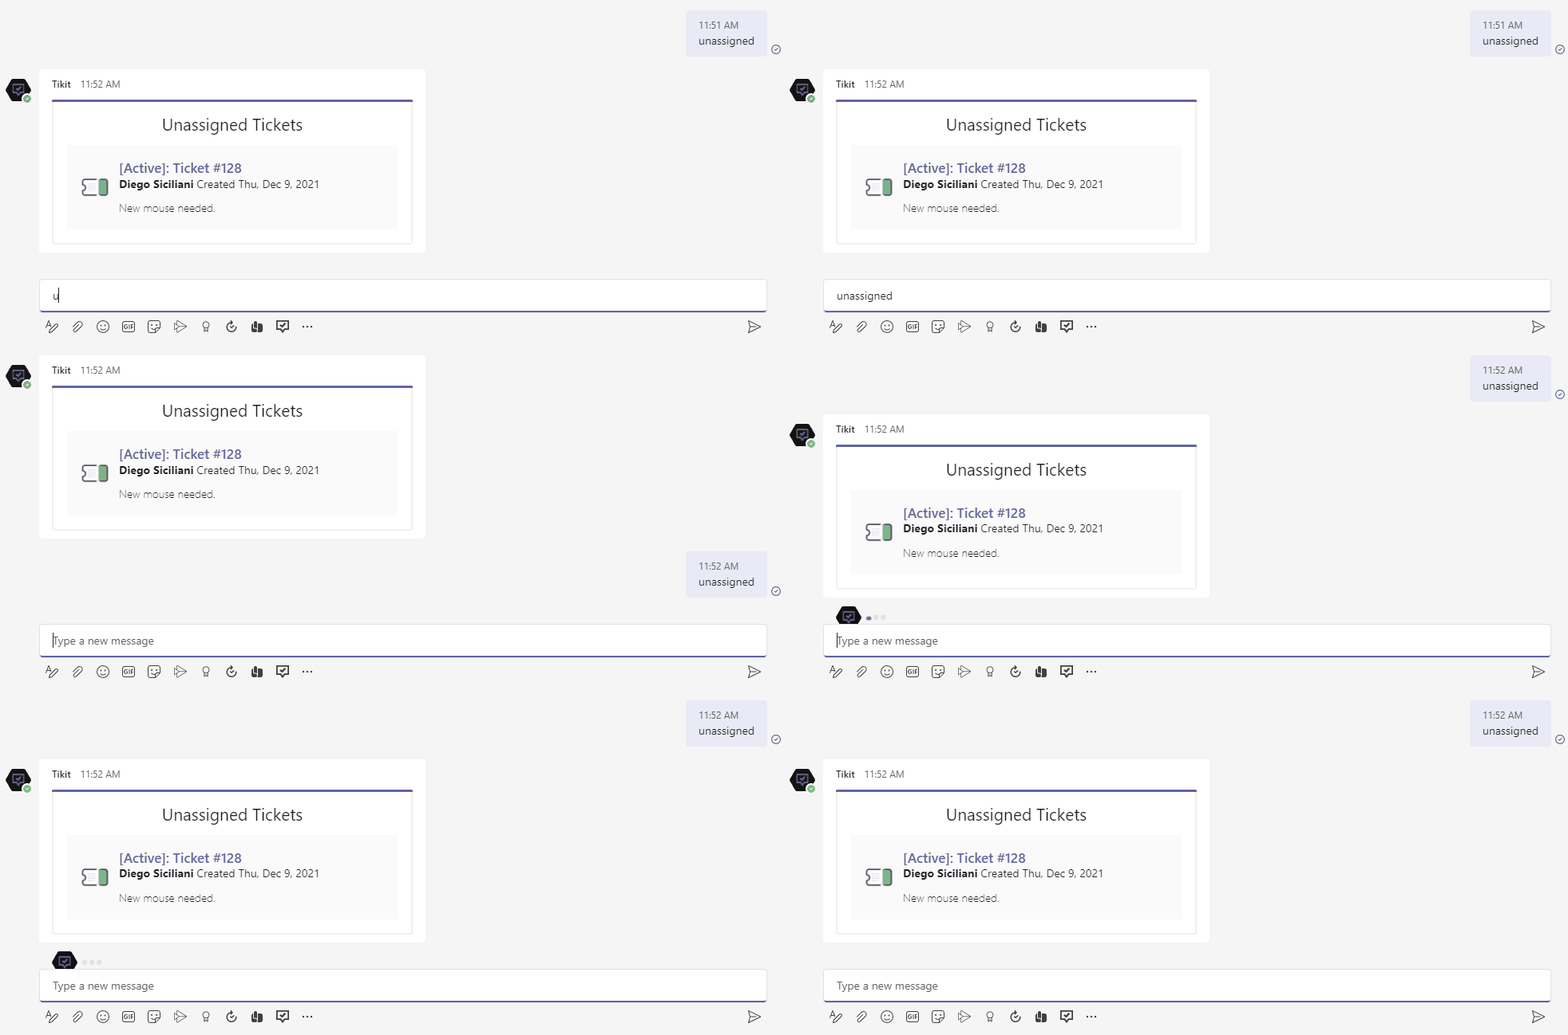
Want to see unassigned tickets, ask things like:
Show me unassigned tickets
What can I work on
Want to see a specific ticket, ask things like:
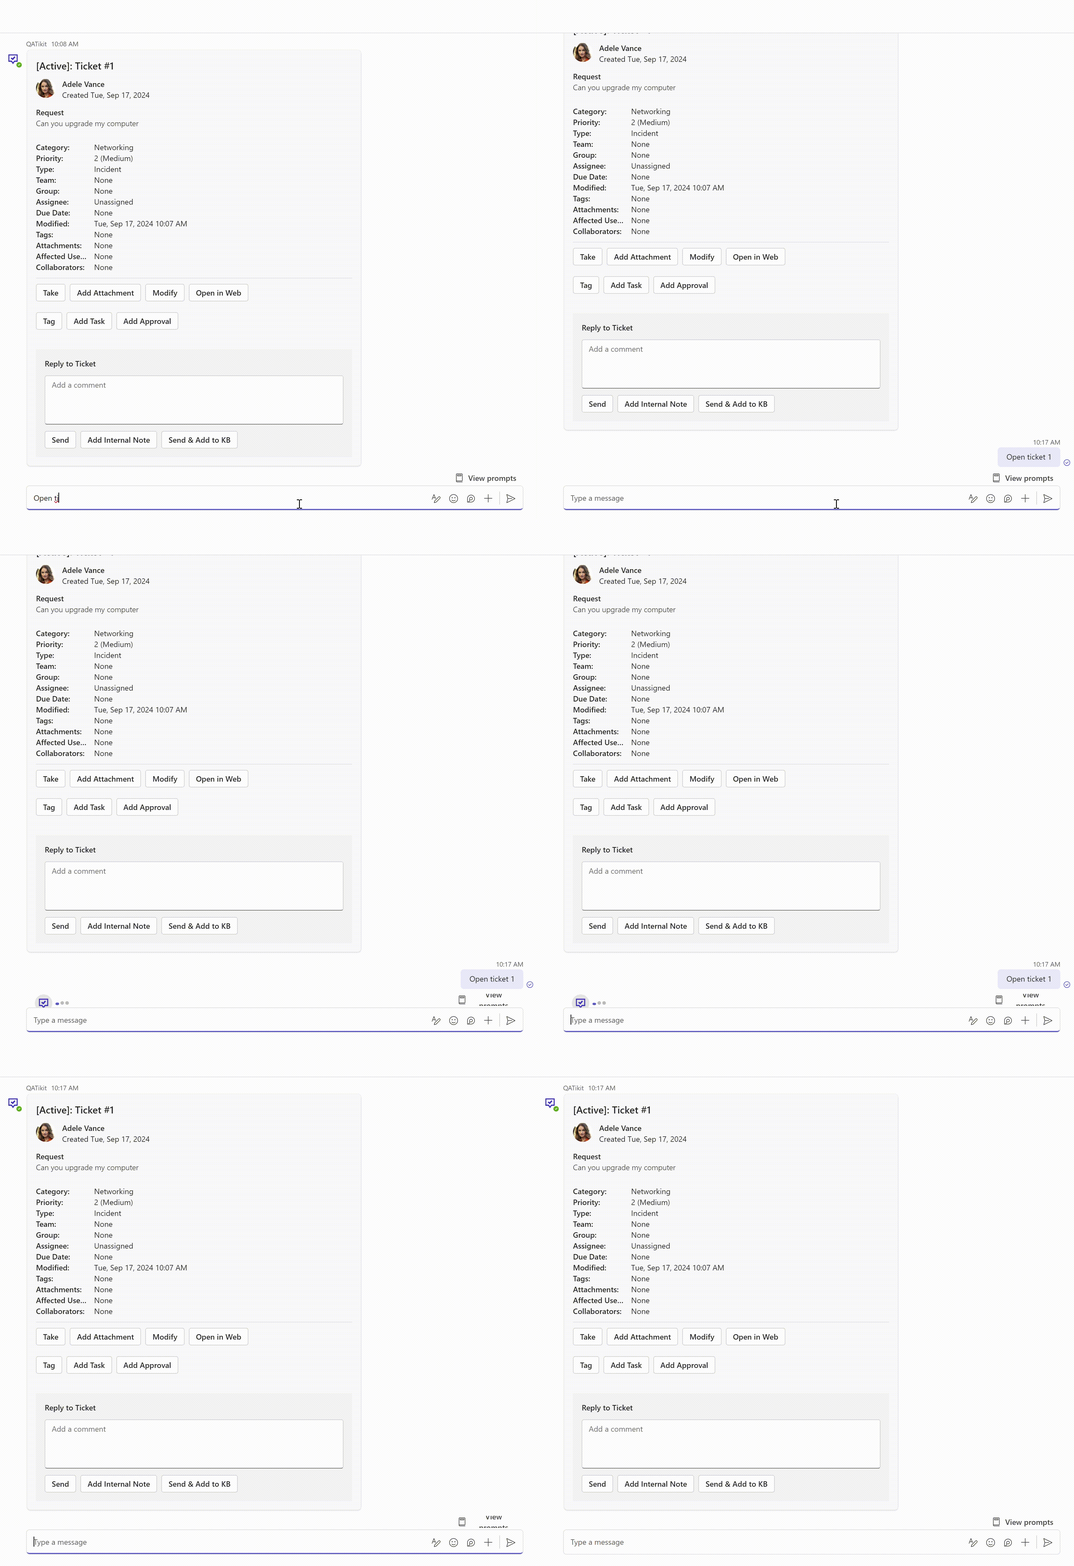
Open ticket 22
Get ticket 22
See the following sections for more examples.
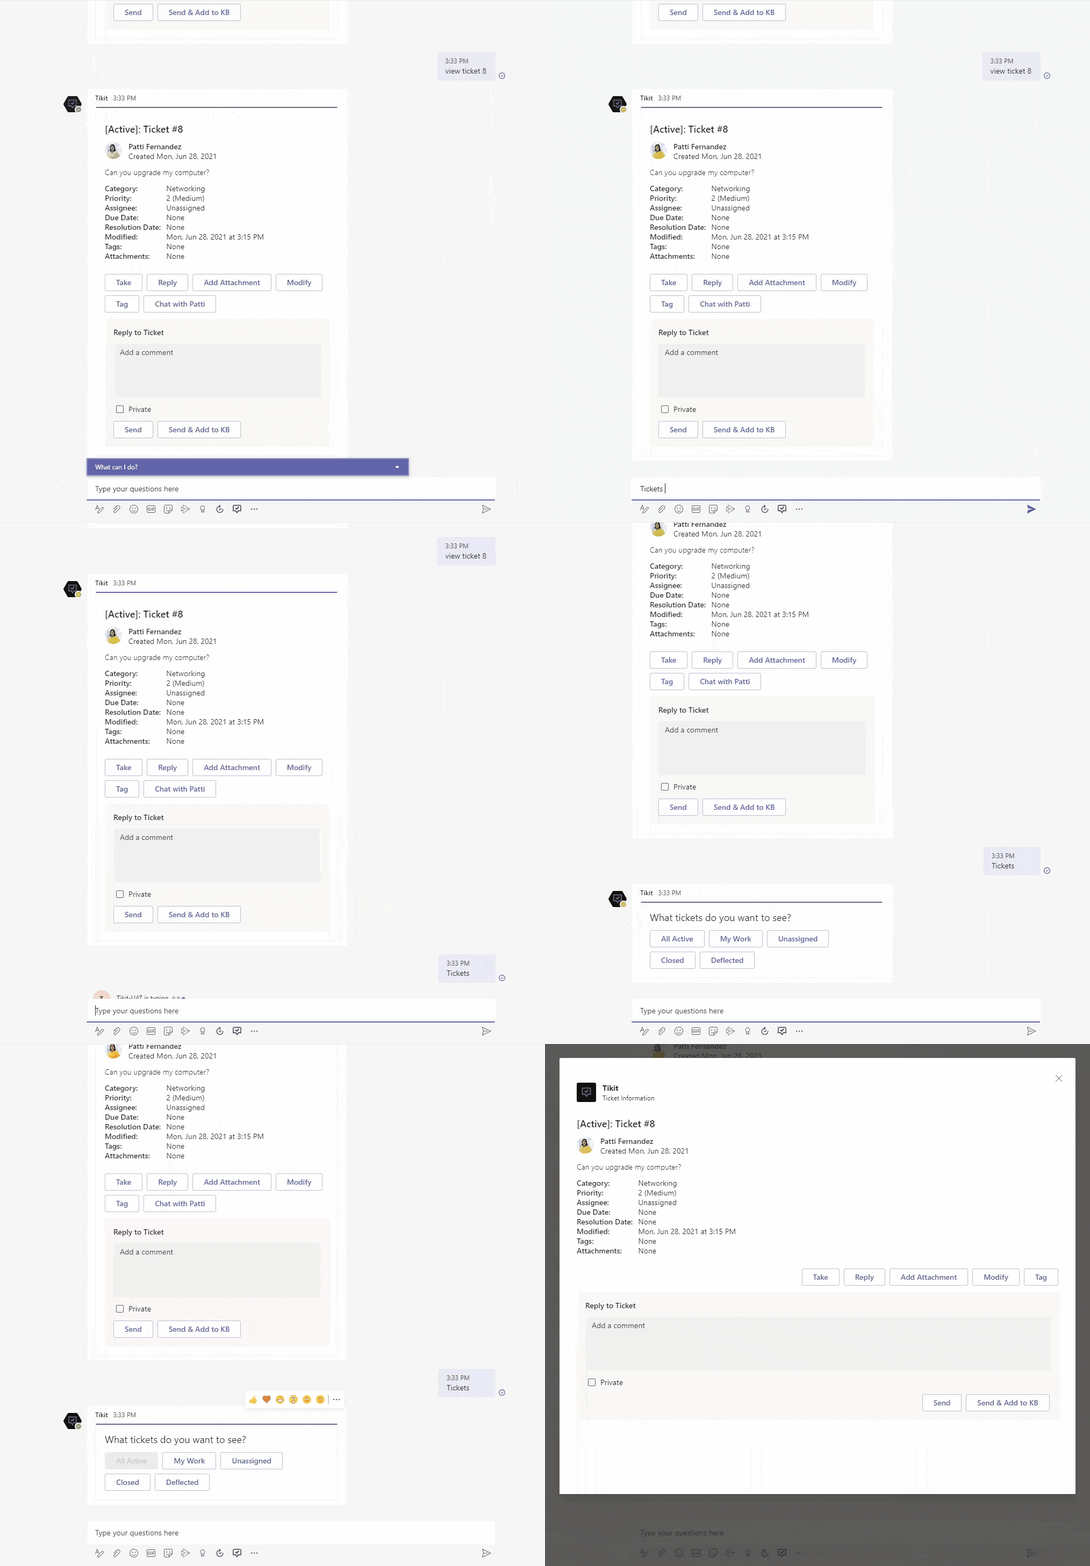
To see a specific ticket:
No need for all of a ticket’s info? Just ask Tikit for a status update on the ticket.
See tickets assigned to you. Select a ticket to open the full ticket details.
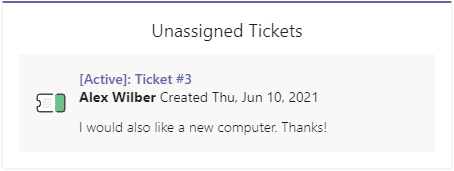
See unassigned tickets. Select a ticket to open the full ticket details.
| Command | Description |
|---|---|
| Tickets | Find & edit tickets |
| Add Knowledge | Add to ticket deflection KB |
| Feedback | Submit feedback on Tikit interactions |
| Help | View a Help card |
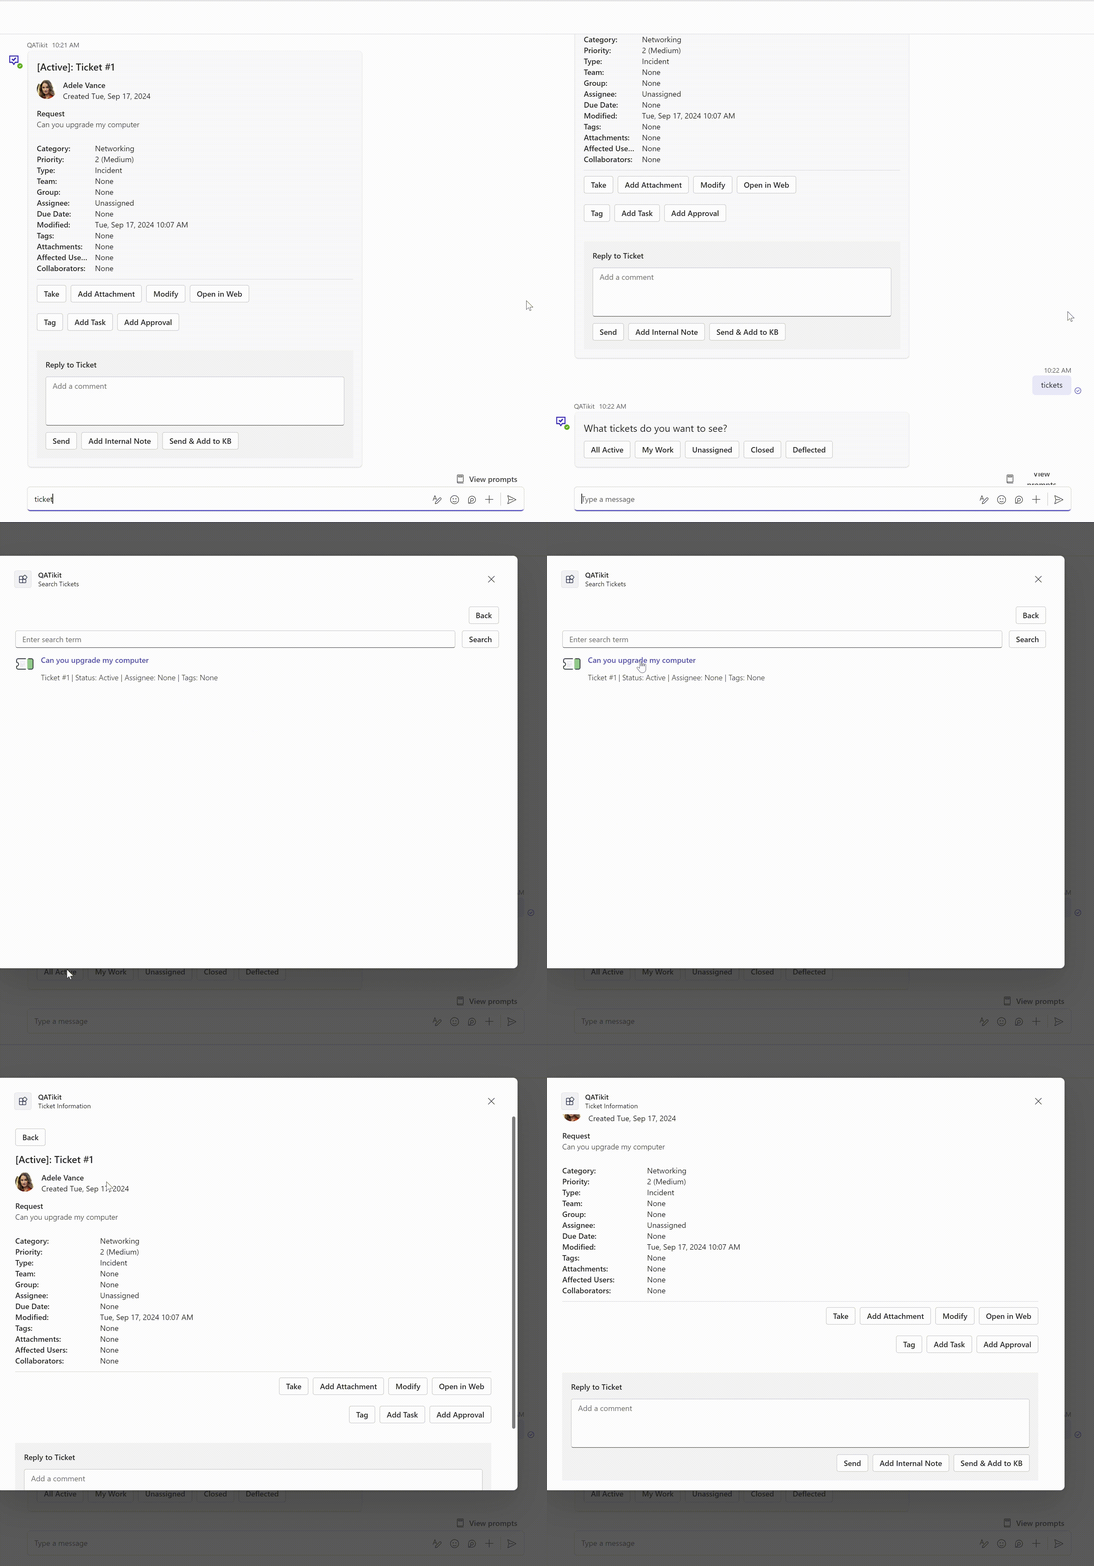
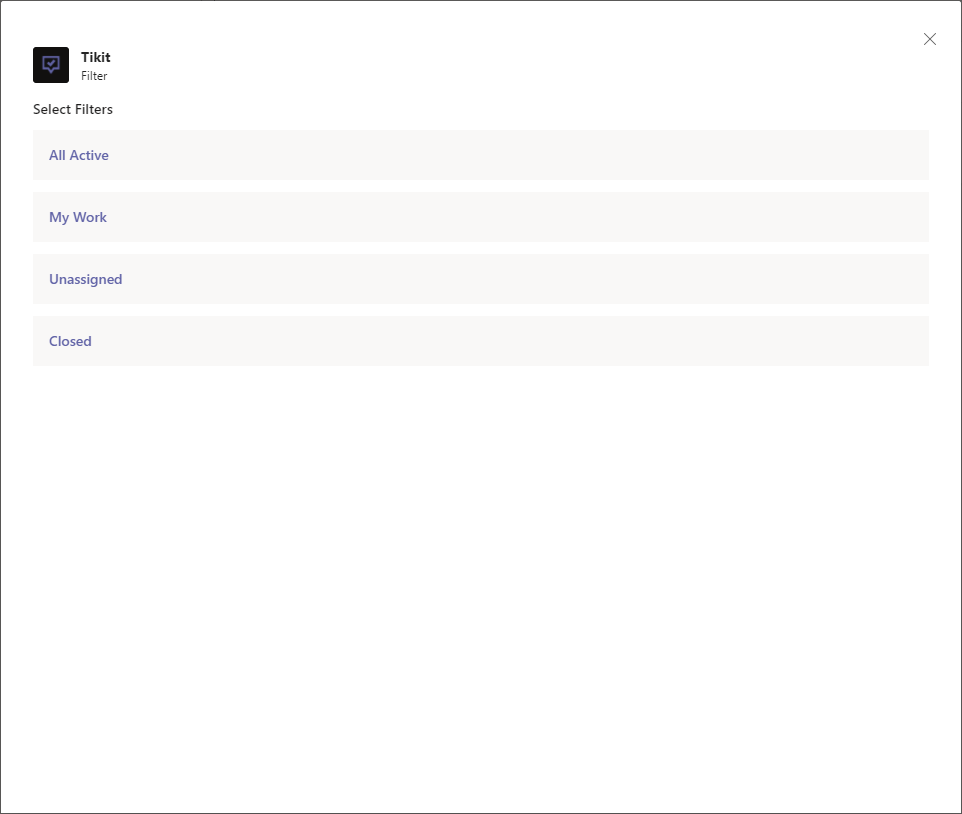
Quickly find & edit tickets using a set of filters.
| Ticket Filter | Description |
|---|---|
| All Active | Status is not Closed or Deflected, including custom status values. |
| My Work | Tickets assigned to you. |
| Unassigned | Unassigned tickets. |
| Closed | Status is Closed. |
| Deflected |
Status is Deflected. Deflected tickets are automatically created by Tikit Virtual Agent when ticket deflection successfully answers a user's request. |
Add a new deflection or import external FAQs into your ticket deflection kb.
Submit feedback on your conversation triage interactions to help us improve our responses. Conversational triage can also trigger the Tikit Feedback card.
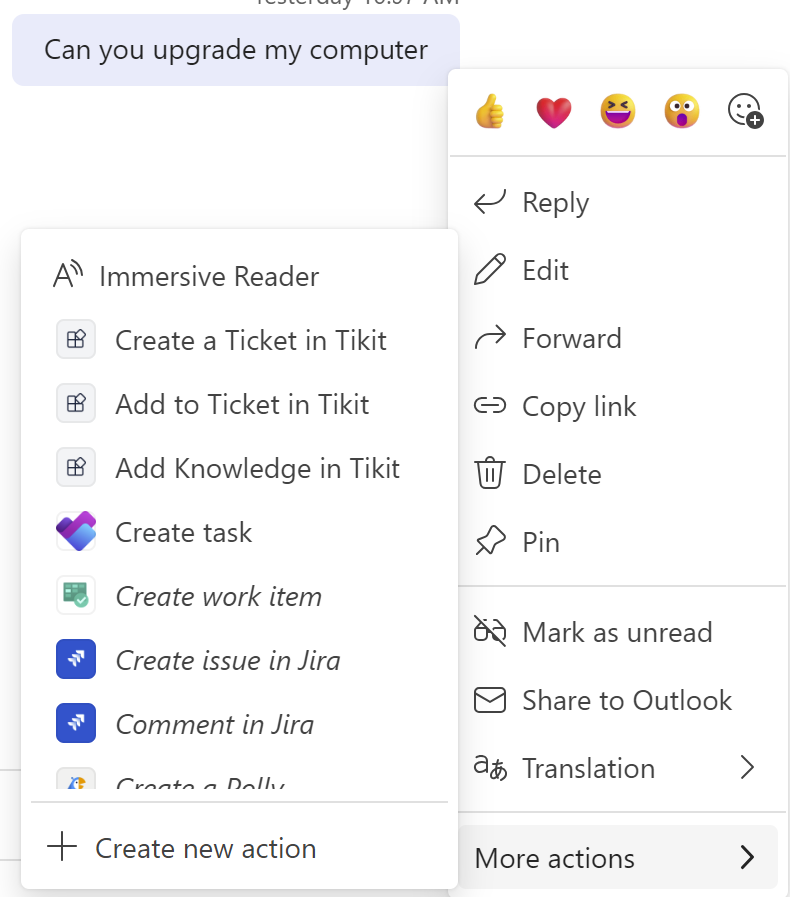
Message Actions take user interaction to another level letting analysts capture their interactions in Tikit. Analysts can create a ticket directly from a message, add a message as a comment, and quickly update the ticket deflection knowledge base. These actions can be used from any user message in a private, group, or channel conversation. Message actions are a great tool to have if you choose to set up a dedicated public help or support channel in Teams to quickly create tickets from public conversations and queries.
- To open the Message Actions menu for a message, select
 (More options) > More actions.
 - Select a Message Action:
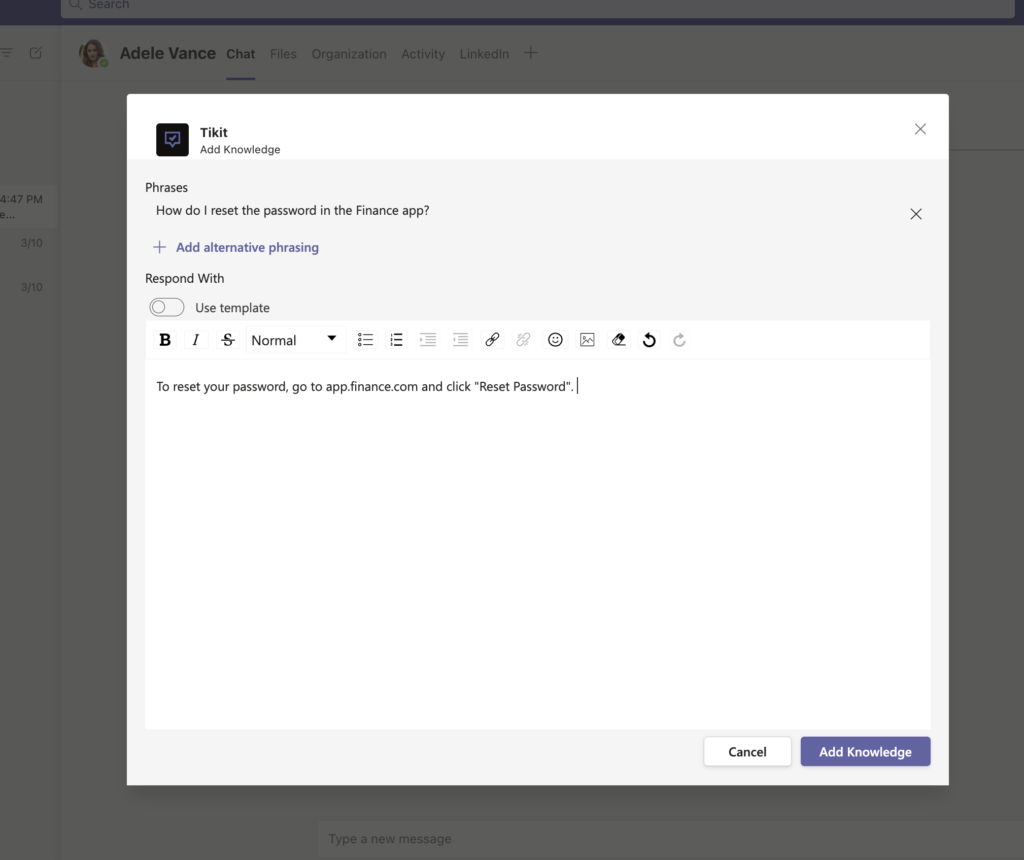
- To add the message to your KB,
select More actions > Add QnA to KB
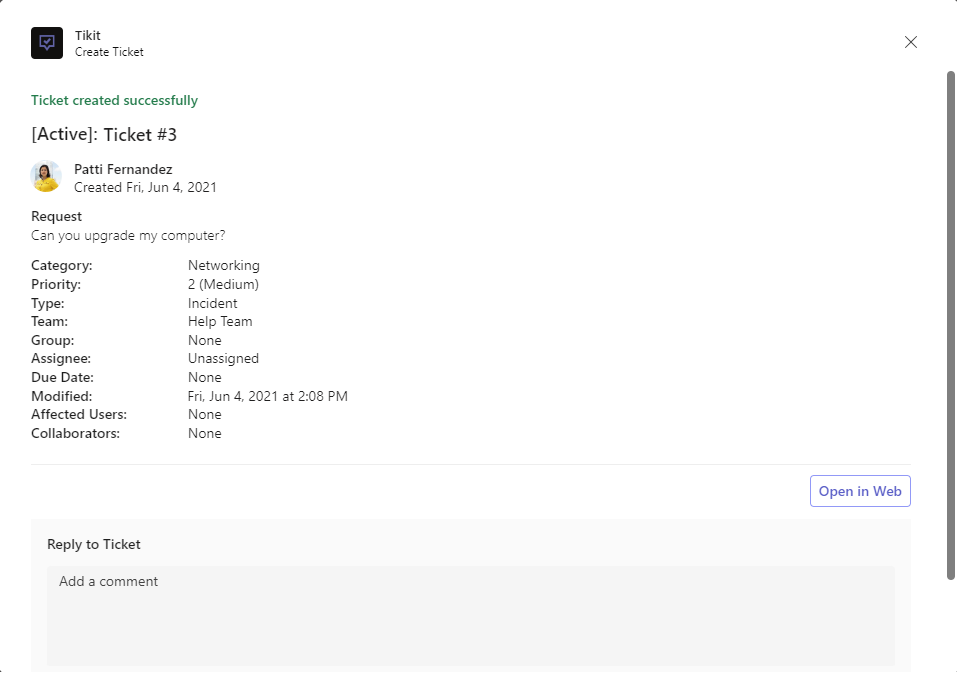
The Create a Ticket action can quickly create a new request from a message to start capturing an interaction.
Create a new ticket with the Create a Ticket message action:
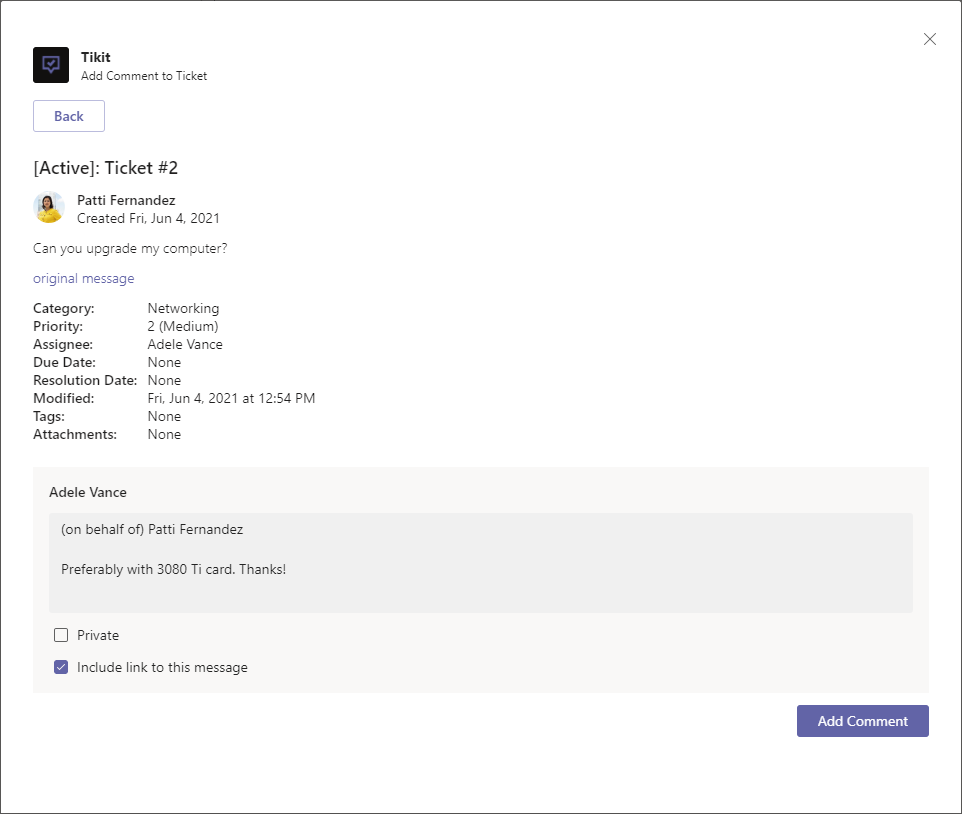
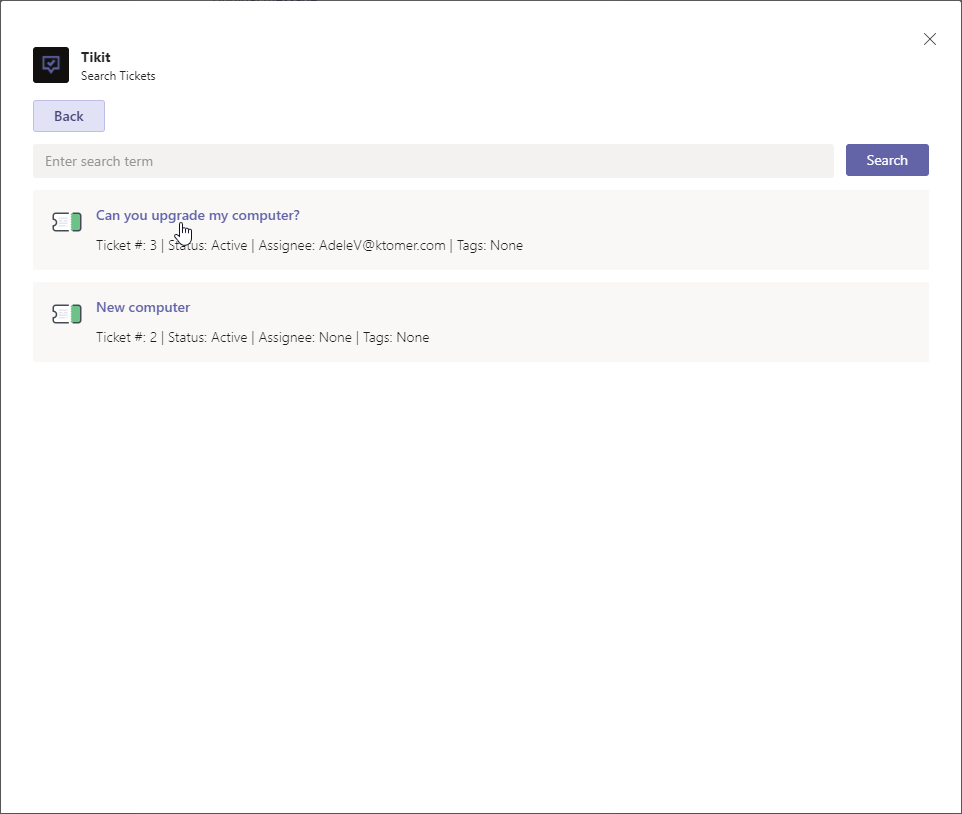
The Add to Ticket action adds the message as a new comment to an existing ticket. Great for capturing info or keeping the user in the loop. Comments are created as the analyst on behalf of the message sender.
Adding a comment to a ticket with the Add to Ticket message action:
| Ticket Filter | Description |
|---|---|
| All Active | Status is not Closed or Deflected, including custom status values. |
| My Work | Tickets assigned to you. |
| Unassigned | Unassigned tickets. |
| Closed | Status is Closed. |
- The Add Comment to Ticket form will open autofilled with the message and a short “on behalf of” note.
- Check Private to mark the new comment as private.
- Check Include link to the message to add a link back to the original message in the comment.
- When ready select Add Comment to add the comment to the ticket.
Comment Notifications
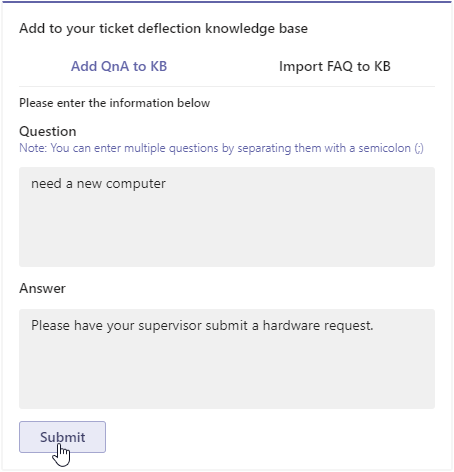
The Add QnA to KB action adds the message to the Ticket Deflection knowledge base. For more info on Ticket Deflection and updating Tikit’s Ticket Deflection knowledge base see the Ticket Deflection section.
Adding to Ticket Deflection with the Add QnA to KB action:
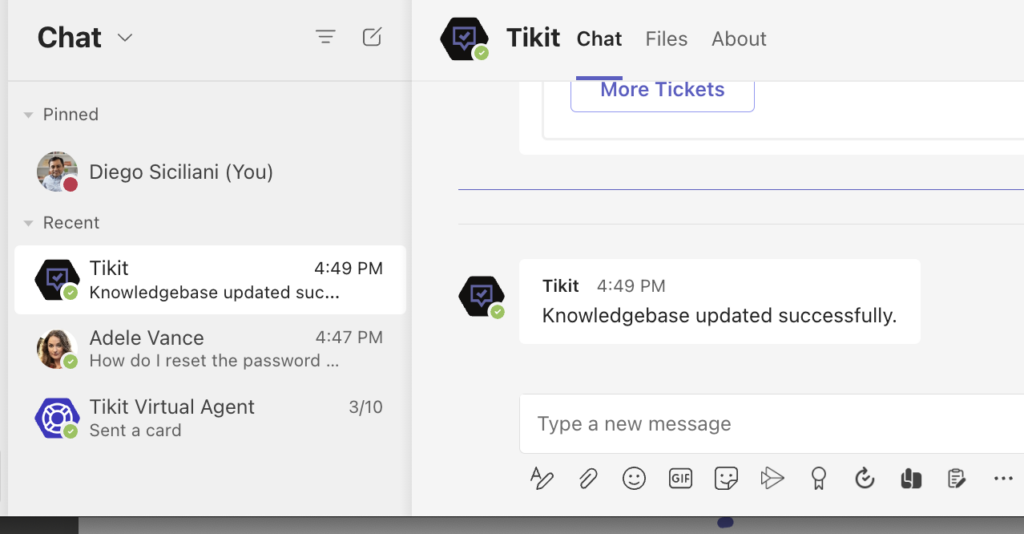
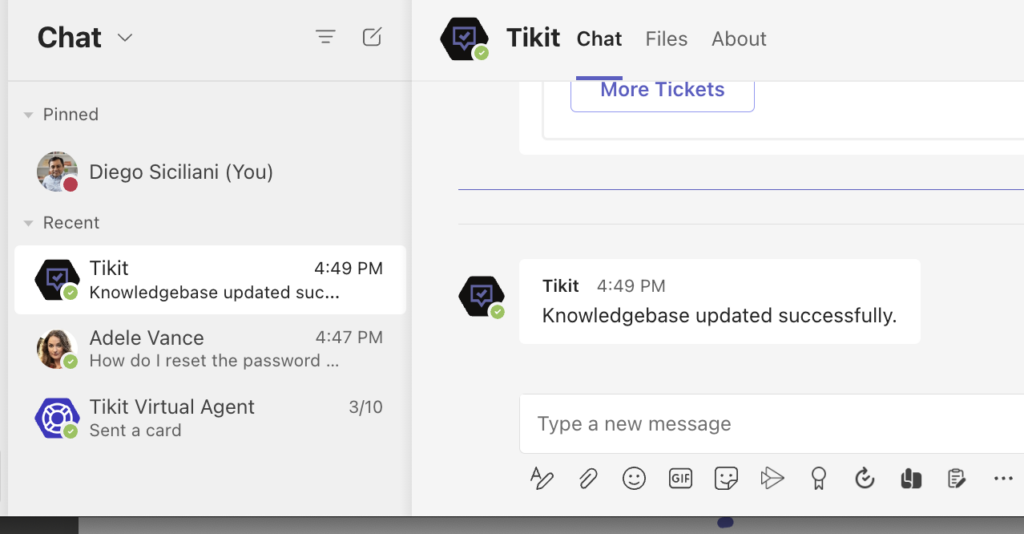
- Once completed, Tikit will send a confirmation message that the knowledge base has been updated succesfully.
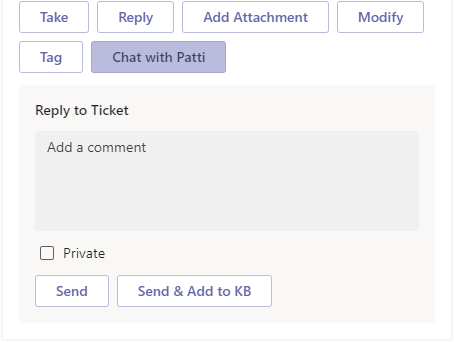
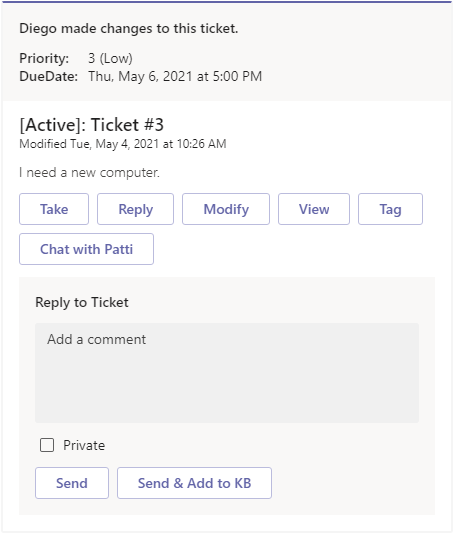
Analysts don’t have to leave teams to work tickets thanks to the Tikit Teams app. With the Tikit app analysts can assign tickets, send replies, update tickets, and start chats with users without leaving Teams.
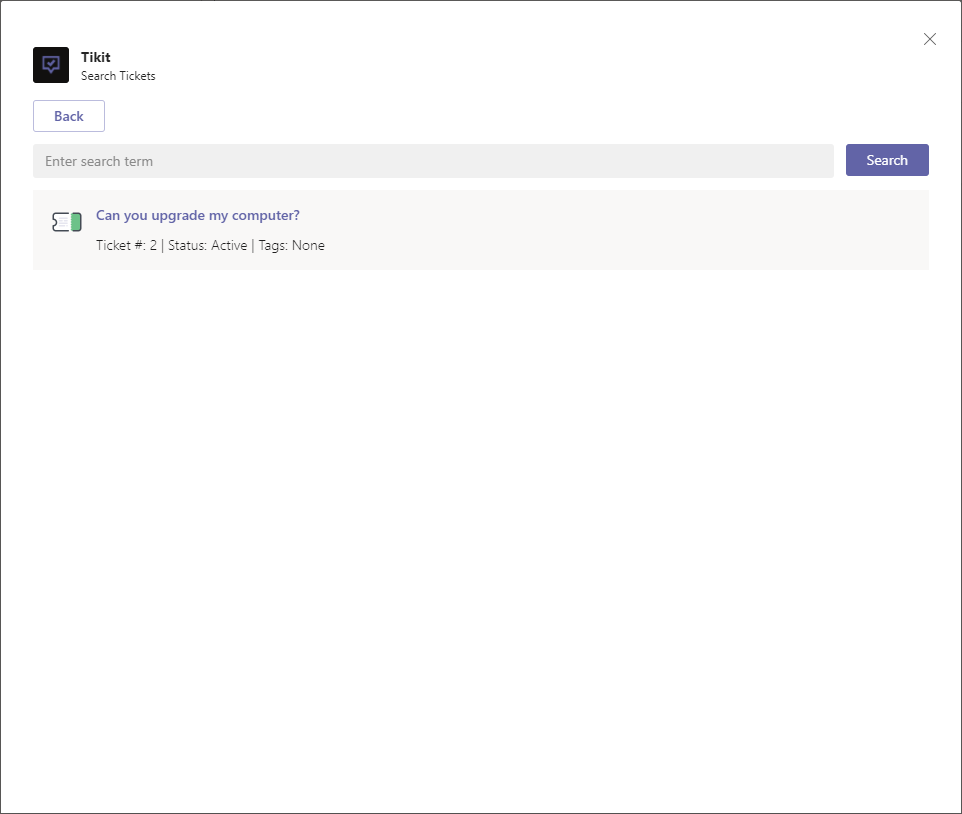
To find and edit tickets in Teams:
| Ticket Filter | Description |
|---|---|
| All Active | Status is not Closed or Deflected, including custom status values. |
| My Work | Tickets assigned to you. |
| Unassigned | Unassigned tickets. |
| Closed | Status is Closed. |
| Deflected |
Status is Deflected. Deflected tickets are automatically created by Tikit Virtual Agent when ticket deflection successfully answers a user's request. |
Take assigns the ticket to the current analyst with a single click. If a ticket is already assigned then Take will be replaced with Unassign in order to quickly unassign the ticket.
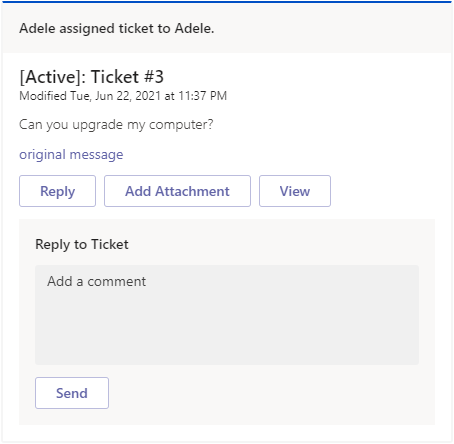
Assignment Notifications
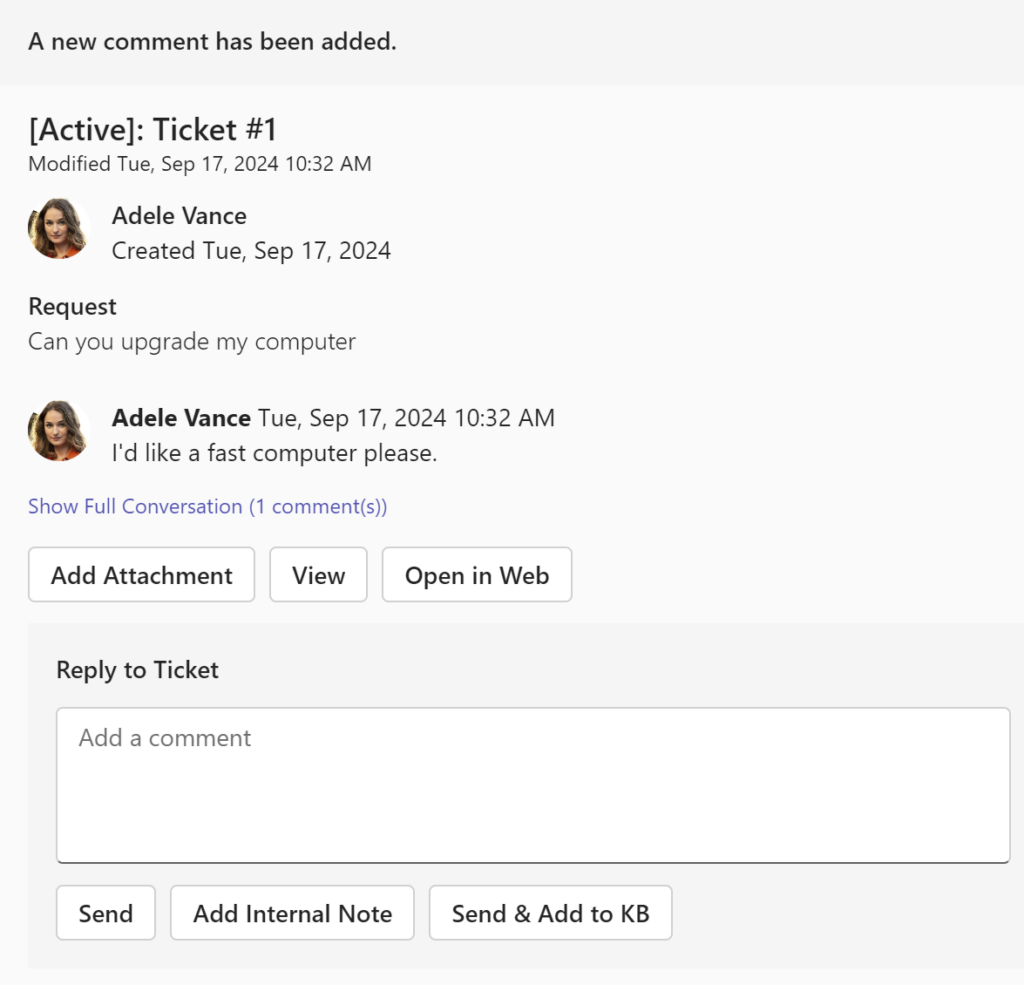
Comment Notifications
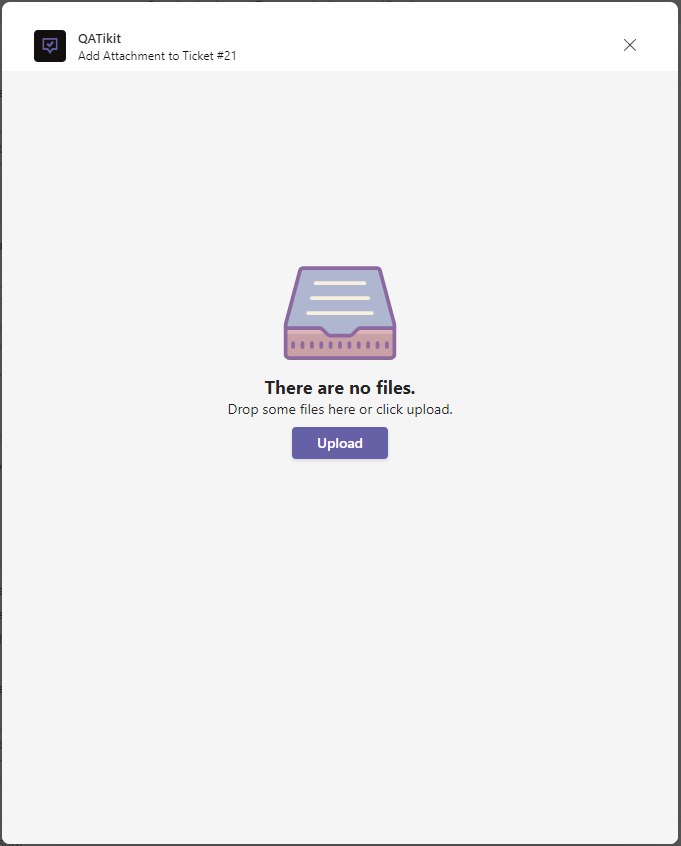
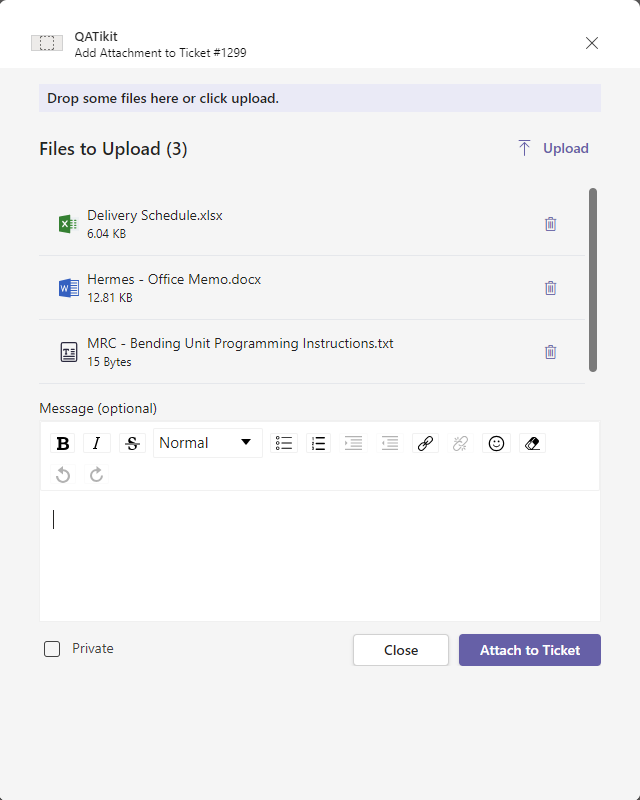
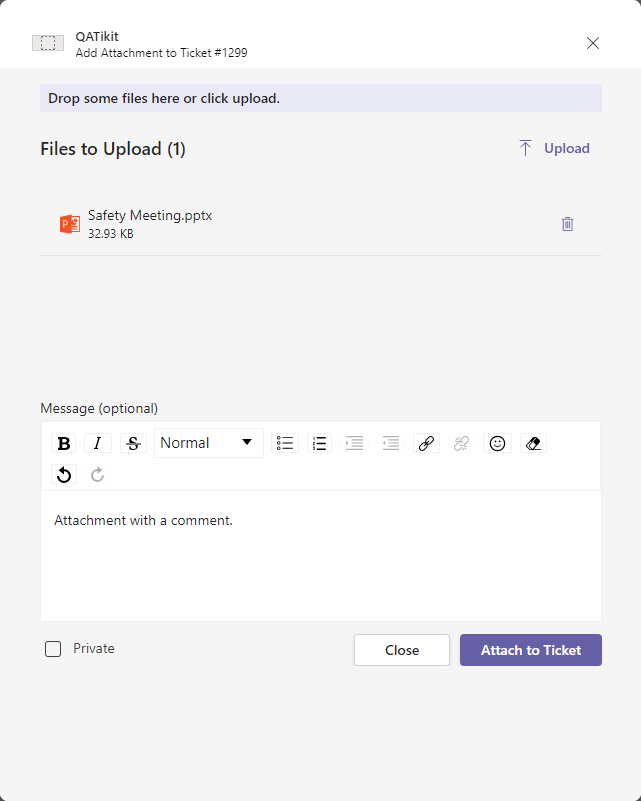
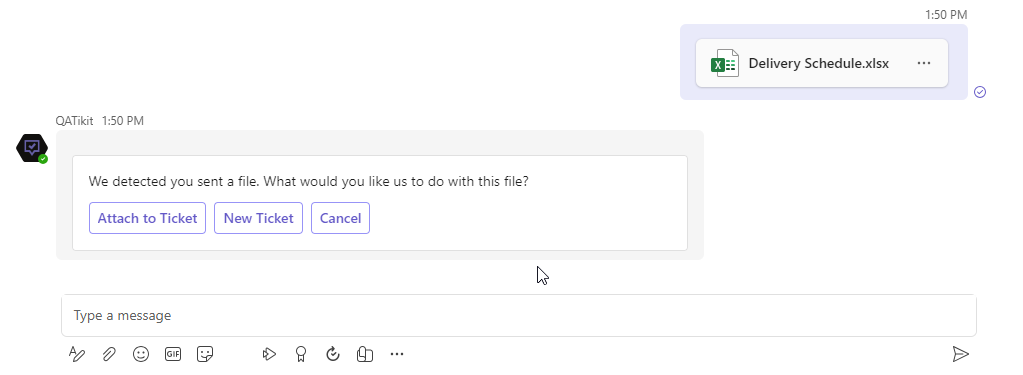
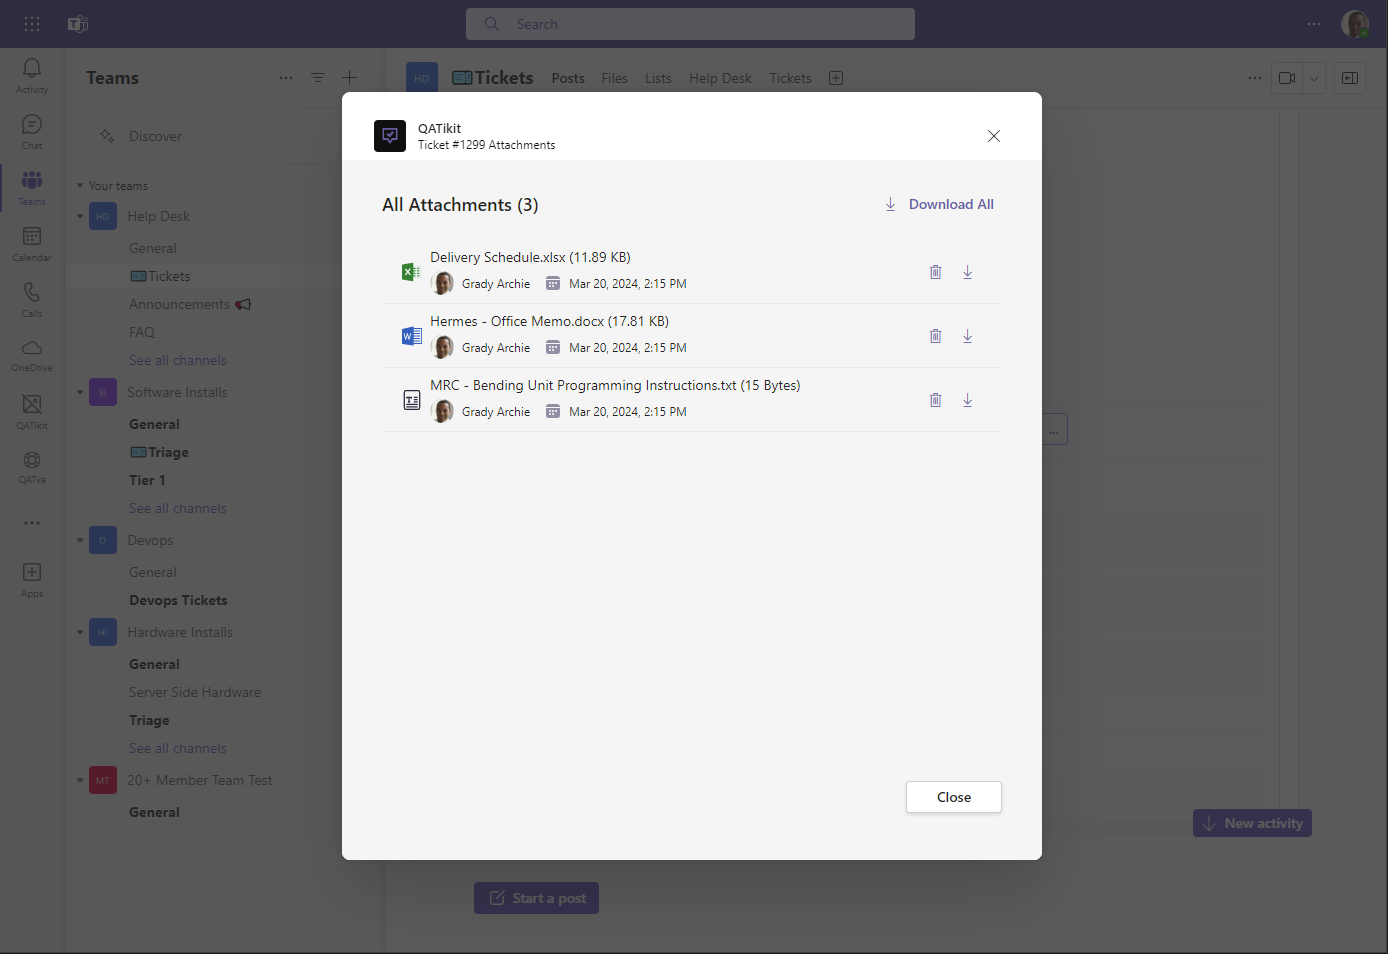
The most recent attachments are seen in the ticket card. Select View Attachments to view and delete attachments.
Once in the Attachments window, you can open a file by selecting the filename, and remove attachments by selecting the trash icon. You can also download individual files by selecting the download icon next to the file, or use the Download All button to download all the attachments as a zip file.
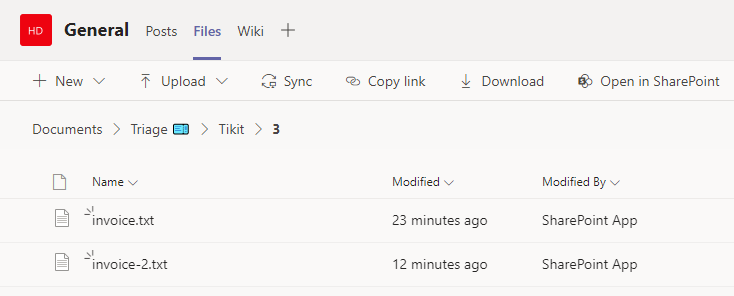
Ticket attachments are stored within the SharePoint folder for the triage channel in Teams. Tikit analysts are given access to file attachments by default, while requesters can only view attachments for their requests. Attachments can be viewed under Triage Channel Name > Tikit > Ticket #.
For example, on the right the triage channel Triage 

The Modify button updates the following ticket fields, for more details check out the related help articles:
- Status dropdown list; Manage Status Values.
- Type dropdown list; Manage Type Values.
- Category dropdown list; Manage Category Values.
- Priority dropdown list; Manage Priority Values.
- Team dropdown list; Manage Teams.
- Group dropdown list; Manage Groups.
- Assignee dropdown list; Manage Security.
- Due Date date picker.
- Resolution Date date picker.
The user is not immediately notified when only opening a one-on-one chat. They will receive the standard Teams notifications when the analyst sends a message so no worries about accidental notifications.
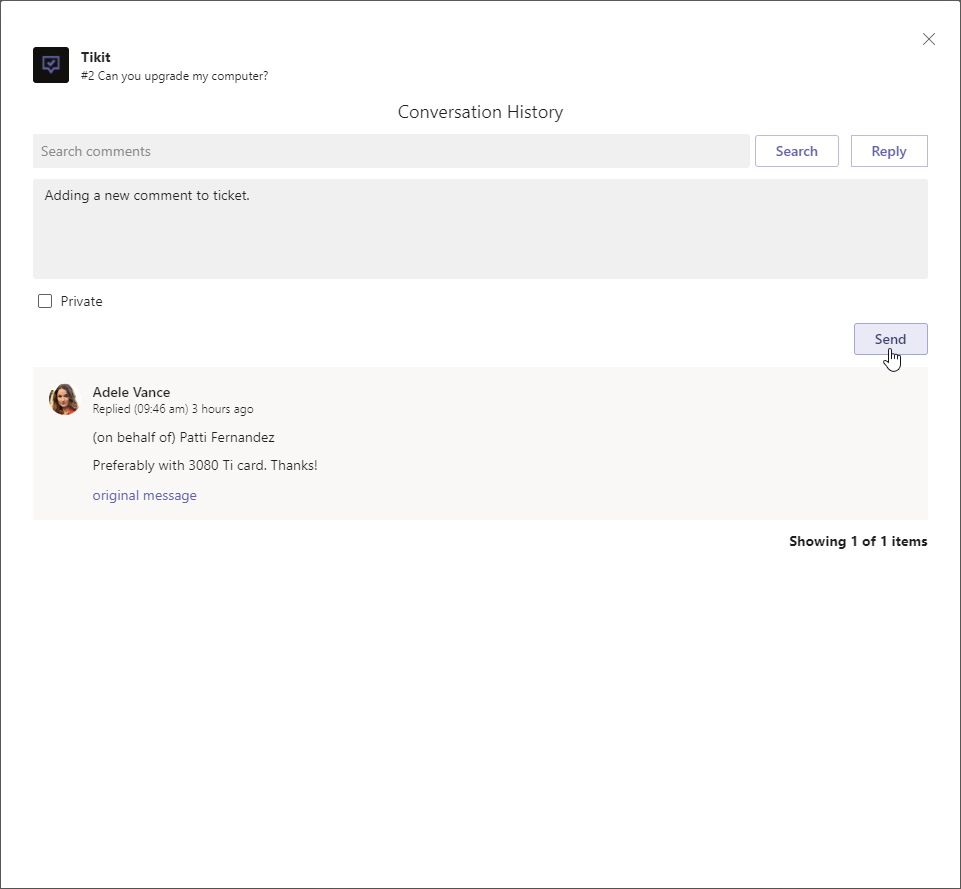
To show full conversation history for a ticket in the Tikit App:
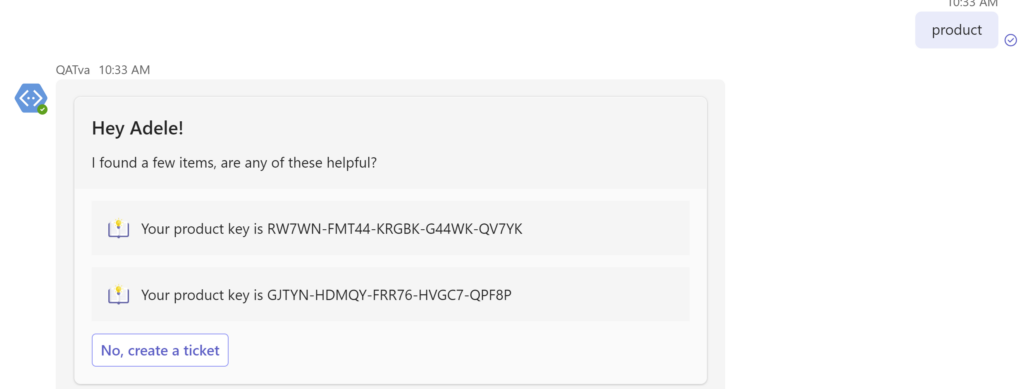
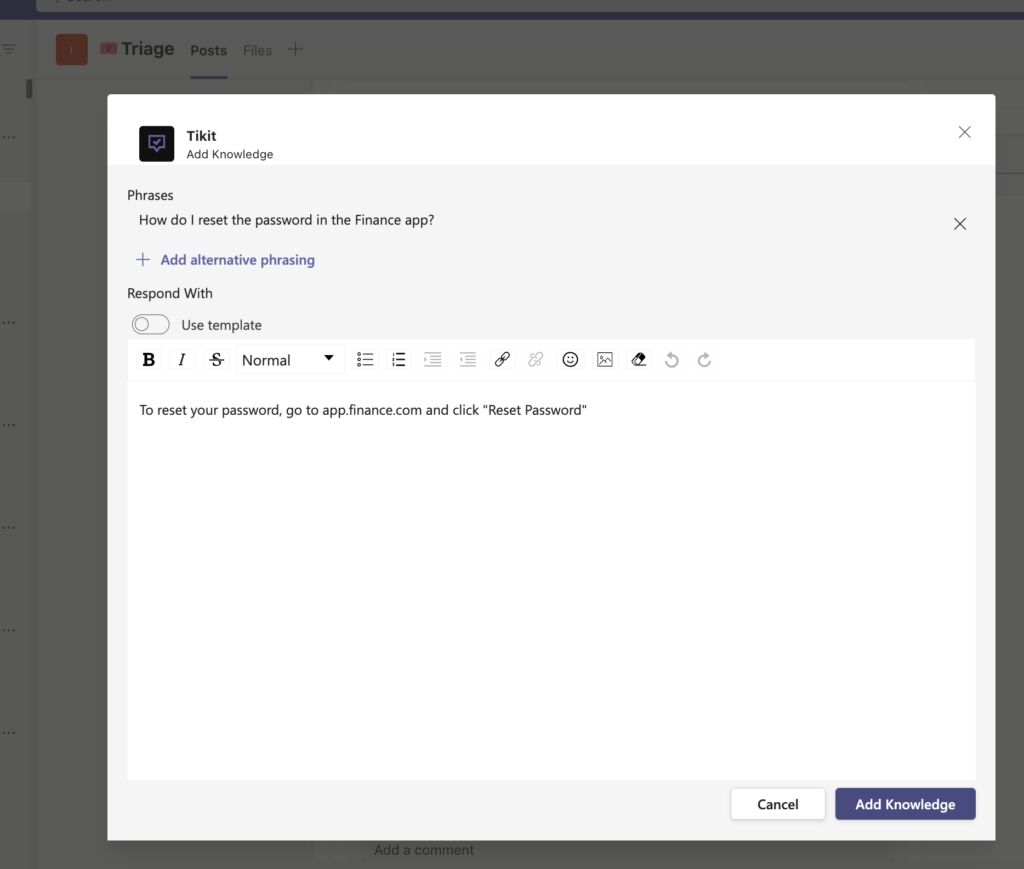
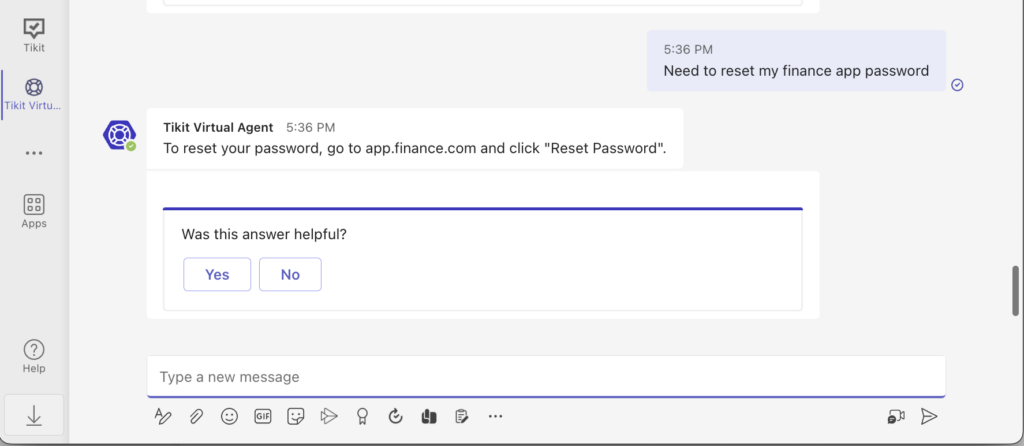
The ticket deflection knowledge base allows the Tikit Virtual Agent to intelligently respond to user requests with helpful answers to lower the ticket workload of analysts. Tikit uses Azure’s natural language processing (NLP) to train Tikit Virtual Agent to answer user requests using the ticket deflection knowledge base. Out of the box your ticket deflection knowledge base will be empty but you can use the Add Knowledge command, Send & Add to KB reply button, and KB editor in Tikit Settings to quickly populate and train Tikit Virtual Agent. If the ticket deflection KB does not have an answer, Tikit Virtual Agent makes it easy to make a new request.
To add new knowledge to the Tikit Ticket Deflection Knowledgebase:
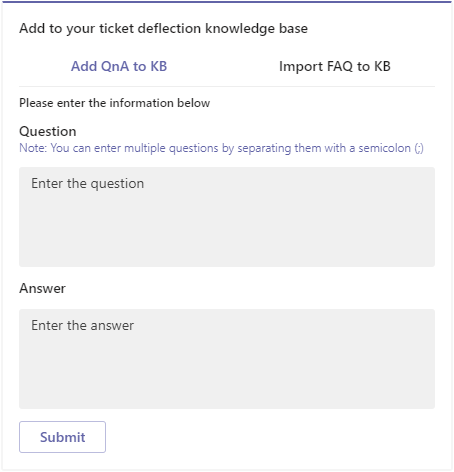
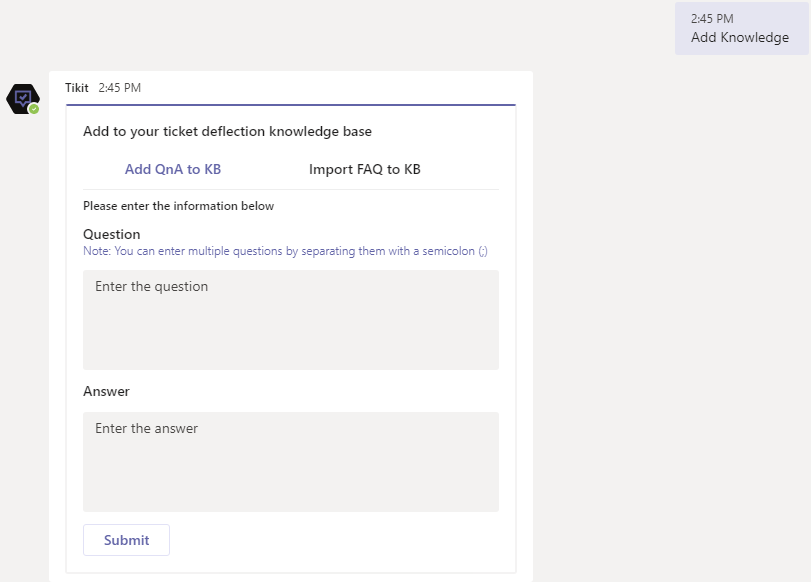
- Ticket will reply with the a card to update the Tikit ticket deflection knowledgebase. This card lets Analysts add questions and answers manually, or to import an existing FAQ.
- Select the AddQnA to KB tab to add a single set of questions and answers to the KB.
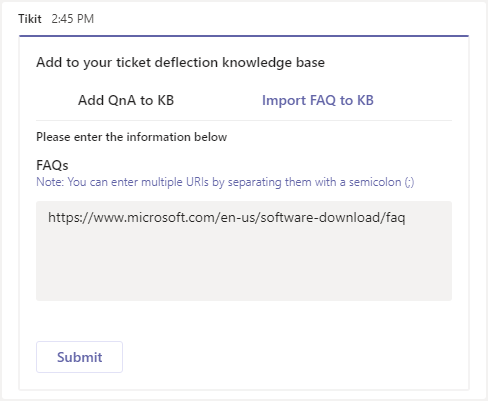
- Select the Import FAQ to KB tab to import an existing FAQ webpage.
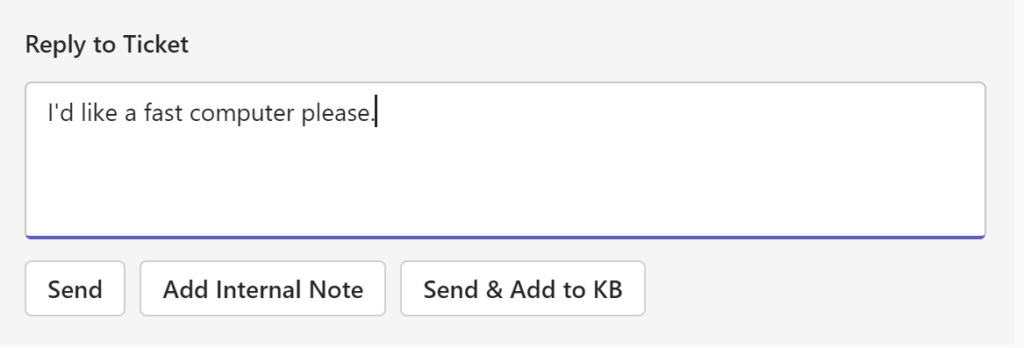
To add new knowledge to your ticket deflection kb using a reply:
To import existing FAQ(s) to the Tikit ticket deflection knowledge base:
- Ticket will reply with a card to update the ticket deflection knowledge base. This card lets Analysts add questions and answers manually, or import an existing FAQ.
- Select the Add QnA to KB tab to add a single set of questions and answers to the KB.
- Select the Import FAQ to KB tab to import an existing FAQ webpage.
Tikit makes sure that analysts are updated when their assigned requests are updates with Teams chat notifications.


