Strings and Booleans
When building Custom Forms, you might want to leverage various inputs so as to map them into Power Automate and drive the flow of logic based on answers. For example, does a new employee need a mobile phone? Which type of license is an employee asking for? Based on the answers to questions like these, you might want to Add a Task to the Ticket, seek an Approval, or any other of number scenarios.
In these cases, utilizing the Input.Toggle control is a popular choice as you can simply check the box for true, or not check the box to leave it false. But processing this in Power Automate isn’t as straightforward as working with text fields as the checkbox value is stored as string (text) instead of a bool (true/false).
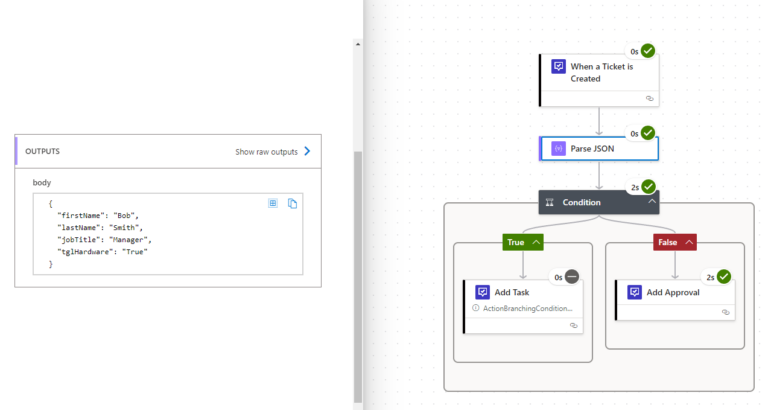
In the following screenshot, despite the Input.Toggle being set to True/checked. The Power Automate flow went down the path of False/unchecked.
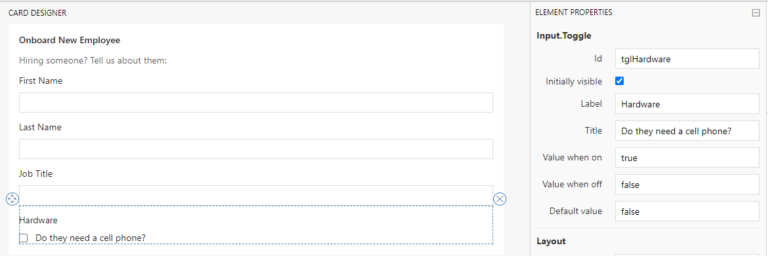
To address this, we need to verify the configuration of the Input.Toggle and update our Flow to treat this value as a bool. Take the following example of a Custom Form whose Input.Toggle control is set to the following:
- Id: tglHardware
- Value when on: true
- Value when off: false
- Default value: false
and it’s associated Power Automate flow. When a Ticket is Created, based on the value of a checkbox Add a Task or Add an Approval.
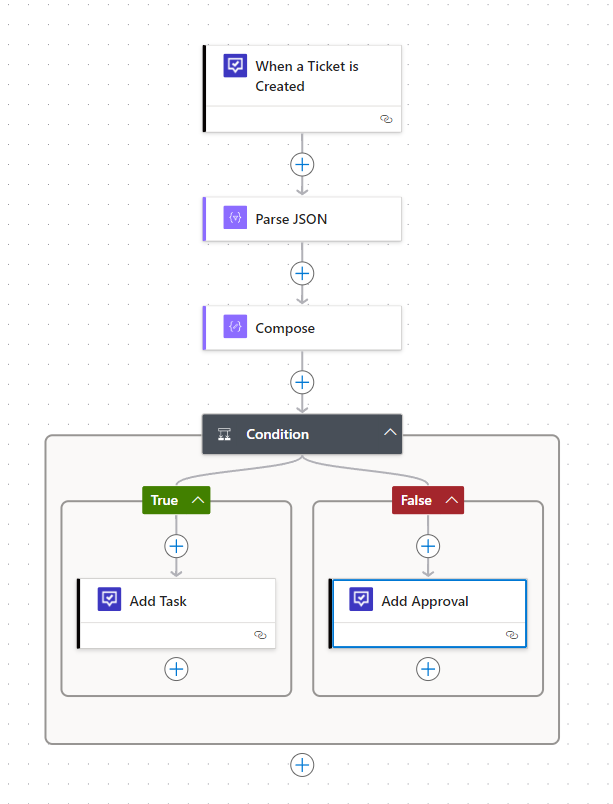
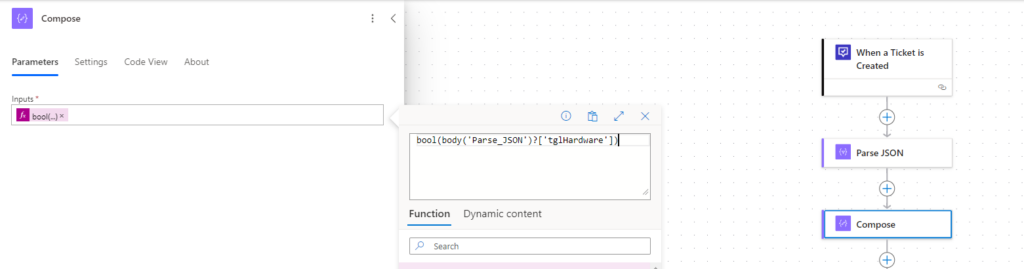
After parsing the Custom Answer JSON with the “Parse JSON” Action. We need to introduce a Compose action. With Compose we’ll be able to convert the string value of true or false as entered on our Custom Form, to the boolean value of true or false that Power Automate can use in logic.
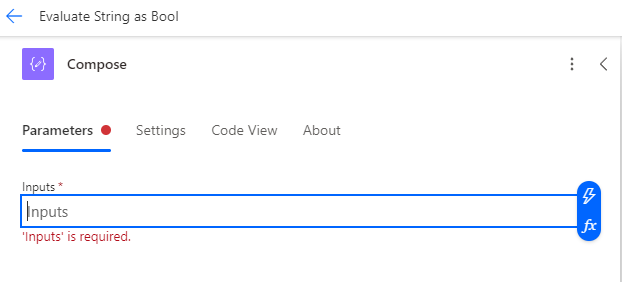
2. Click the “fx” button to enter a formula using the following pattern.
bool(body(‘nameOfAPreviousAction‘)?[‘nameOfAPropertyInAPreviousAction‘]
where nameOfAPreviousAction equals the Parse_JSON action and nameOfAPropertyInAPreviousAction equals Parse JSON’s “tglHardware” property. This is also the Id of of the Input.Toggle as seen above when building a Custom Form.
3. Next, we’ll use a Condition block to test whether the output of our Compose Action is equal to true or false. On the left hand side of the equation, we’ll use the Outputs value from our Compose action. On the right hand side of the equation, we’ll enter another custom formula and type “true”.
In this way we are comparing boolean to boolean, instead of what was originally done – comparing a string to boolean. An evaluation that will always result in a false.
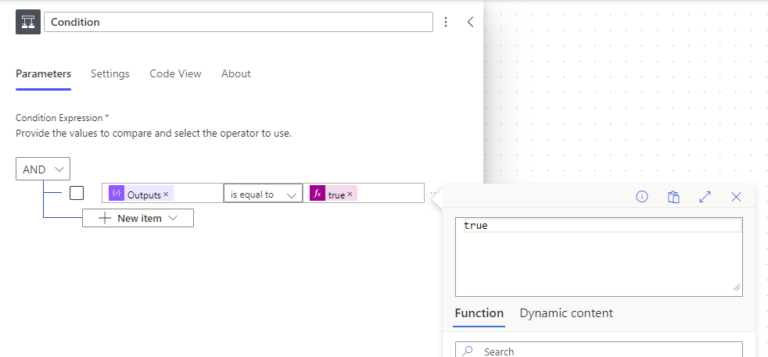
The flow will now follow the path of logic based on whether the checkbox was checked or not.