Home » Articles » Add Approval to a Ticket
Approval in a Ticket can help ensure proper permission is received before a request is carried out.
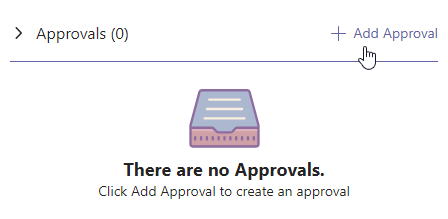
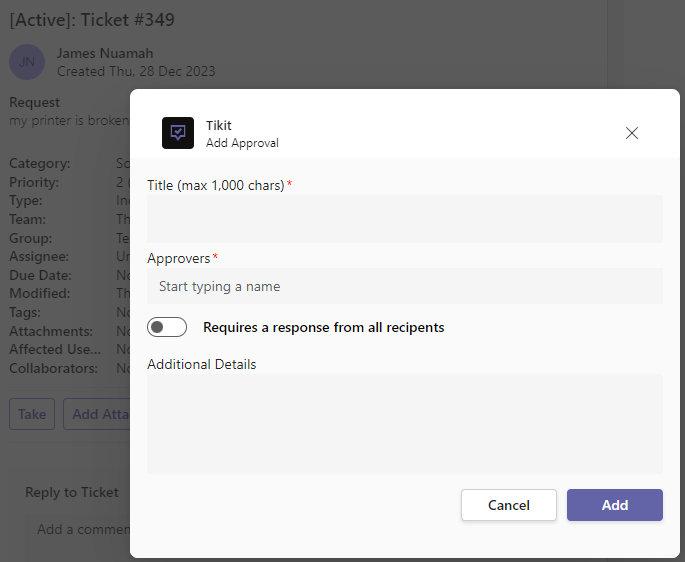
From an existing Ticket, expand Approvals:
Then click Add Approval:
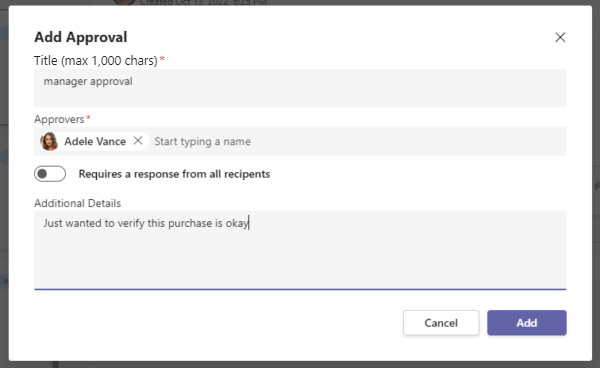
In the Add Approval window, enter the Approval Title, any required Approvers, and optionally Additional Details:
Then click Add.
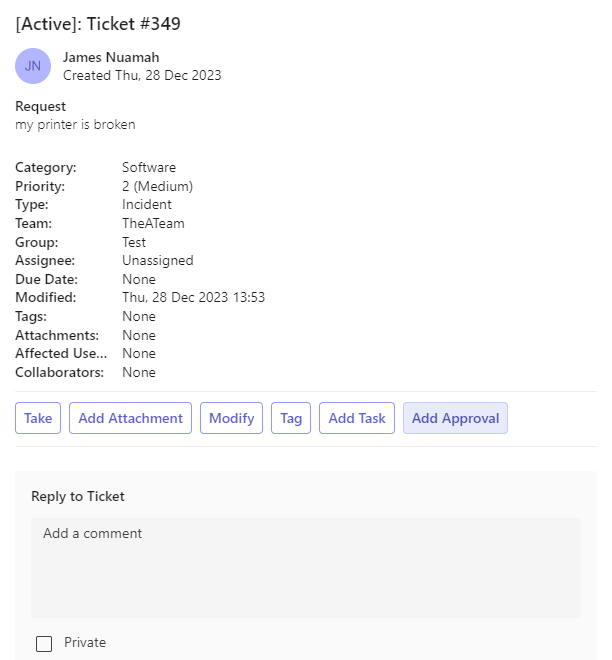
To add approval from Teams, first view a ticket. Then click the three dots and click Add Approval:
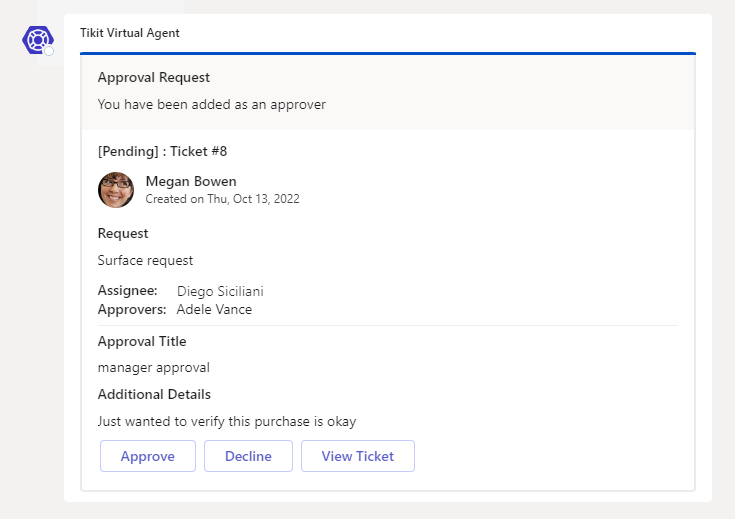
When an Approval is added, the approver will receive a notification in the Tikit Virtual Agent: