My Group Work

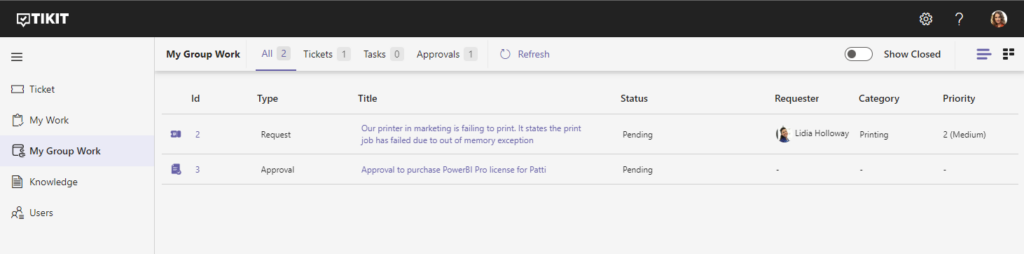
The My Group Work view is similar to the My Work view, but also shows you all the tickets assigned to any Support Groups that you are a member of. It is now much easier to see all the work within your groups without having to create custom views.

List View

The My Group Work List View provides an Agent a list of all their currently assigned work. The view tabs along the top of the view allows for filtering work by Tickets, Tasks, Approvals, and All work.
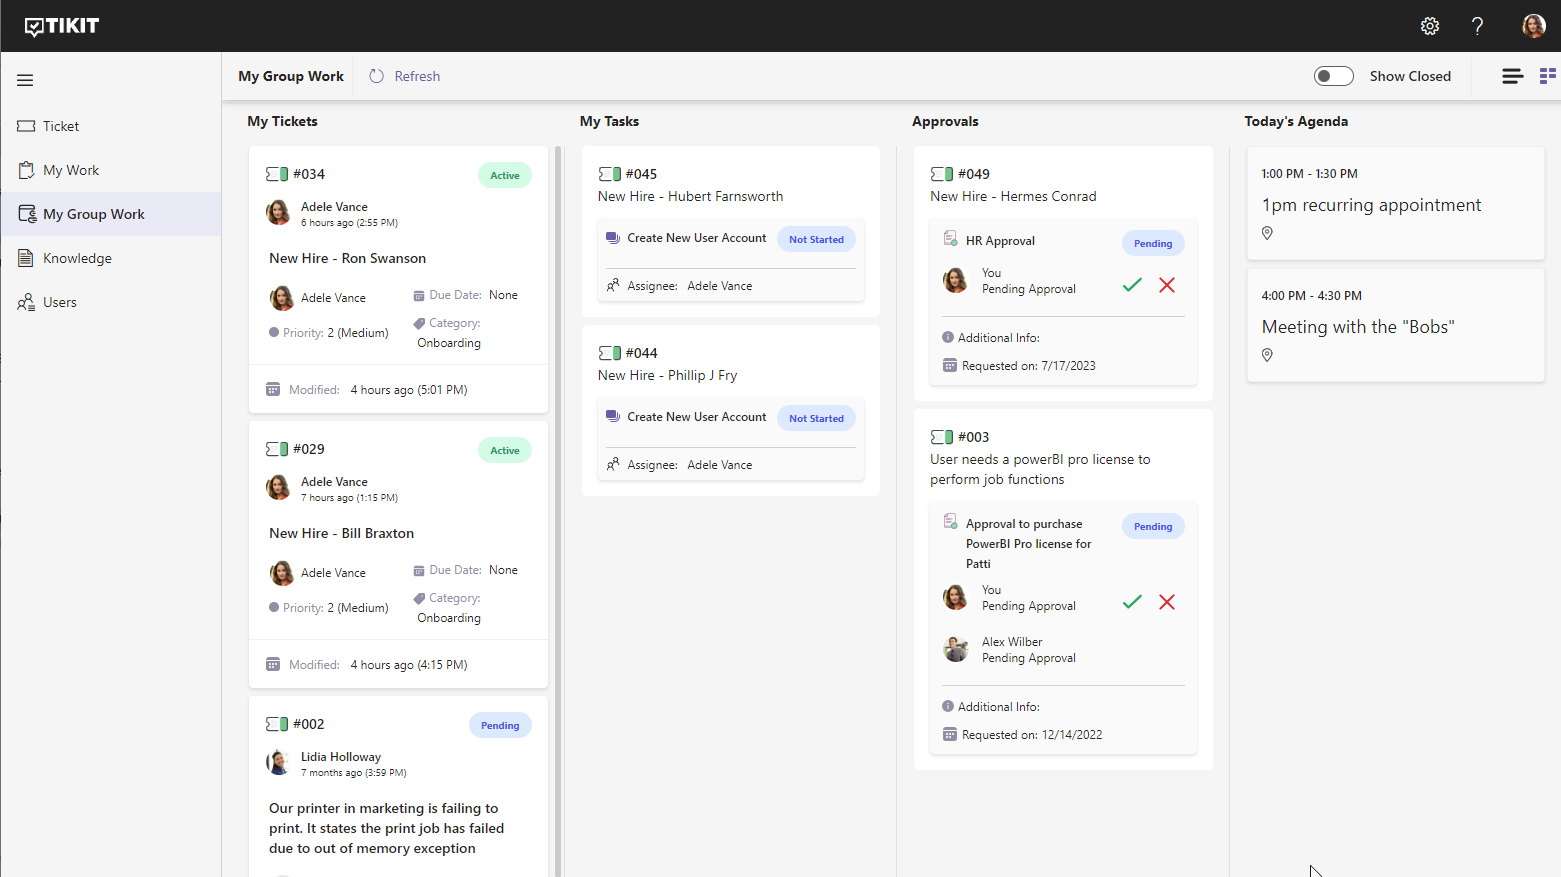
Board View

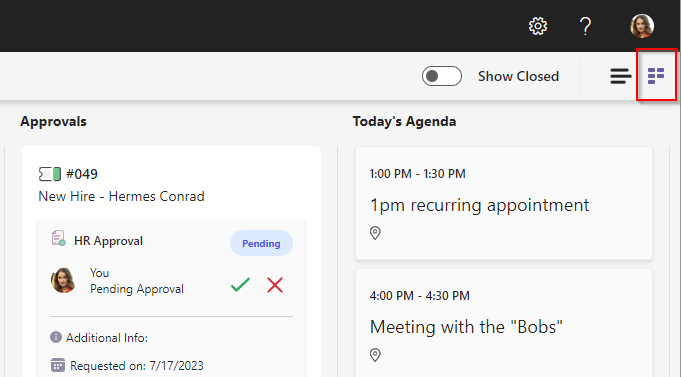
In the top-right corner select the Board View icon.

You will then be presented with the Board View.

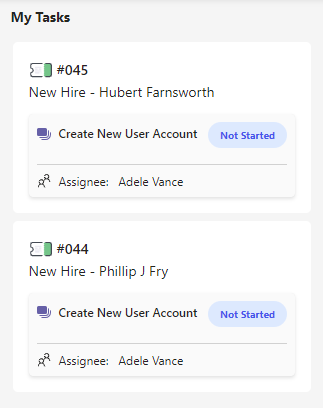
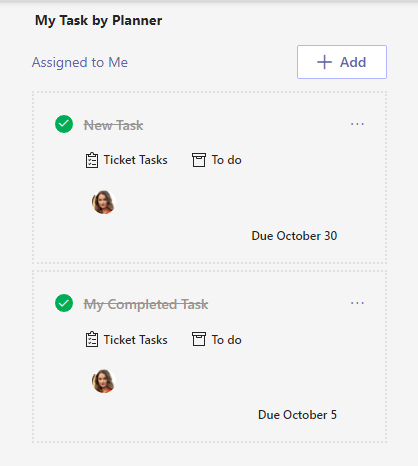
Your group’s assigned Lifecycle Tasks are visible in the Board View. Here you can see all of the Tasks assigned to your group along with the associated ticket number and their details.

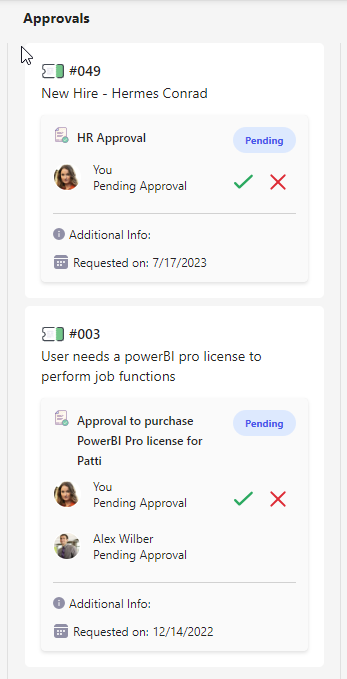
Your group’s assigned Approvals are visible in the Board View. Here you can see all of your group’s Approvals along with the associated ticket number and their details.

A list of your calendar events.

A list of active tickets assigned to your group. Active tickets have a status other than Closed or Deflected.

Select a ticket to view and edit it.

A list of the Planner tasks assigned to you. New tasks can be added and current tasks can be completed, re-assigned, and deleted. 

To add a new task:

  1. Select + Add.
  1. Enter in the task information.
    1. Select a shared plan from Planner. If you do not have a shared plan, see below for steps on creating a new one.
    2. Select a bucket.
    3. (Optional) Select a due date for the task.
    4. Select users to assign task to. If you do not add yourself as an assigned user this task will not be listed after adding.
  2. Once the task information is entered, select + to add the task.

You have added a task!

If you do not have a shared plan to add tasks to, you may need to create one in the Tasks by Planner and To Do app in Teams.

To create a shared plan in Teams:

  1. Open the Tasks by Planner and To Do app, then select + New list or plan.
  1. Enter in a plan name, then select the Team and Channel to create a shared plan.
  2. Select Create to create the shared plan.

You have created a shared plan and are ready to start adding tasks!

A list of your emails.

Select the subject for an email to open it in your mailbox.

Search
In this article