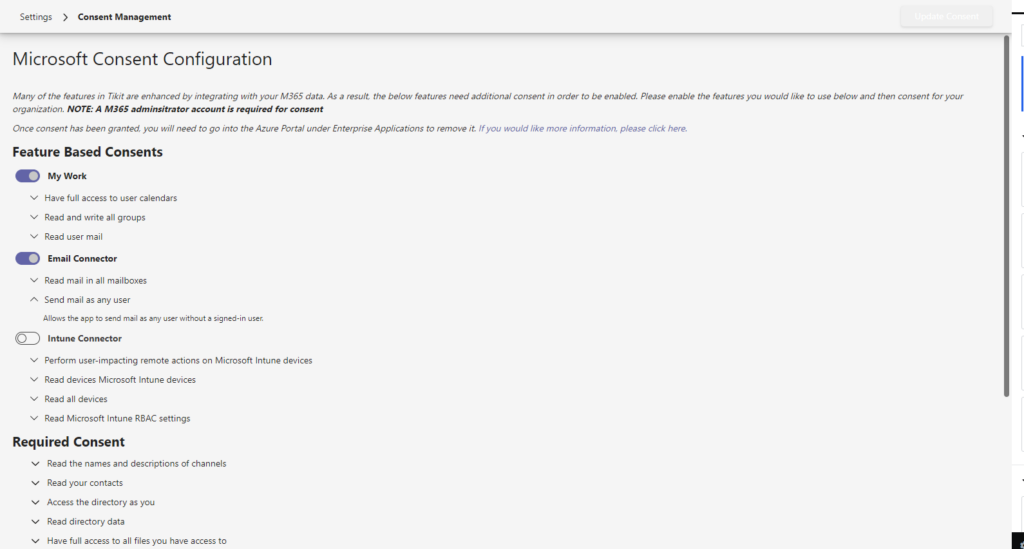
1. Navigate to Settings > Consent Management and enable consent for the Email Connector
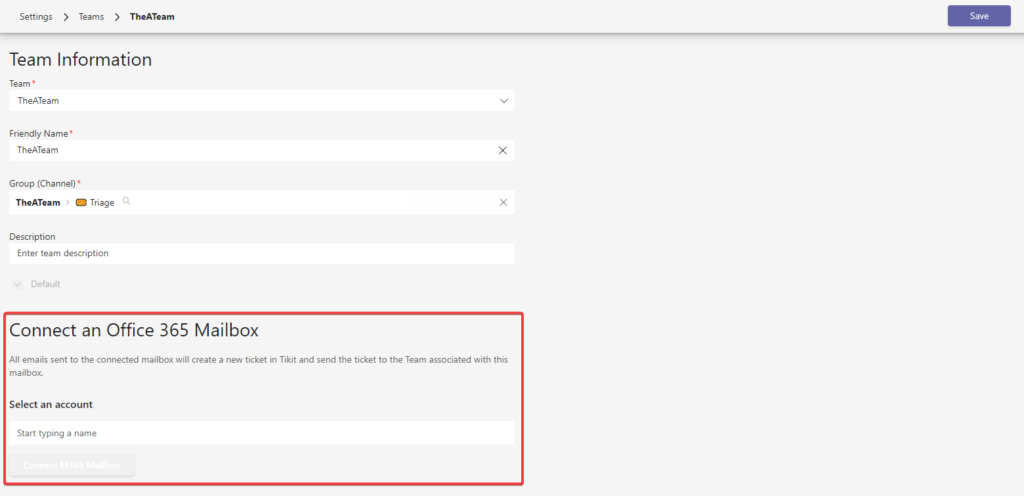
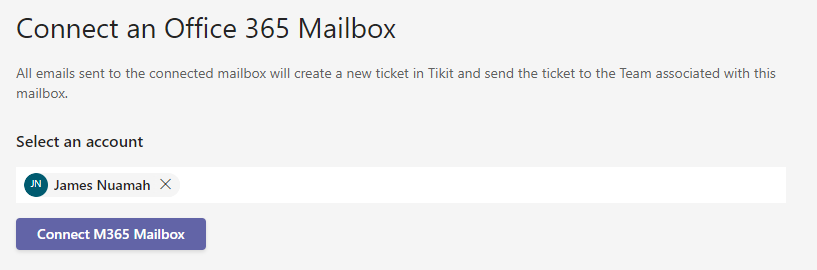
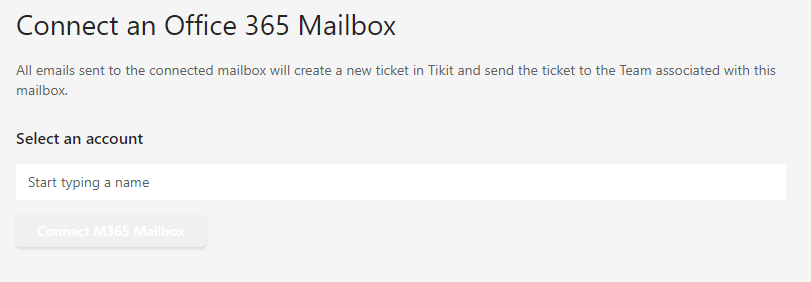
2. In Settings > Teams, open a Team of your choice and select Connect M365 Mailbox. Microsoft will prompt to login to an M365 mailbox.
Note that connecting a shared mailbox is supported to avoid having to use a 365 licensed user for the Email Connector.
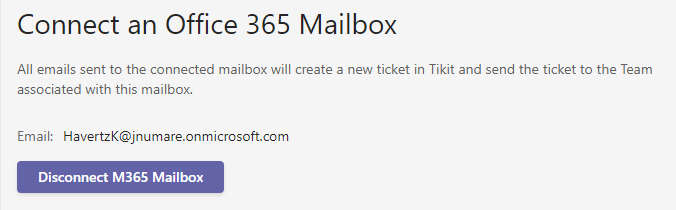
You have successfully configured the email connector and are ready to turn emails into tickets!
The Email field shows the currently connected mailbox
Note: The email connector sends notifications with a ticket number in the message subject using the format: #123. To reply to a ticket and create a comment on the ticket, the number must be included in the subject line of the email being sent.
Configure Email Ticket Deflection
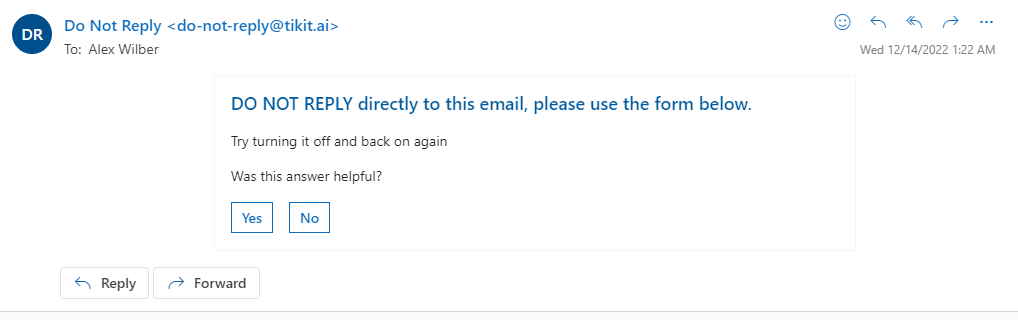
Ticket deflection in Emails can be used to present End Users with Knowledge Articles to help them solve their issues without further intervention.
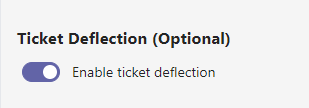
To configure Email Ticket Deflection:
In Settings > Teams, enable Ticket Deflection
Once Ticket Deflection is enabled, emails to the Email Connector mailbox that match a phrase from the Knowledge Base will receive a response with the matching article. If the user clicks “Yes” to the “Was this answer helpful?” prompt, the ticket will be deflected.
Enable Multi Department Picker (email only)
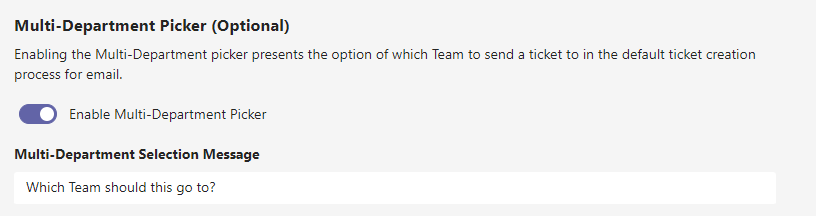
To enable Multi Department Picker for email messages enable the Multi Department Picker (Optional) in Settings > Teams.s
The Multi Department Selection Message allows you to choose the message that is displayed to the end user when presented with the Team selection option.