Tags

Tags are an alternative way to organize your tickets, allowing for on the fly tagging to quickly associate your tickets with different processes, themes or projects in your organization. As an example, lets say that you are managing a project (Project A), and there are a few to dos in that project for you to complete it. You can simply tag a ticket as “Project A” “To Do 1” vs another ticket as “Project A” “To Do 2”. You can see here how you can delineate tickets between the project, and also narrow the focus down to the respective to do. 

To access and manager Tags:

  1. Open the Tikit web app at https://web.tikit.ai.
  2. Once in the Tikit web app, select the settings gear in the header, then select Tags.
1 
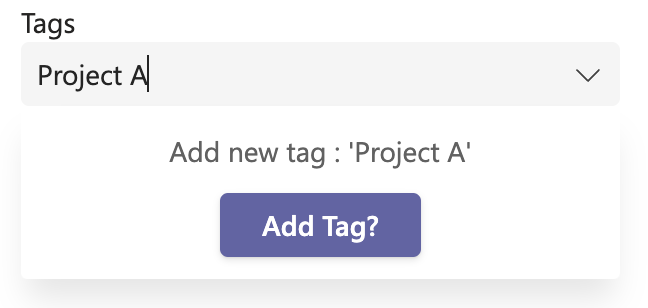
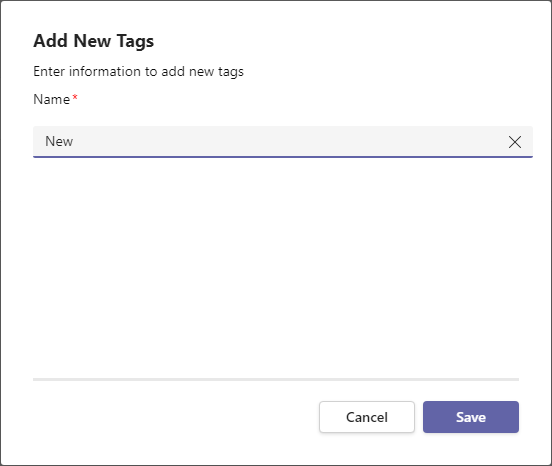
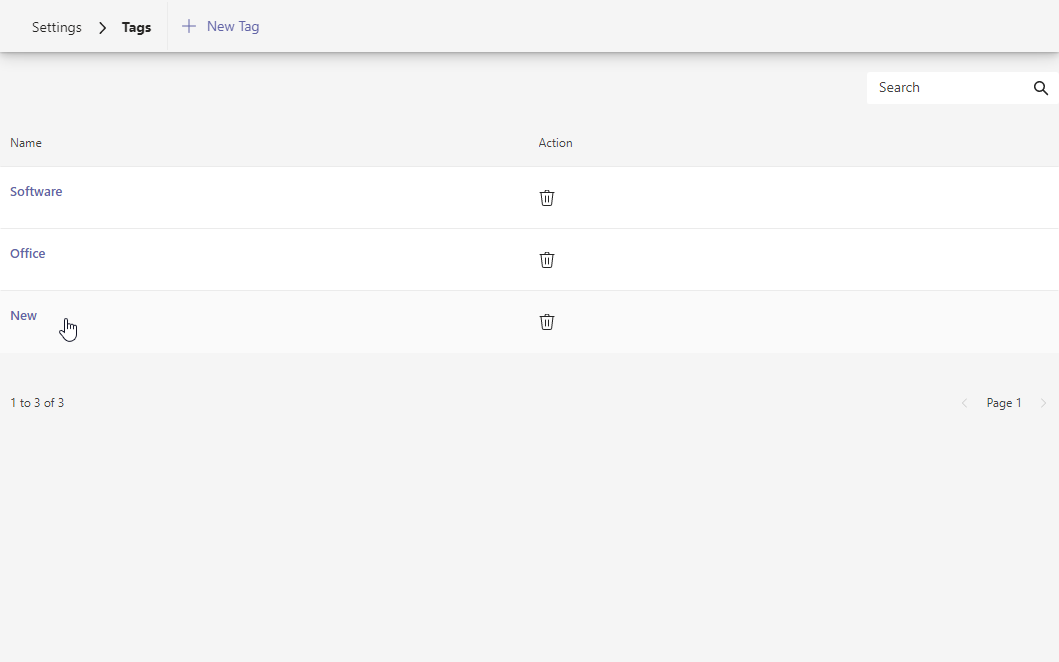
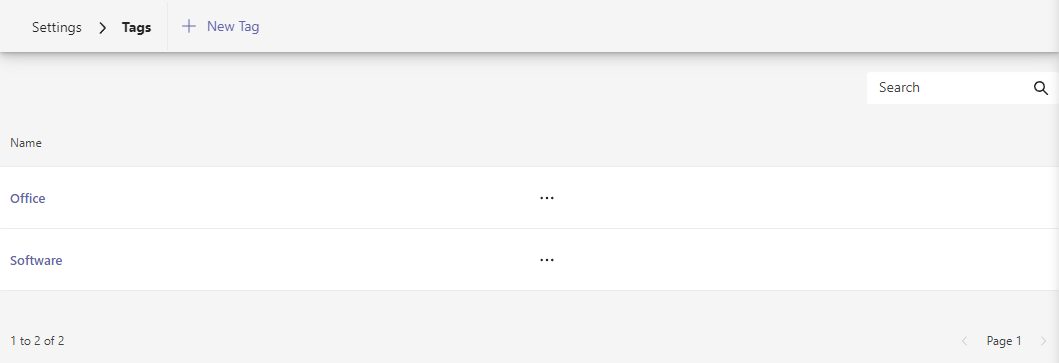
Add a new Tag. 1 of 4 2 Search for specific Tag by name. 2 of 4 3 Tag name. Select a Tab’s name to edit tag. 3 of 4 4 Available actions, like Edit or Delete. 4 of 4
  1. New Tag Add a new tag.
  2. Search Search for specific tag by name.
  3. Name Tag name. Select a tag’s name to edit the tag. See How to edit a tag for more details.
  4. Actions Available actions, like Edit or Delete.

To add a new tag on a ticket:

  1. In Tickets, navigate to a ticket and select the Properties dropdown to find Tags.
  1. Expand Tags, and start typing a new tag to be presented with the option to add the tag.

To add a new tag in settings:

  1. In Settings > Tags, select + New Tag to open the Add New Tags form.
  1. Enter a new tag Name.
  2. Select Save to add the tag.

To edit an existing tag:

  1. In Settings > Tag, select a tag to open the edit form.
  1. Update the tag Name.
  2. Select Update to save your changes.

To delete a tag:

  1. In Settings > Tags, find the tag to delete then select the trashcan in the Actions column.

Note that this will immediately delete the tag.

Search
In this article