1
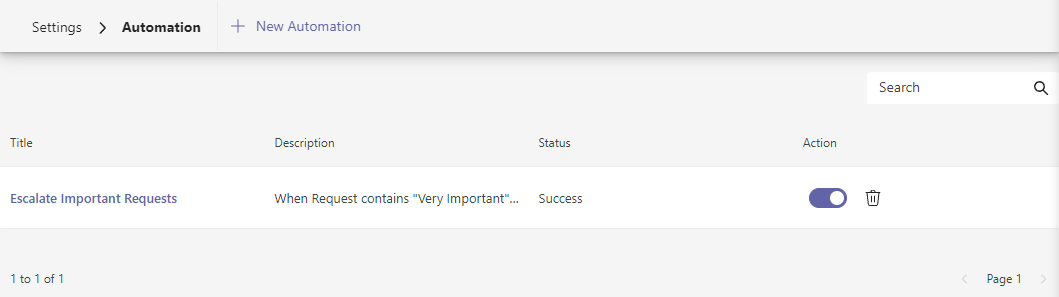
Add a new automation. 1 of 7
2
Search for specific automations by name, description, or status. 2 of 7
3
Automation title. Select to view and update automation details. 3 of 7
4
Automation description. 4 of 7
5
The status of the automation based on its last run:
- Success Completed successfully.
- Failed Did not complete successfully.
- Partial Success Automation was partially successful.


1
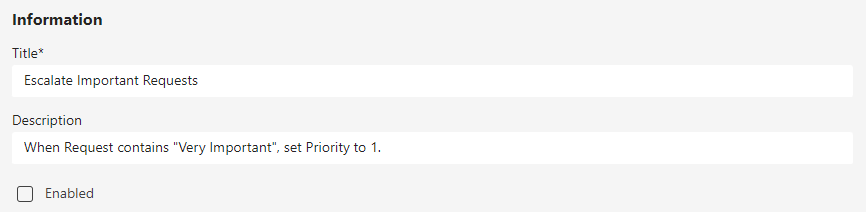
Title for automation. 1 of 3
2
Description of the automation. 2 of 3
3
Flag to enable/disable automation. 3 of 3
1
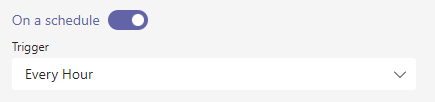
Toggle to trigger automation by schedule
1 of 2 2The frequency when the automation should run:
-
- Every Hour
- Every Day
- Every Week
- Every Month
- Every Year

1
Toggle to trigger automation by an event
1 of 3 2 The type of entity to add automation to. The default and only value currently is Ticket. 2 of 3 3 The event that triggers, or starts, the automation:-
- Added A new ticket has been created.
- Deleted A ticket has been deleted.
- Modified A ticket has been modified.
- Added & Modified A ticket has been either created or modified. Great for avoiding managing two separate automations for Added and Modified events.
1
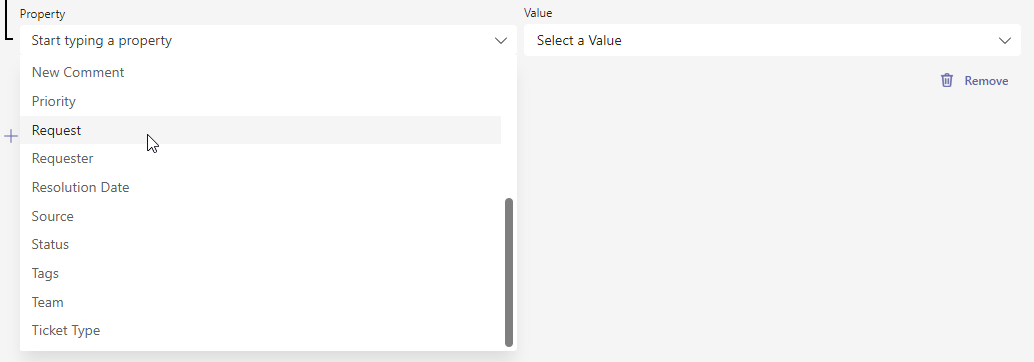
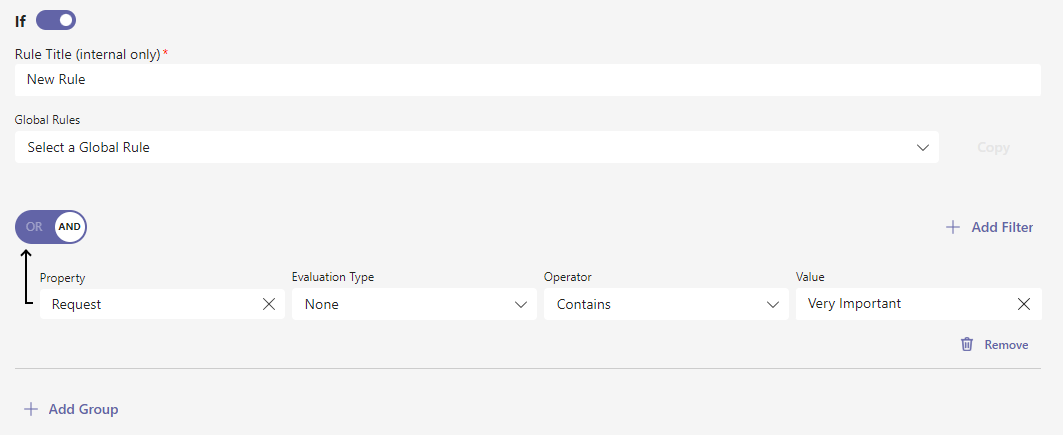
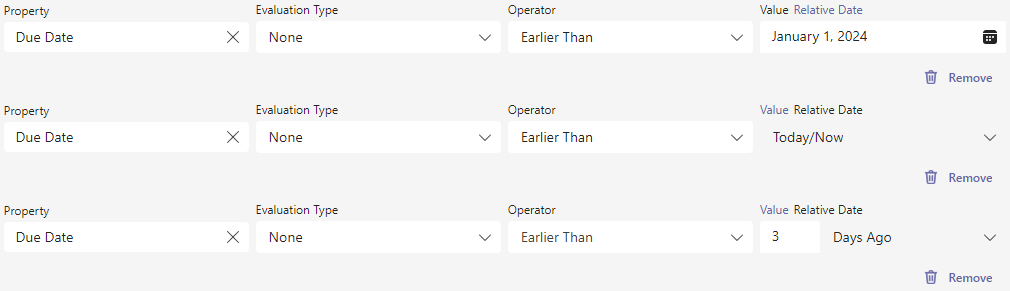
Title of the rule. 1 of 7
2
Select and copy a rule template from a set of predefined rules. 2 of 7
3
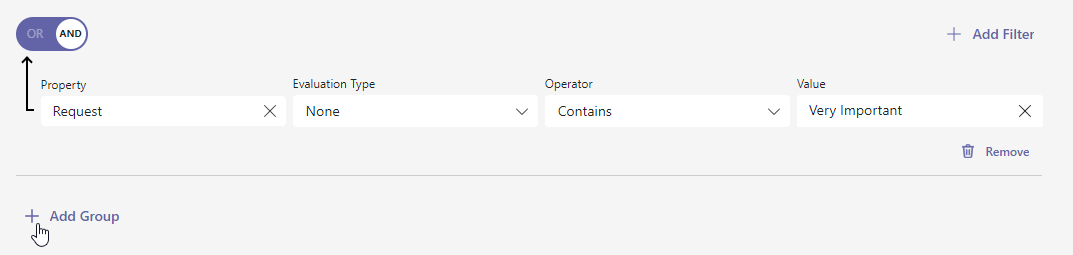
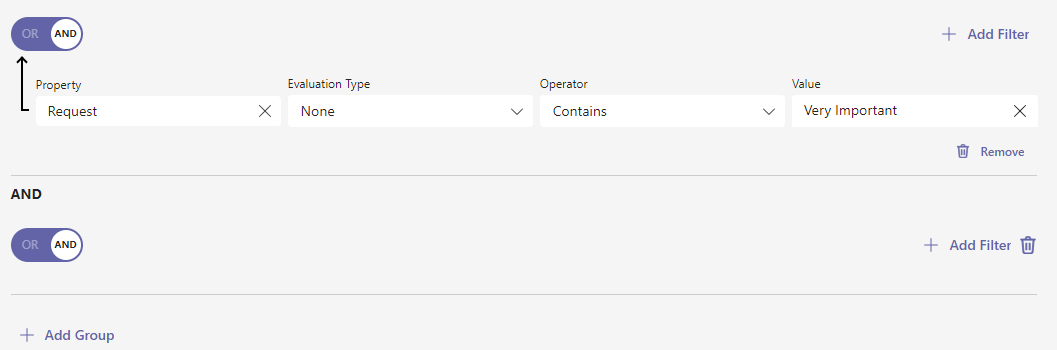
Toggle between AND (&&) and OR (||) when evaluating the group’s filters:
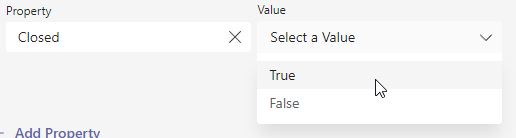
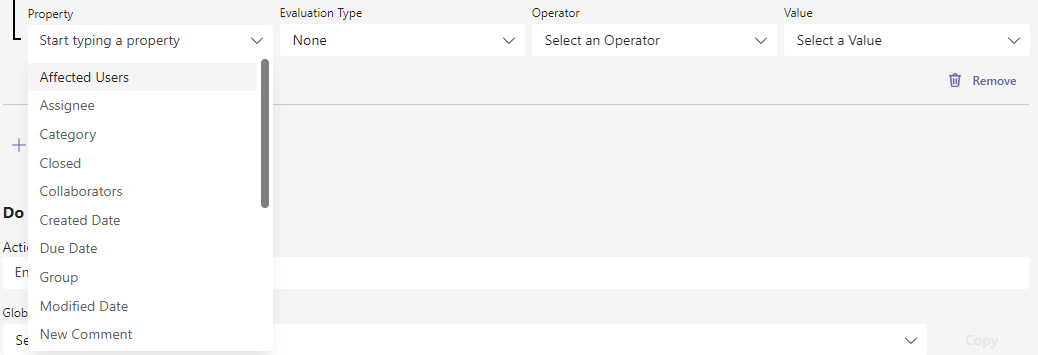
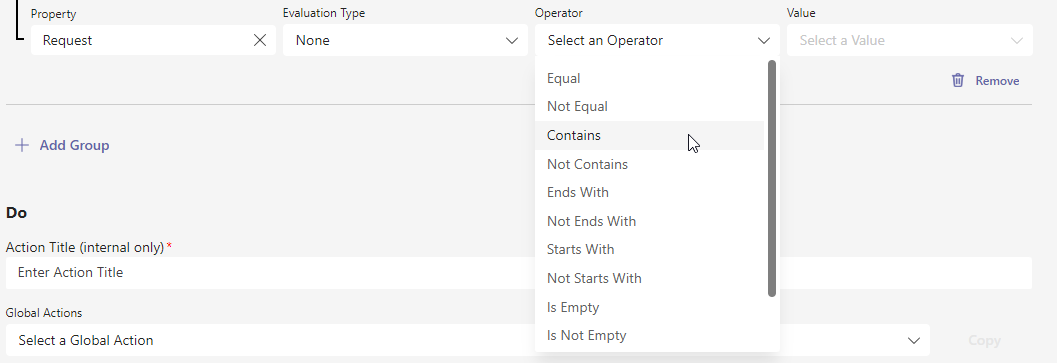
Choose a Property to evaluate, an Operator for the type of comparison, and a Value compare with. 5 of 7 6 Remove a filter from the group. 6 of 7 7 Add a new group of filters to the rule. All groups must pass for an automation to continue. 7 of 7
- AND All filters in the group must be true.
- OR At at least one filter in the group must be true.
Choose a Property to evaluate, an Operator for the type of comparison, and a Value compare with. 5 of 7 6 Remove a filter from the group. 6 of 7 7 Add a new group of filters to the rule. All groups must pass for an automation to continue. 7 of 7


1
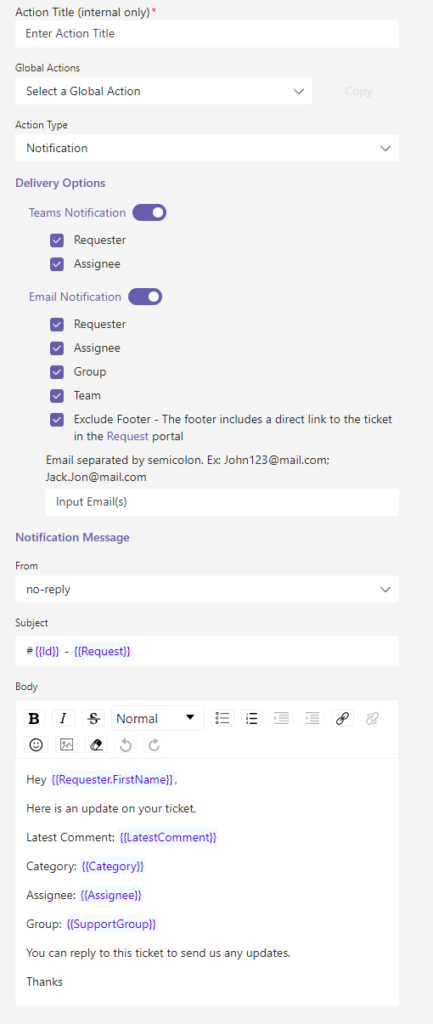
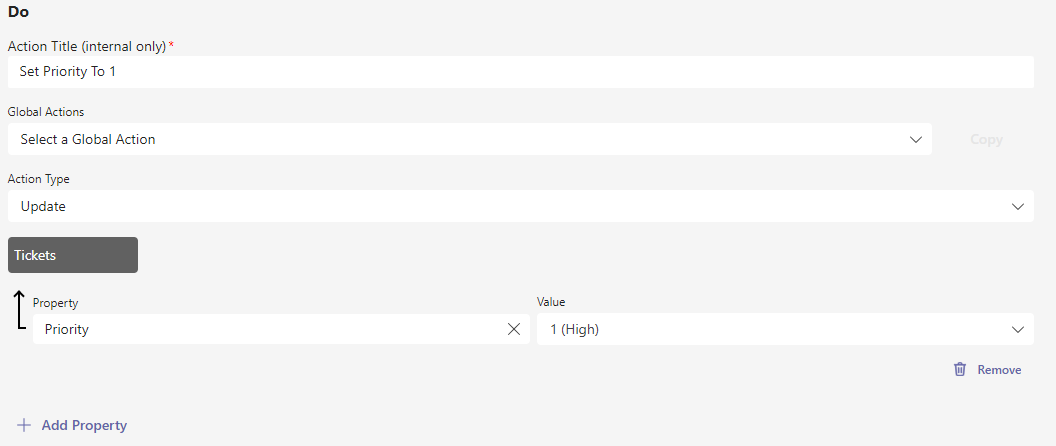
Title to describe the action. 1 of 5
2
Select and copy an action template from a predefined list. 2 of 5
3
What type of action the automation should perform:
- Create Create a new ticket.
- Update Update the properties of the Ticket or User that triggered the automation.