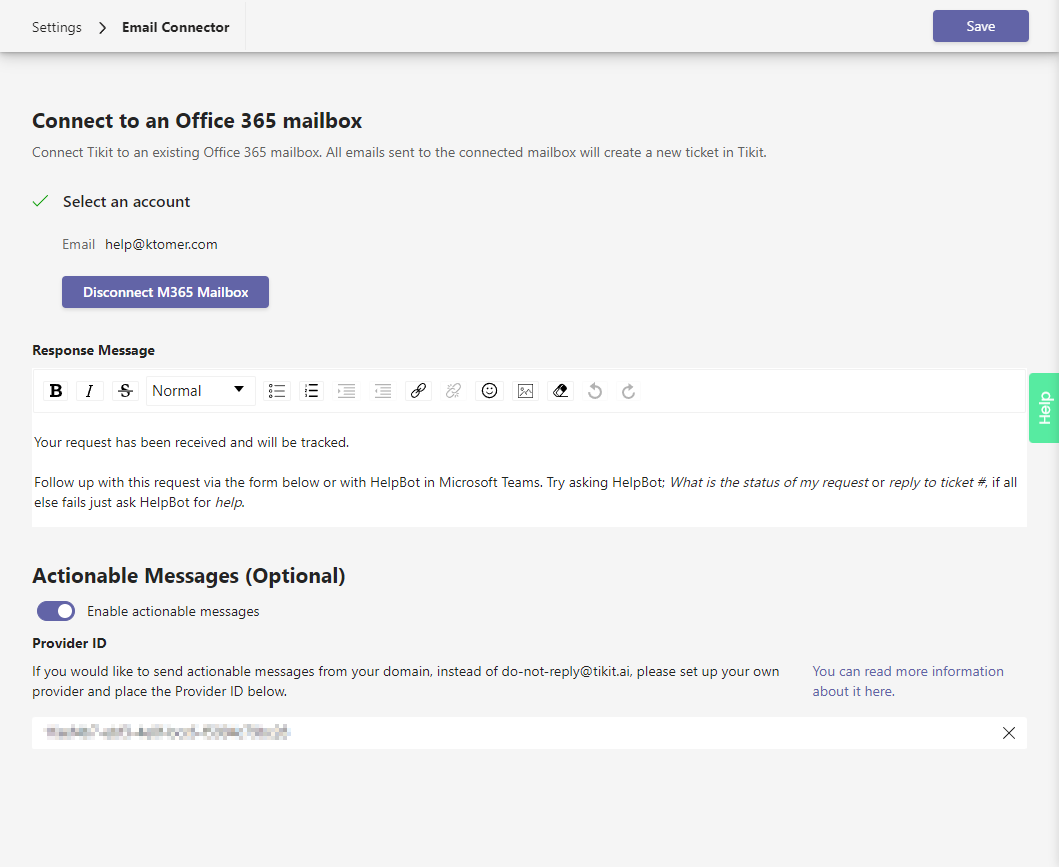
If you would like to send actionable messages from your domain instead of do-not-reply@tikit.ai, please set up your own provider and update the Provider Id section in the Email Connector settings.
We’ll cover the steps here for creating a custom actionable message provider, but you can also check out Register your service with the actionable email developer dashboard for more details.
Here’s an example of actionable messages without a custom provider set. Note that the email is from Do Not Reply <do-not-reply@tikit.ai>:

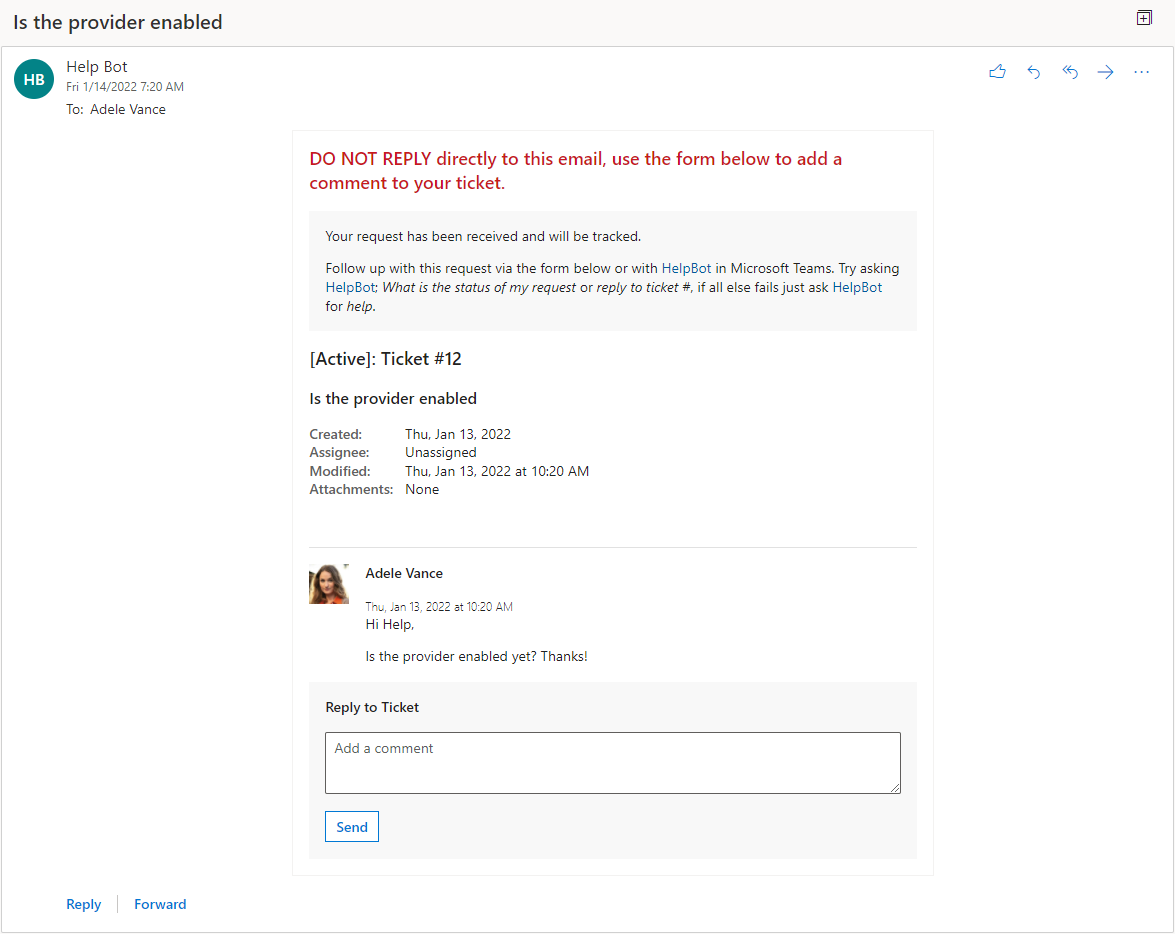
Here’s an example of actionable messages sent with a custom provider. The sender email is now from our domain named Help Bot instead of do-not-reply@tikit.ai:
To register a provider and update email connector settings:
- Open the Actionable Email Developer Dashboard.
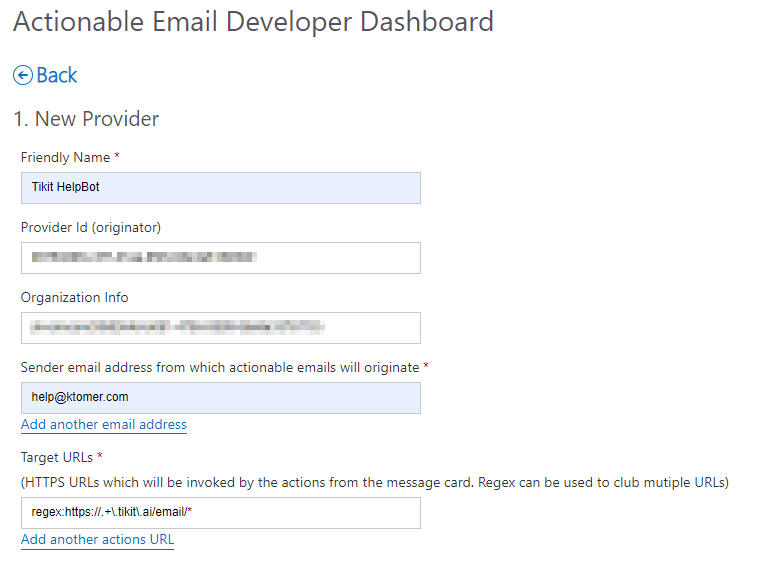
- Once in the dashboard, select New Provider.

- Once in the New Provider form, note the Provider Id value. That will be the Id used to tell Tikit which provider to use instead of do-not-reply@tikit.ai.
- Enter:
- A friendly name for your admins to track the request status.
- Sender email address. This sender will be used instead of do-not-reply@tikit.ai and must match the email from the connected mailbox.
- The following target URL:
- regex:https://.+\.tikit\.ai/email/*
- regex:https://.+\.tikit\.ai/email/*
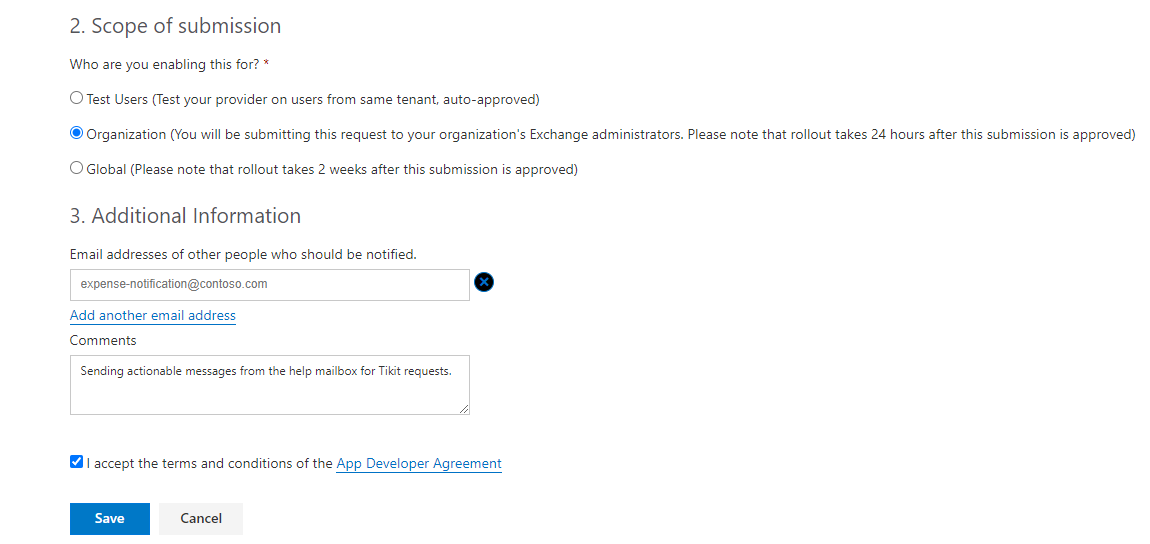
- Under Scope of Submission, select between Test Users, Organization, or Global. Note when using Test Users that the provider is auto-approved and can be used immediately, but when choosing Organization the provider will need to be approved by an Exchange admin and there can be a rollout delay of up to 24 hours after the submission is approved. The Global scope applies to both organization and external emails and will need to be approved with a rollout time of up to 2 weeks.
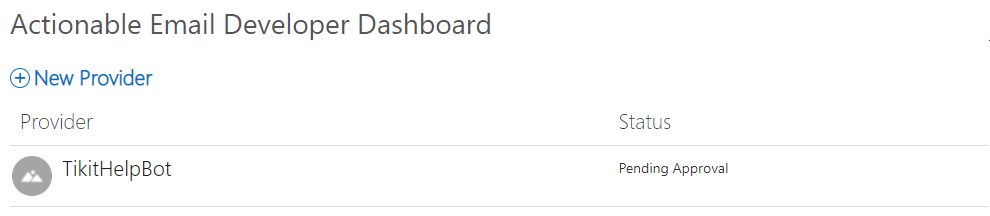
- Save the submission. If the provider scope is Test Users you can skip to step 11 to set the Provider Id in the Tikit email connector settings, but if the provider scope is Organization, then the Status for the submission will be Pending Approval. We’ll go through the steps of approving the submission as an Exchange admin next.
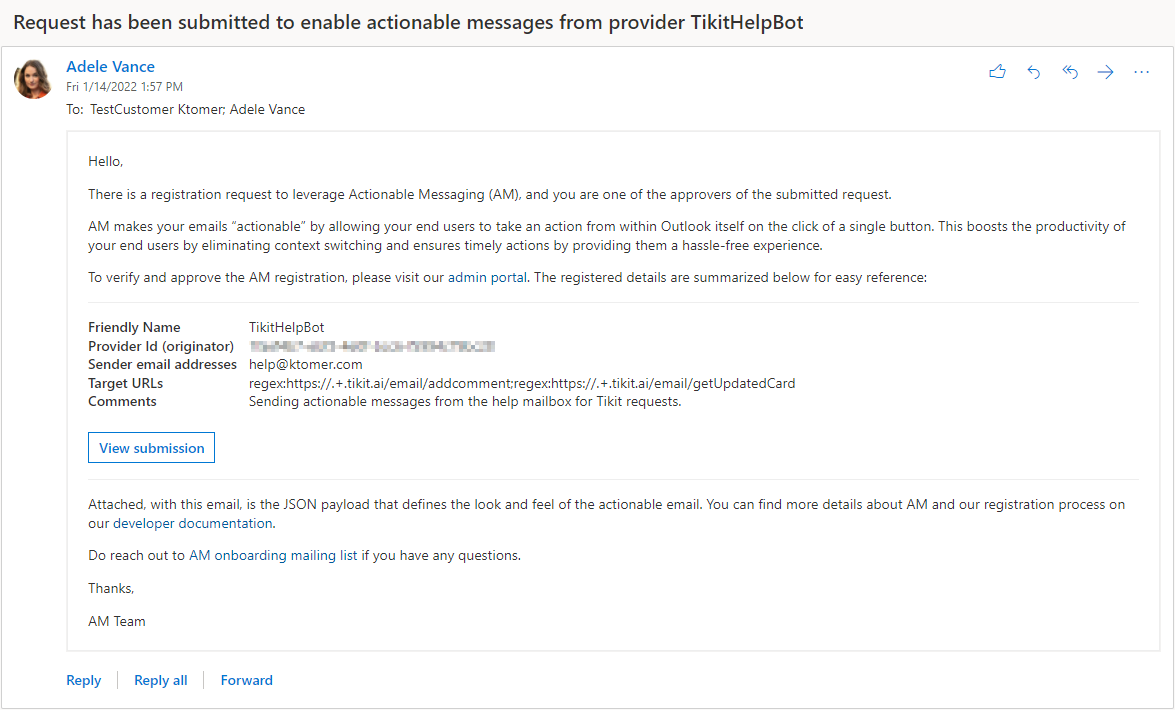
- As an Exchange admin, locate the actionable message request notification email, then select View submission. Note that admins can also view requests from the Admin Actionable Email Developer Dashboard.
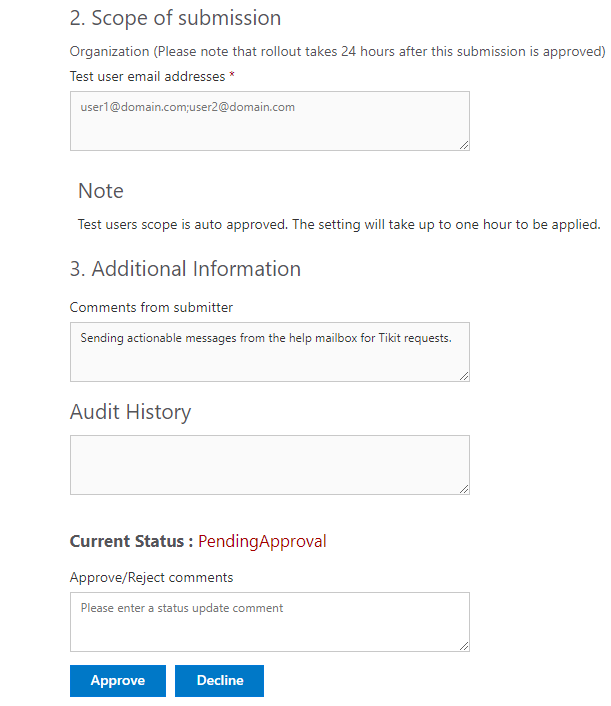
- Once in the submission in the Actionable Email Developer Dashboard, select Approve.
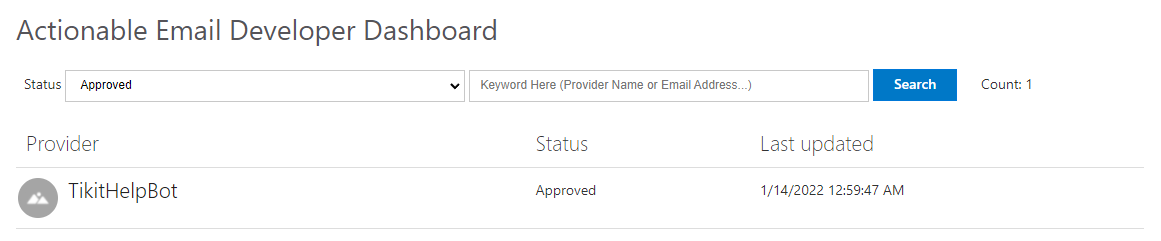
- The provider’s status will now show as Approved. The Exchange admin’s job is done (Thanks!). Next is waiting for the rollout of up to 24 hours and then a Tikit admin can enter the Provider Id in the email connector settings.
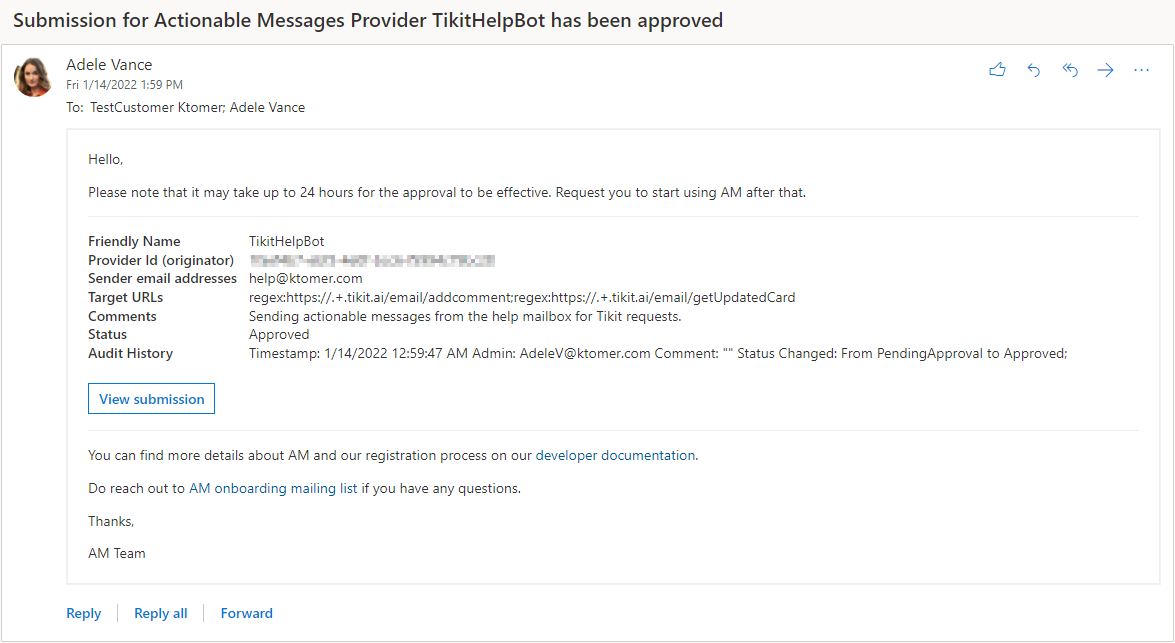
- As the original submitter, find the actionable messages provider approved notification email and copy the Provider Id if you haven’t already saved the id.
- Open the Tikit web app and navigate to the email connector settings, then enter the Id from Step 10 into the Provider Id field and select Save.
- Congrats! When the rollout is active (up to 24 hours for Organization scope), actionable message emails will now show the sender as the chosen sender instead of do-not-reply@tikit.ai.