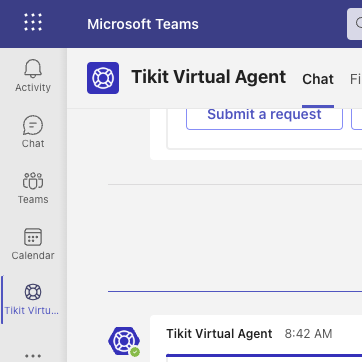
Tikit Virtual Agent is your end users “portal” to getting problems solved. Once you deploy Tikit Virtual Agent to all your end users they will be able to quickly submit request and get answers.
Tikit consists of multiple Teams applications and the goal of each application is to solve the needs of the particular user persona that interacts with that application. The Tikit App helps Analysts to quickly triage and solve tickets from Teams, while the Tikit Virtual Agent is the first-line of support for your end-users.
For more information on the Tikit teams app please go here.
Table of Contents
Add a header to begin generating the table of contents
Follow our Tikit Virtual Agent Setup Guide for steps on installing and deploying Tikit Virtual Agent to users. Once Tikit Virtual Agent has been installed to your organization’s Teams app store, admins can deploy the app automatically to users.
The ticket deflection knowledge base allows the Tikit Virtual Agent to intelligently respond to user questions with useful answers to lower the ticket workload of analysts. Tikit uses Azure’s natural language processing (NLP) to train Tikit Virtual Agent to answer your common user requests. Tikit is also gearing up for tracking deflected tickets. If a ticket deflection is successful, Tikit automatically creates a new ticket with the Deflected status, the user’s question as the title, and the kb answer as a comment. For more information on training your ticket deflection knowledge base, check out the following Knowledge article.
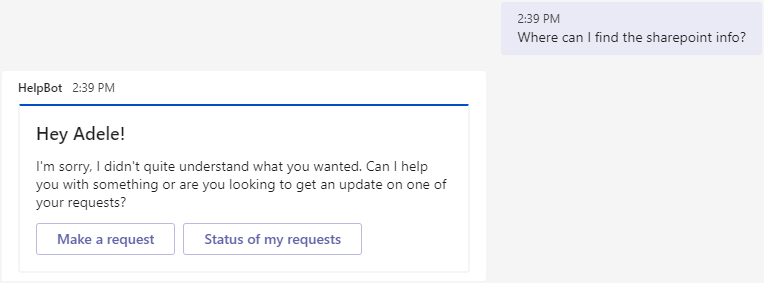
Send a message to Tikit Virtual Agent. Tikit Virtual Agent will either reply with an answer from the Tikit knowledge base or if there is no related answer, quick shortcuts to make a new request or view your requests’ status.
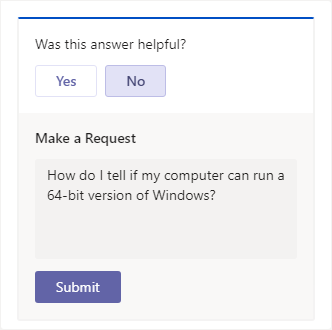
If Tikit Virtual Agent replies with ticket deflection, then select an answer in the Was this answer helpful? prompt:
No Display the Make a request field to continue making a request.
Yes Automatically create and close a ticket as Deflected.
If Tikit Virtual Agent replies with a Hey! message, select Make a request.
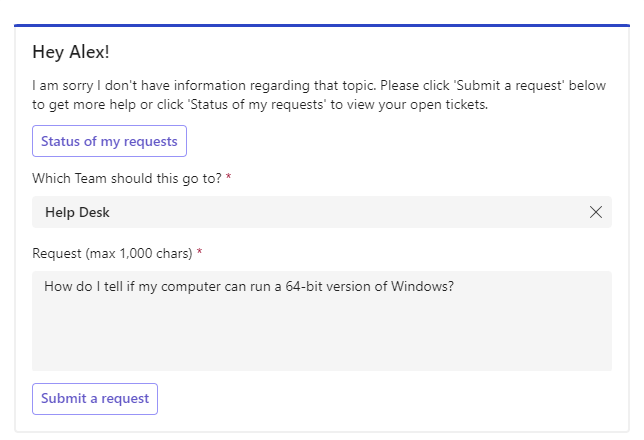
If your organization has enabled the option to select a Department, select it from the dropdown above the Request field.
Make any changes needed in Make a Request, then select Submit.
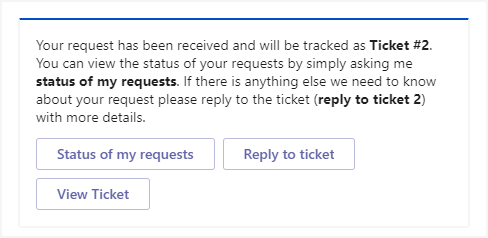
Tikit Virtual Agent will reply with a request received message for the new ticket. Selecting one of the shortcuts in this reply will autofill commands you can send to Tikit Virtual Agent:
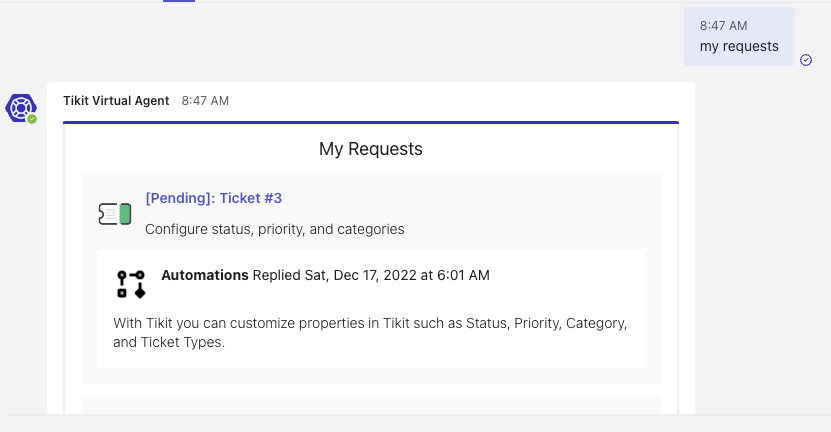
Users can view their requests by sending a quick message to Tikit Virtual Agent. Thanks to Natural Language Processing, there is no specific command, code, or sequence to remember! For example, users can message Tikit Virtual Agent with “my requests”, “requests”, “tickets”, or even “tikits” and Tikit Virtual Agent will helpfully respond with a summary of their requests.
To view my requests in the Tikit Virtual Agent App:
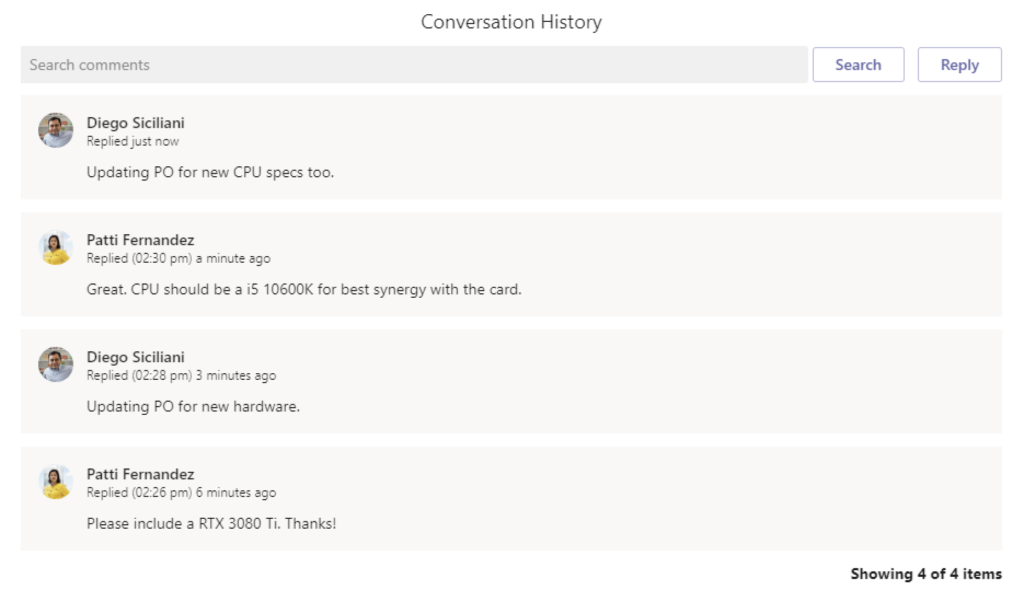
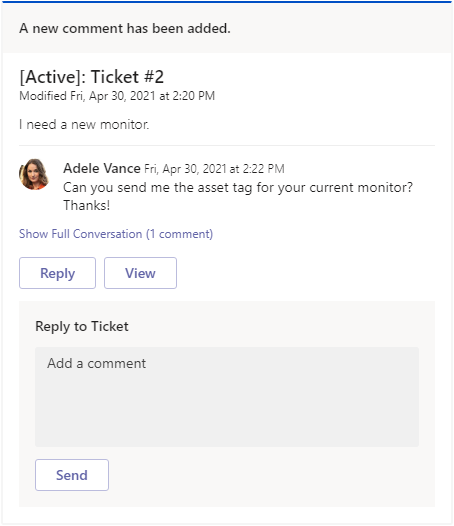
Send Tikit Virtual Agent “my requests” or a similar message and Tikit Virtual Agent will reply with a list of the user’s requests.
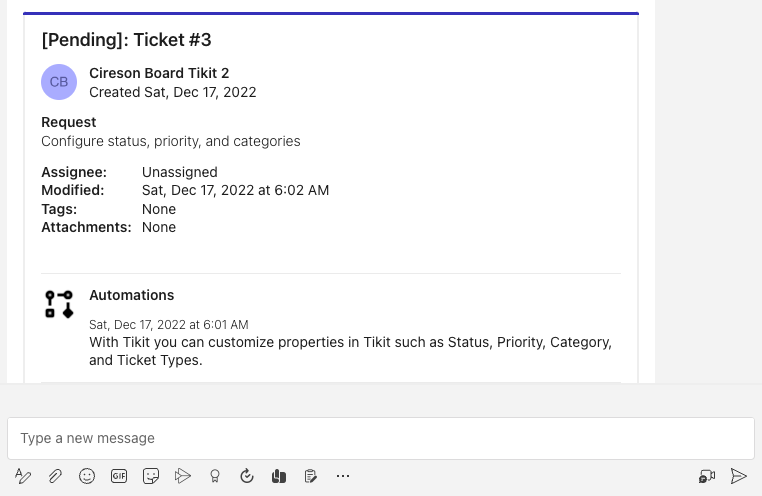
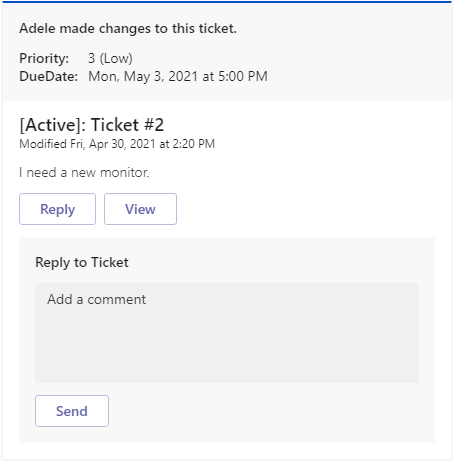
For more ticket details, select the Title of any result and Tikit Virtual Agent will reply with request details.
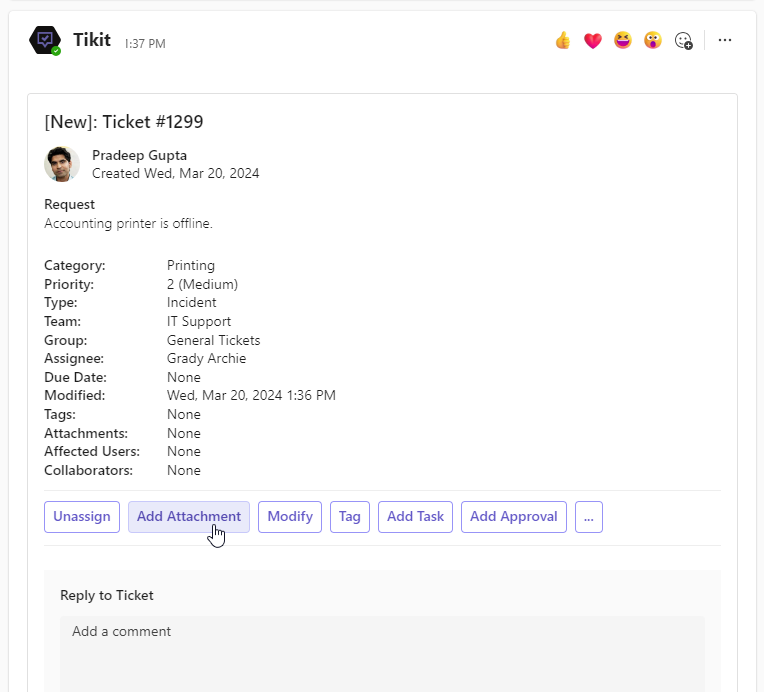
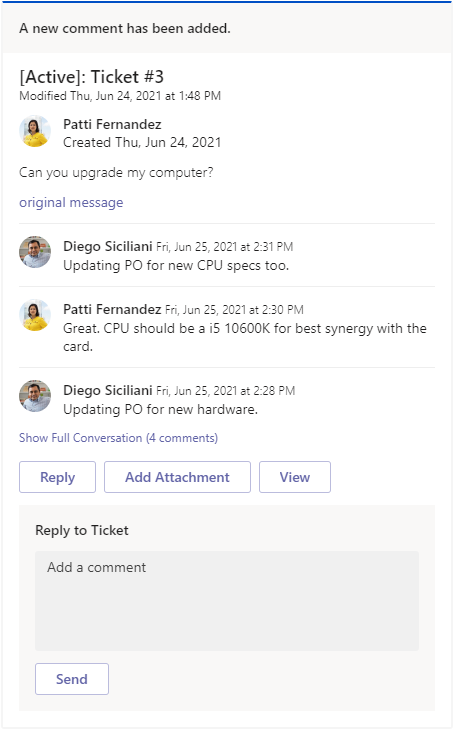
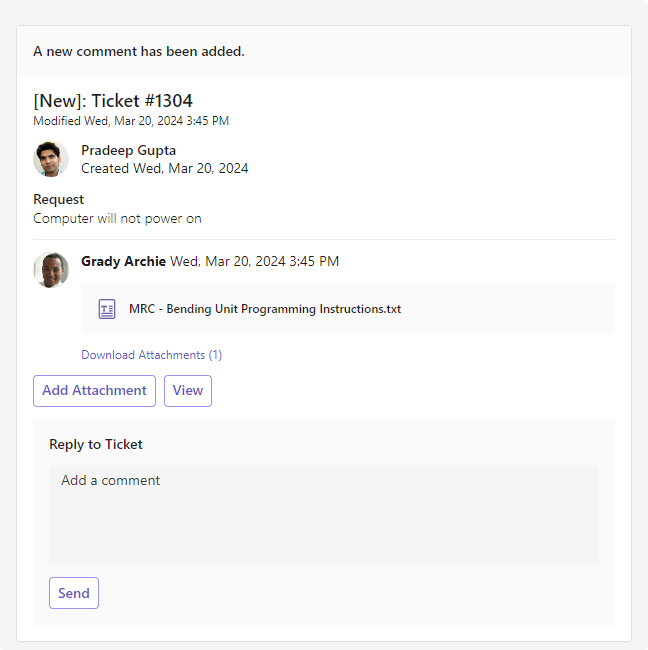
Ticket and notification cards in Tikit Virtual Agent have handy Add Attachment buttons to attach files to their requests.
To add an attachment in the Tikit Virtual Agent App:
Add Attachment attaches a file or files to the ticket. Files are uploaded to the triage channel’s SharePoint for access by agents, the ticket requester, affected users, or collaborators.
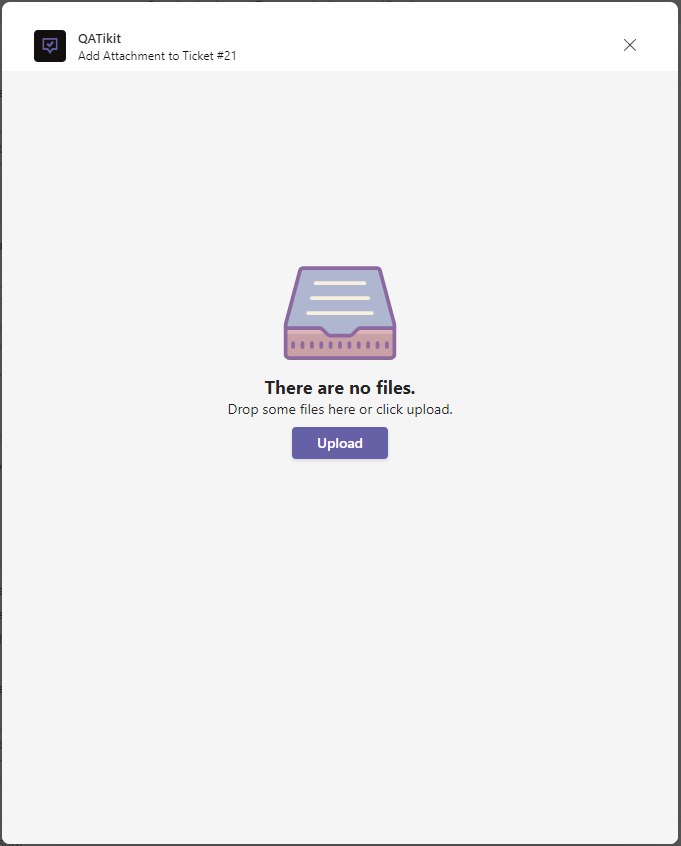
The file upload dialog will then appear. You can drag and drop files to the window or click Upload to select files from your device.
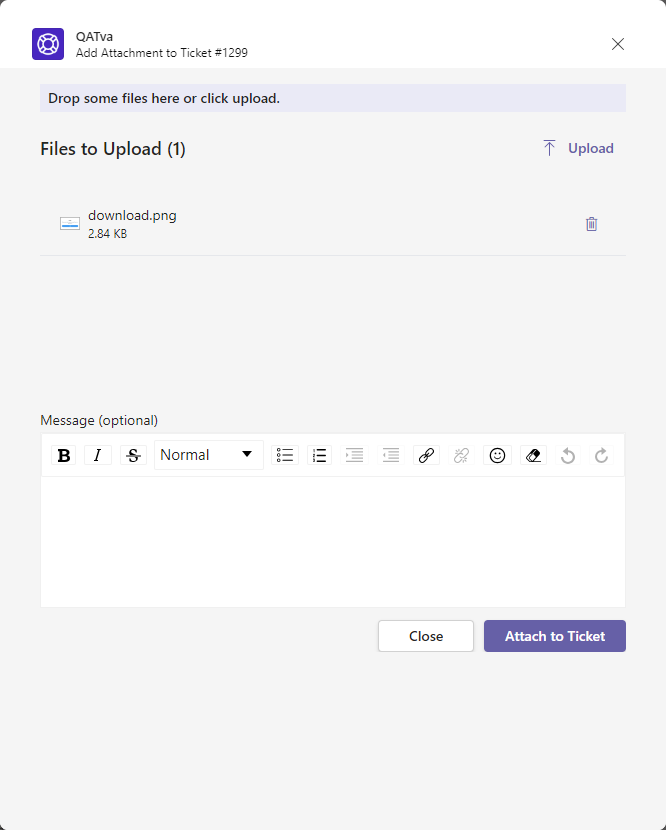
Your selected files will be listed in the following dialog allowing you to view which files have been selected and add or remove additional files. Once you select Attach to Ticket the files will be uploaded and attached to the ticket.
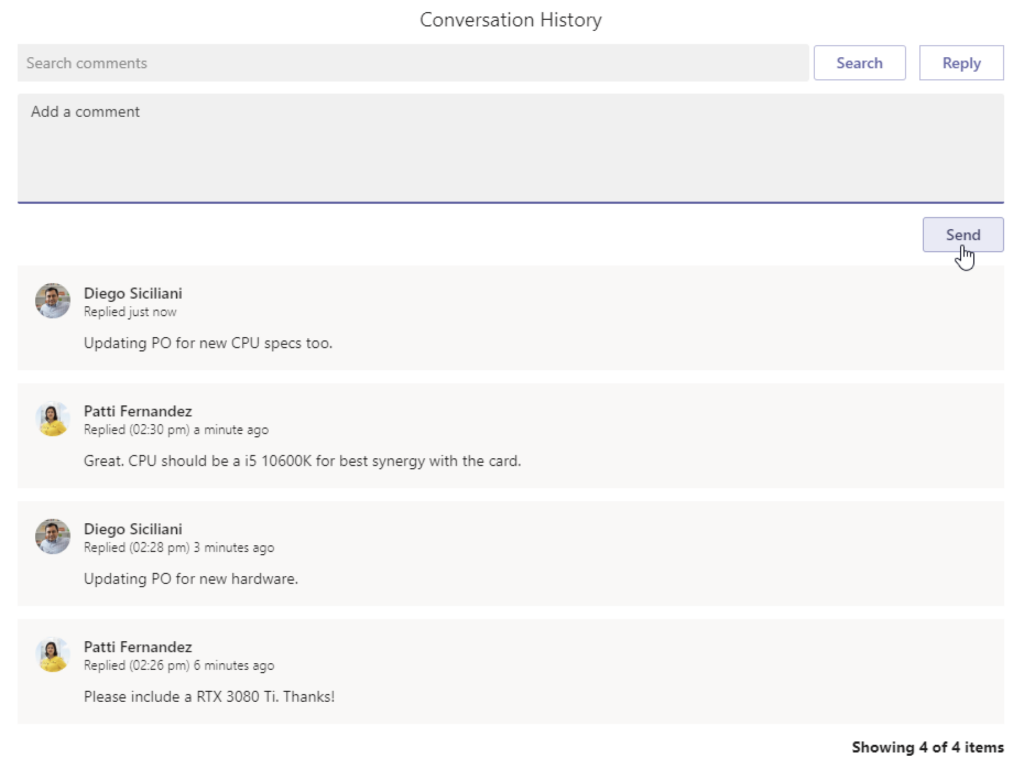
You can also choose to include a comment with your attachment. The comment will be shown alongside the attachment in the ticket’s activity history. To add a comment, type it into the Message section of the file upload dialog.